How to build an MCP server that can interact with Monad Testnet

In this guide, you will learn how to build a Model Context Protocol (MCP) server that allows an MCP Client (Claude Desktop) to query Monad Testnet to check the MON balance of an account.

What is MCP?

The Model Context Protocol (MCP) is a standard that allows AI models to interact with external tools and services.

Prerequisites

  • Node.js (v16 or later)
  • npm or yarn
  • Claude Desktop

Getting started

  1. Clone the monad-mcp-tutorial repository. This repository has some code that can help you get started quickly.
git clone https://github.com/monad-developers/monad-mcp-tutorial.git
  1. Install dependencies:
npm install

Building the MCP server

Monad Testnet-related configuration is already added to index.ts in the src folder.

Define the server instance

// Create a new MCP server instance
const server = new McpServer({
name: "monad-mcp-tutorial",
version: "0.0.1",
// Array of supported tool names that clients can call
capabilities: ["get-mon-balance"]
});

Define the MON balance tool

Below is the scaffold of the get-mon-balance tool:

server.tool(
// Tool ID
"get-mon-balance",
// Description of what the tool does
"Get MON balance for an address on Monad testnet",
// Input schema
{
address: z.string().describe("Monad testnet address to check balance for"),
},
// Tool implementation
async ({ address }) => {
// code to check MON balance
}
);

Let's add the MON balance check implementation to the tool:

server.tool(
// Tool ID
"get-mon-balance",
// Description of what the tool does
"Get MON balance for an address on Monad testnet",
// Input schema
{
address: z.string().describe("Monad testnet address to check balance for"),
},
// Tool implementation
async ({ address }) => {
try {
// Check MON balance for the input address
const balance = await publicClient.getBalance({
address: address as `0x${string}`,
});

// Return a human friendly message indicating the balance.
return {
content: [
{
type: "text",
text: `Balance for ${address}: ${formatUnits(balance, 18)} MON`,
},
],
};
} catch (error) {
// If the balance check process fails, return a graceful message back to the MCP client indicating a failure.
return {
content: [
{
type: "text",
text: `Failed to retrieve balance for address: ${address}. Error: ${
error instanceof Error ? error.message : String(error)
}`,
},
],
};
}
}
);

Initialize the transport and server from the main function

async function main() {
// Create a transport layer using standard input/output
const transport = new StdioServerTransport();

// Connect the server to the transport
await server.connect(transport);
}

Build the project

npm run build

The server is now ready to use!

Add the MCP server to Claude Desktop

  1. Open "Claude Desktop"

claude desktop

  1. Open Settings

Claude > Settings > Developer
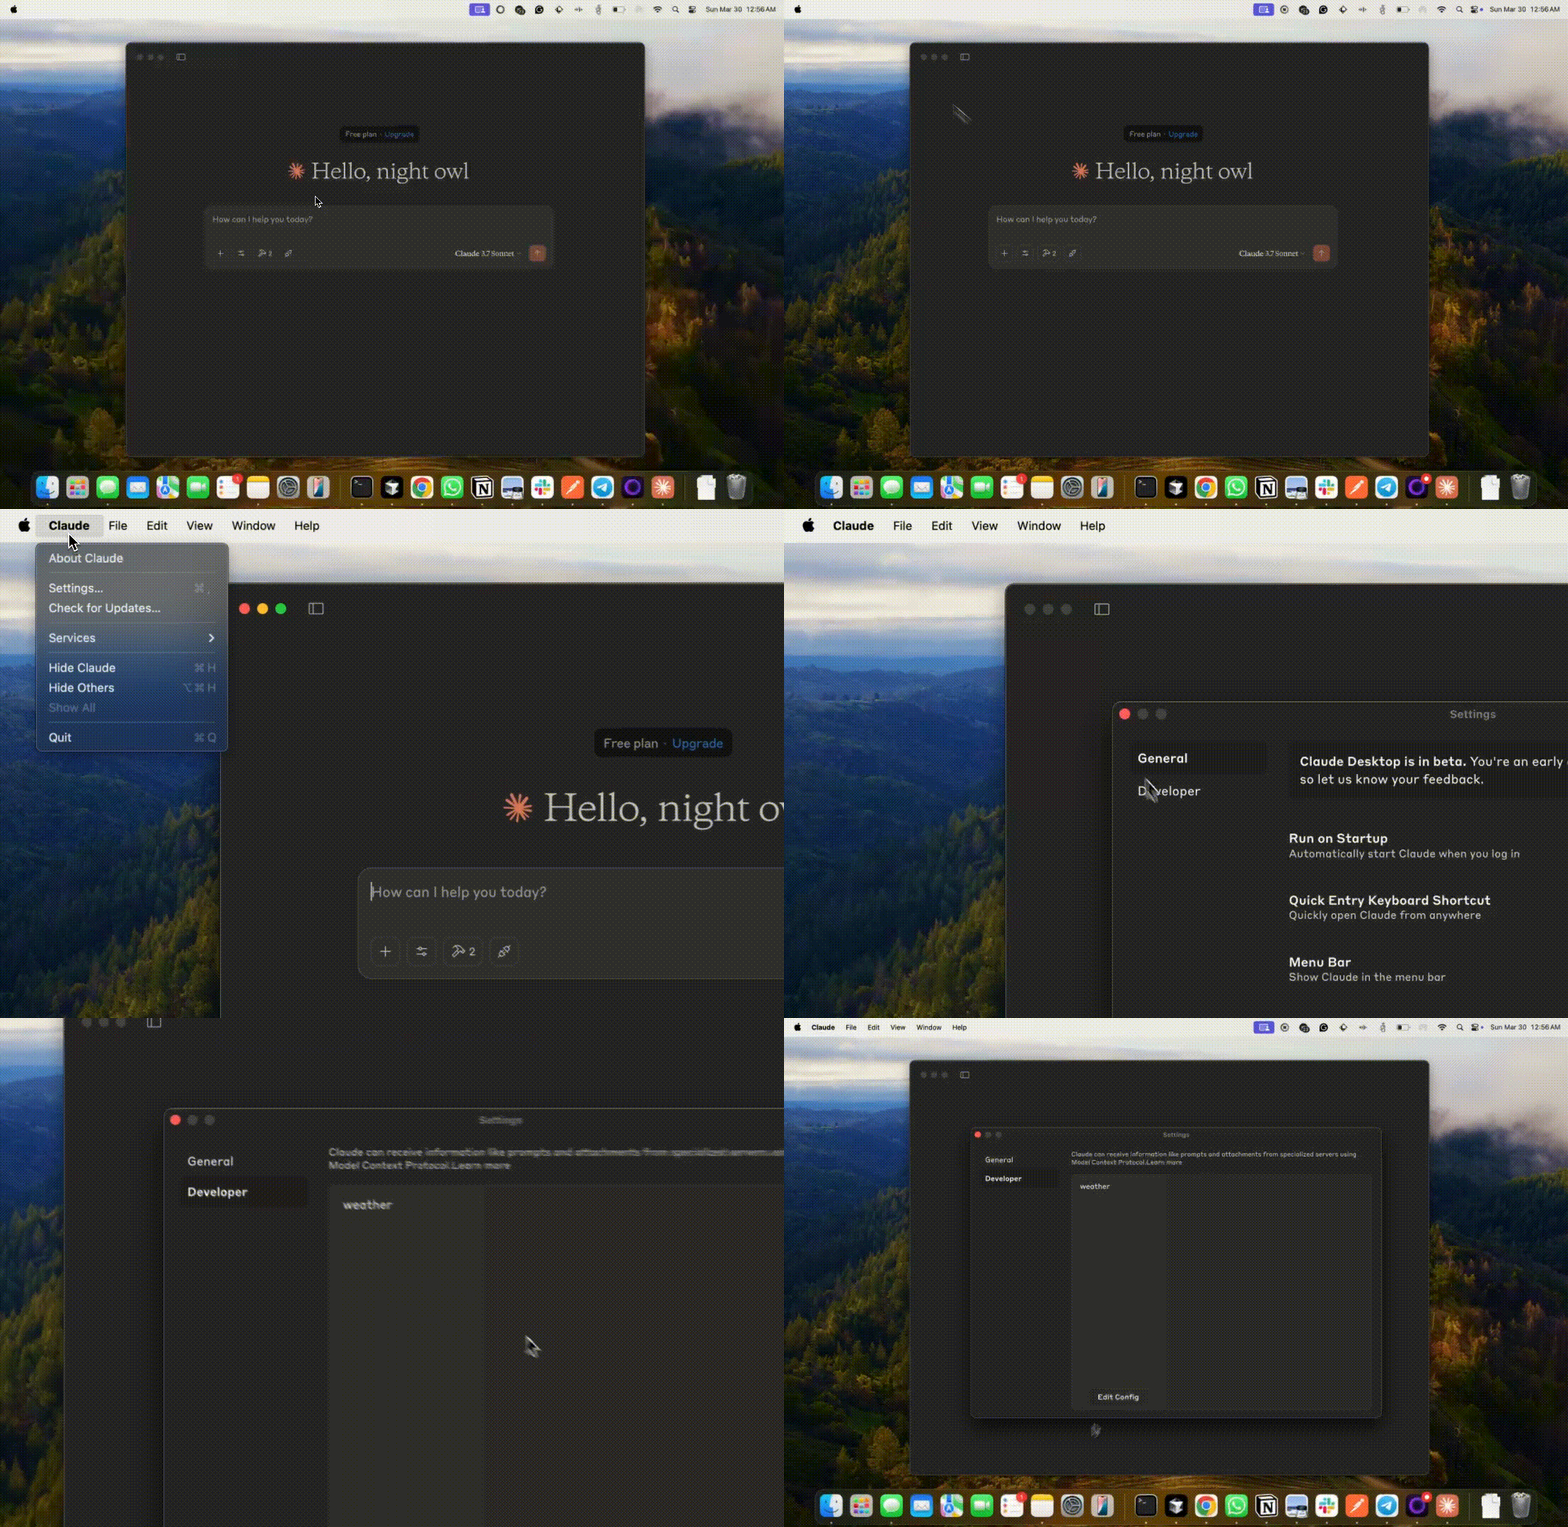
claude settings

  1. Open claude_desktop_config.json

claude config

  1. Add details about the MCP server and save the file.
{
"mcpServers": {
...
"monad-mcp": {
"command": "node",
"args": [
"/<path-to-project>/build/index.js"
]
}
}
}
  1. Restart "Claude Desktop"

Use the MCP server

You should now be able to see the tools in Claude!

tools

Here's the final result

final result

Further resources