AppKit is available on eight frameworks, including React, Next.js, Vue, JavaScript, React
Native, Flutter, Android, iOS, and Unity.
- Set up a new project using AppKit CLI
- Configure the project for Monad Testnet
- Connect wallets to your application
Prerequisites
- Node.js installed on your system
Step 1: Create a New Project
Run the AppKit CLI to create a new project configured with Reown AppKit:- Project Name: Choose a name (e.g.,
my-monad-appkit-app) - Framework: Select
Next.js(or your preferred framework) - Blockchain Library: Choose whether you want to install Wagmi, Ethers, Solana,
or Multichain (EVM + Solana). In this case, you need to either pick
WagmiorEtherssince Monad is an EVM compatible blockchain. We will be choosingWagmifor the sake of this tutorial.
Step 2: Set Up the Project
Navigate to your project directory and install dependencies:You can also use other package managers such as
yarn, bun, pnpm, etc.Step 3: Get Your Project ID
The example is pre-configured with aprojectId that will only work on localhost. To fully configure your project, you will need to get a projectId from the Reown Dashboard, as described below:
- Go to dashboard.reown.com and sign in
- Navigate to your team’s Cloud Dashboard
- Click ”+ Project”

- If prompted to choose a product type, select “AppKit” (otherwise ignore this step)
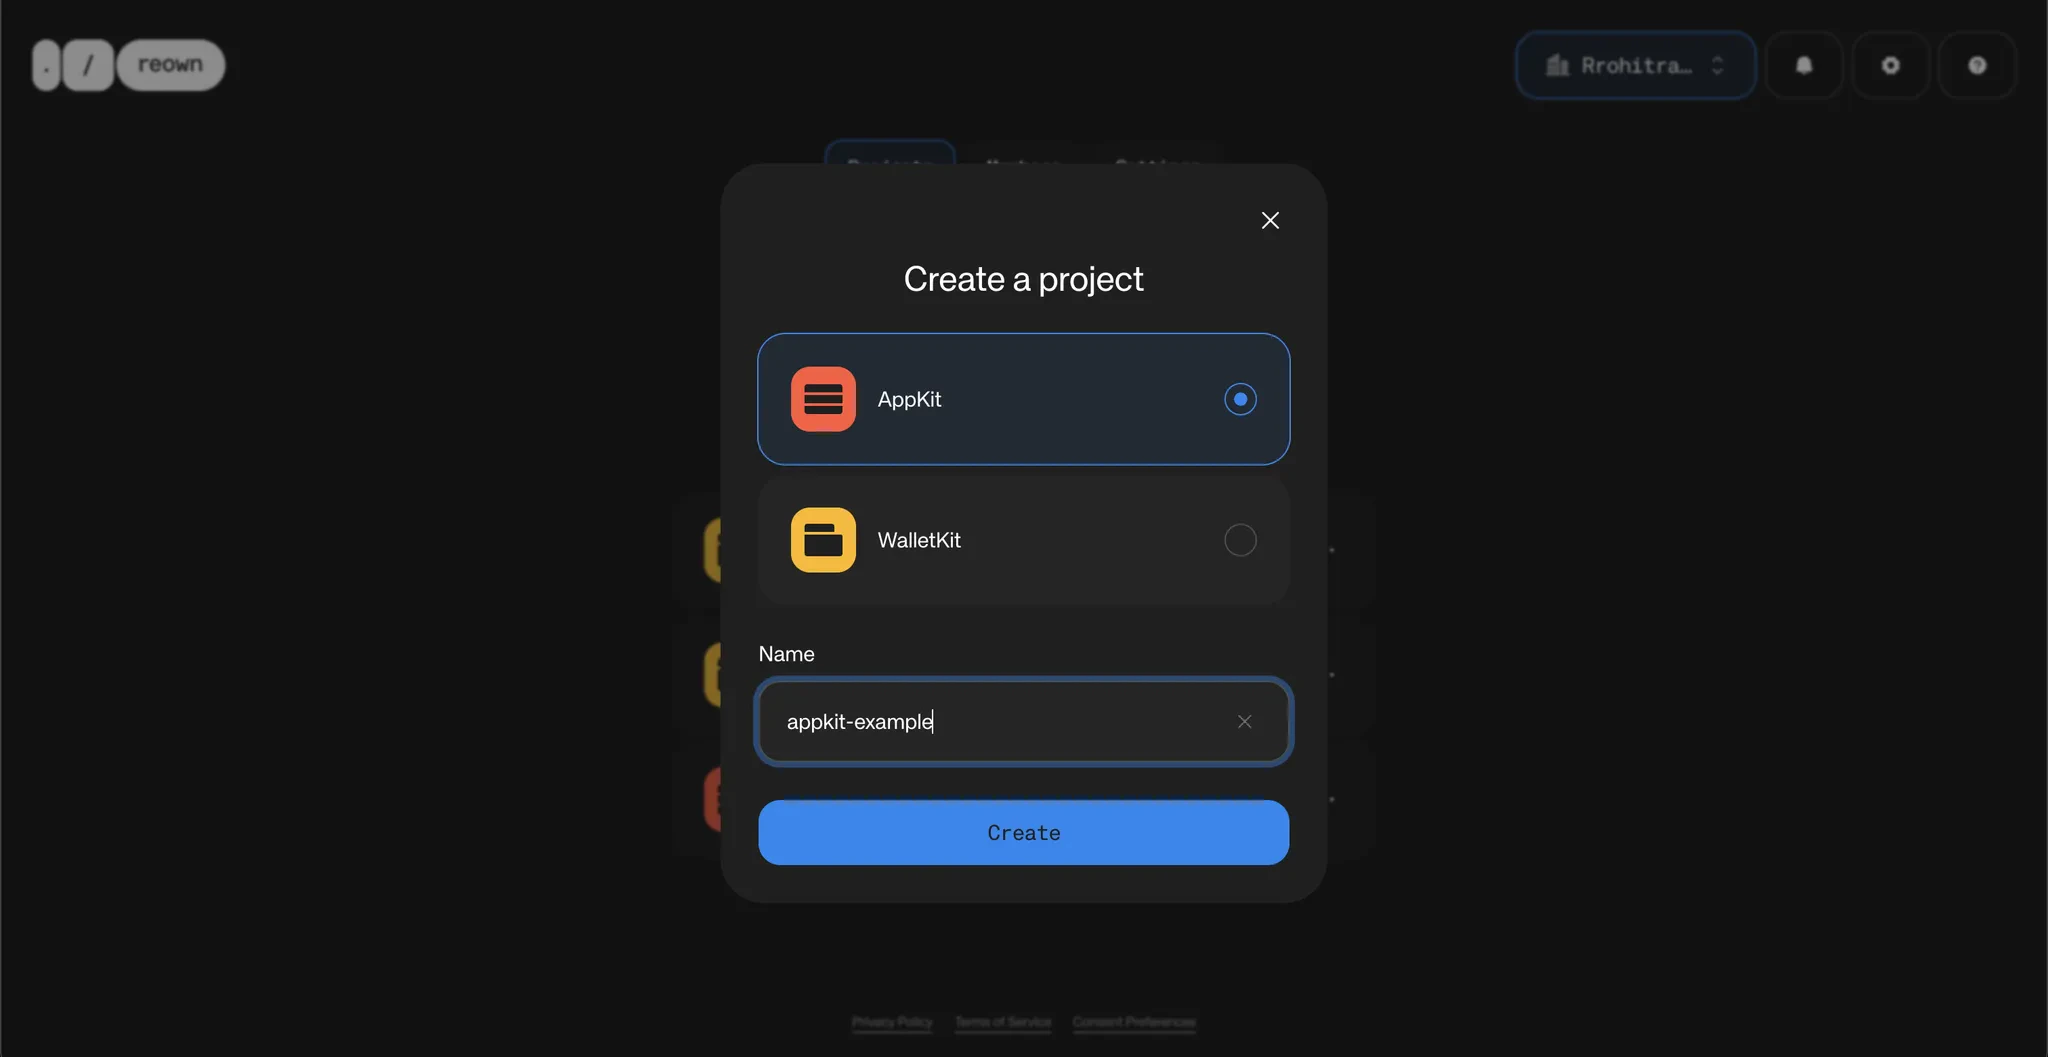
- Choose a project name
- Click “Create”

- Copy the generated Project ID from the bottom of the page
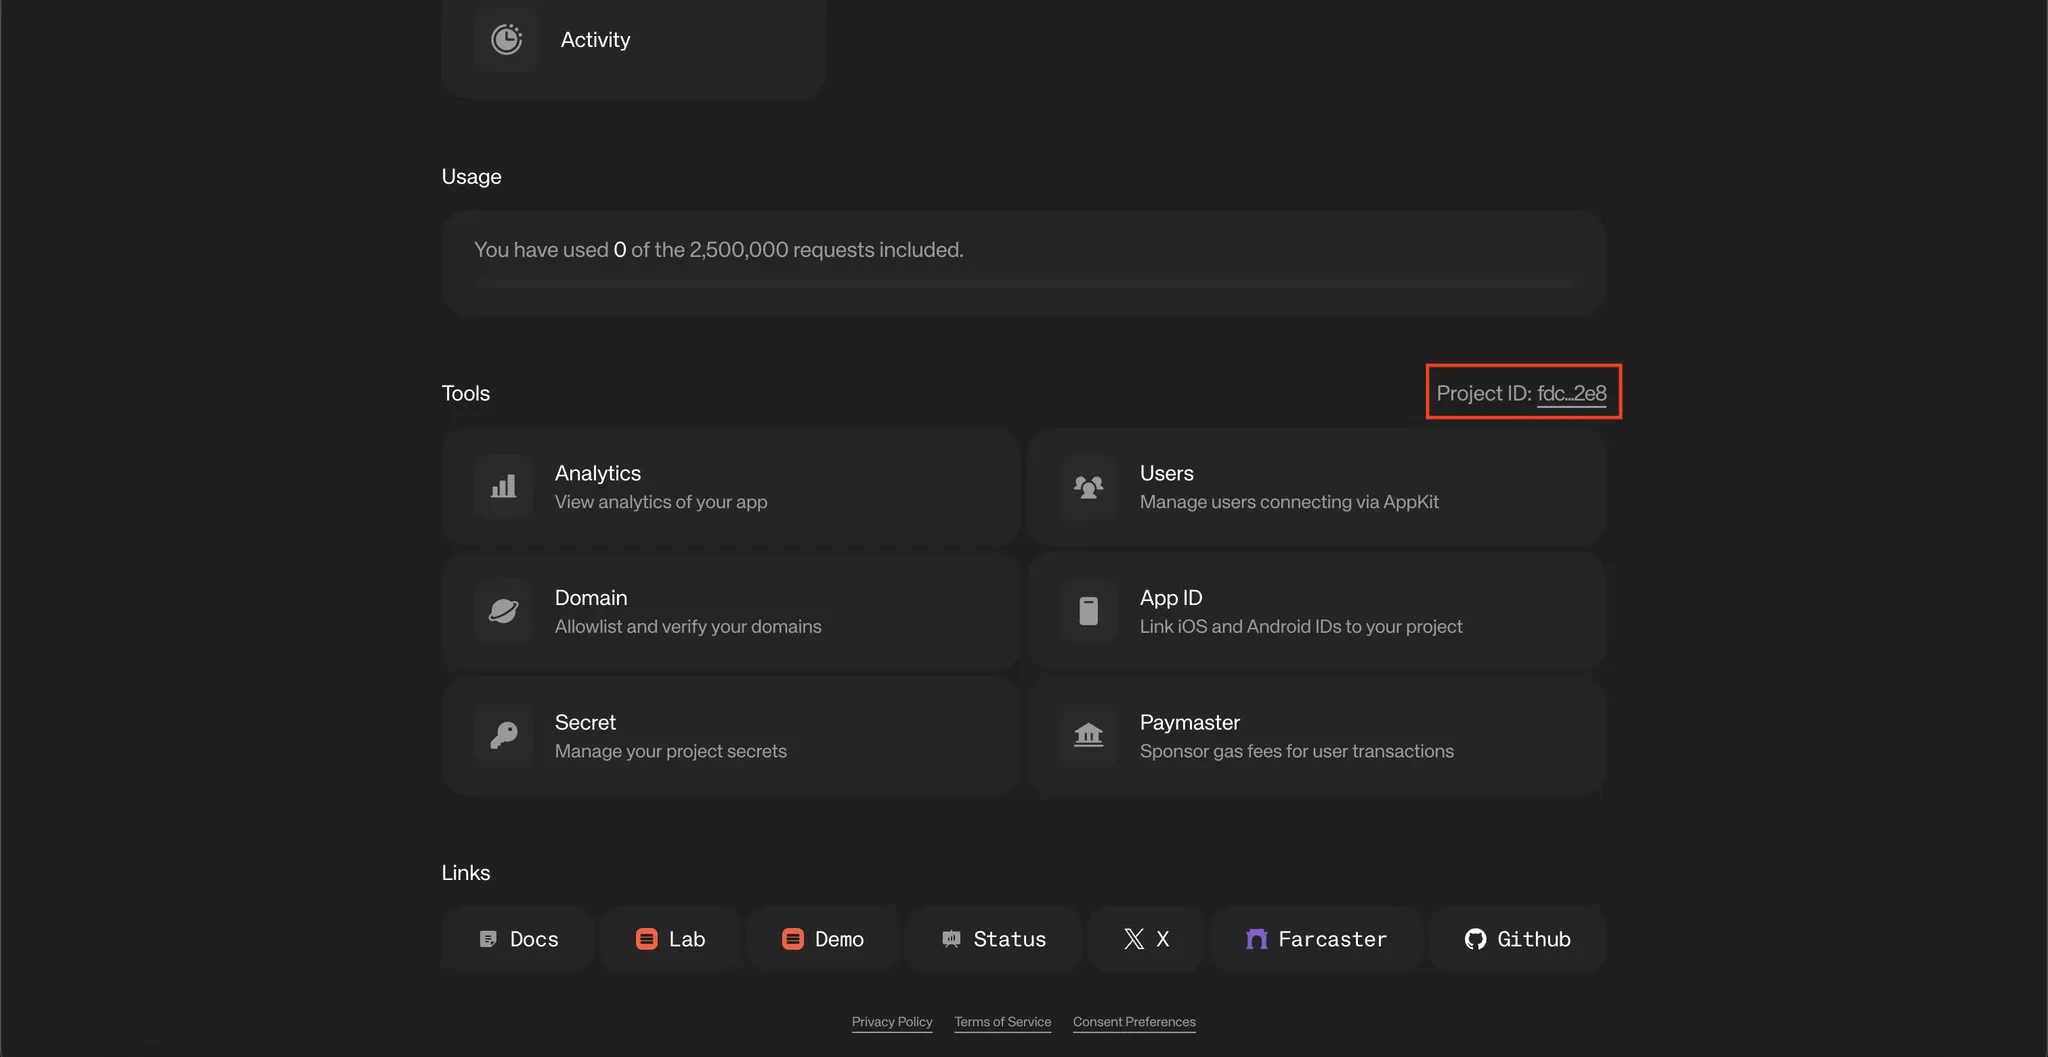
Step 4: Configure Environment Variables
Create a.env file in your project root:
.env
YOUR_PROJECT_ID_HERE with the Project ID you copied in the previous step.
Step 5: Configure for Monad Testnet
Update/src/config/index.ts to use Monad Testnet:
/src/config/index.ts
Step 6: Run Your Application
Start the development server:http://localhost:3000.
If you are using alternative package managers, you can try either of these commands -
yarn dev, pnpm dev, or bun dev.Conclusion
You have now learned how to create a simple app using AppKit CLI that allows users to connect their wallet and interact with Monad Testnet. Reown AppKit is a powerful solution for developers looking to integrate wallet connections and other Web3 functionalities into their apps on any EVM chain. In just a few simple steps, you can provide your users with seamless wallet access, one-click authentication, social logins, and notifications—streamlining their experience while enabling advanced features like on-ramp functionality and smart accounts.What’s Next?
- Explore the Reown blog
- Check out the complete example: Reown AppKit EVM