Prerequisites
- Node.js (v18 or higher)
- a Privy account
- a 0x account
Setting up Privy
Setting up Privy
-
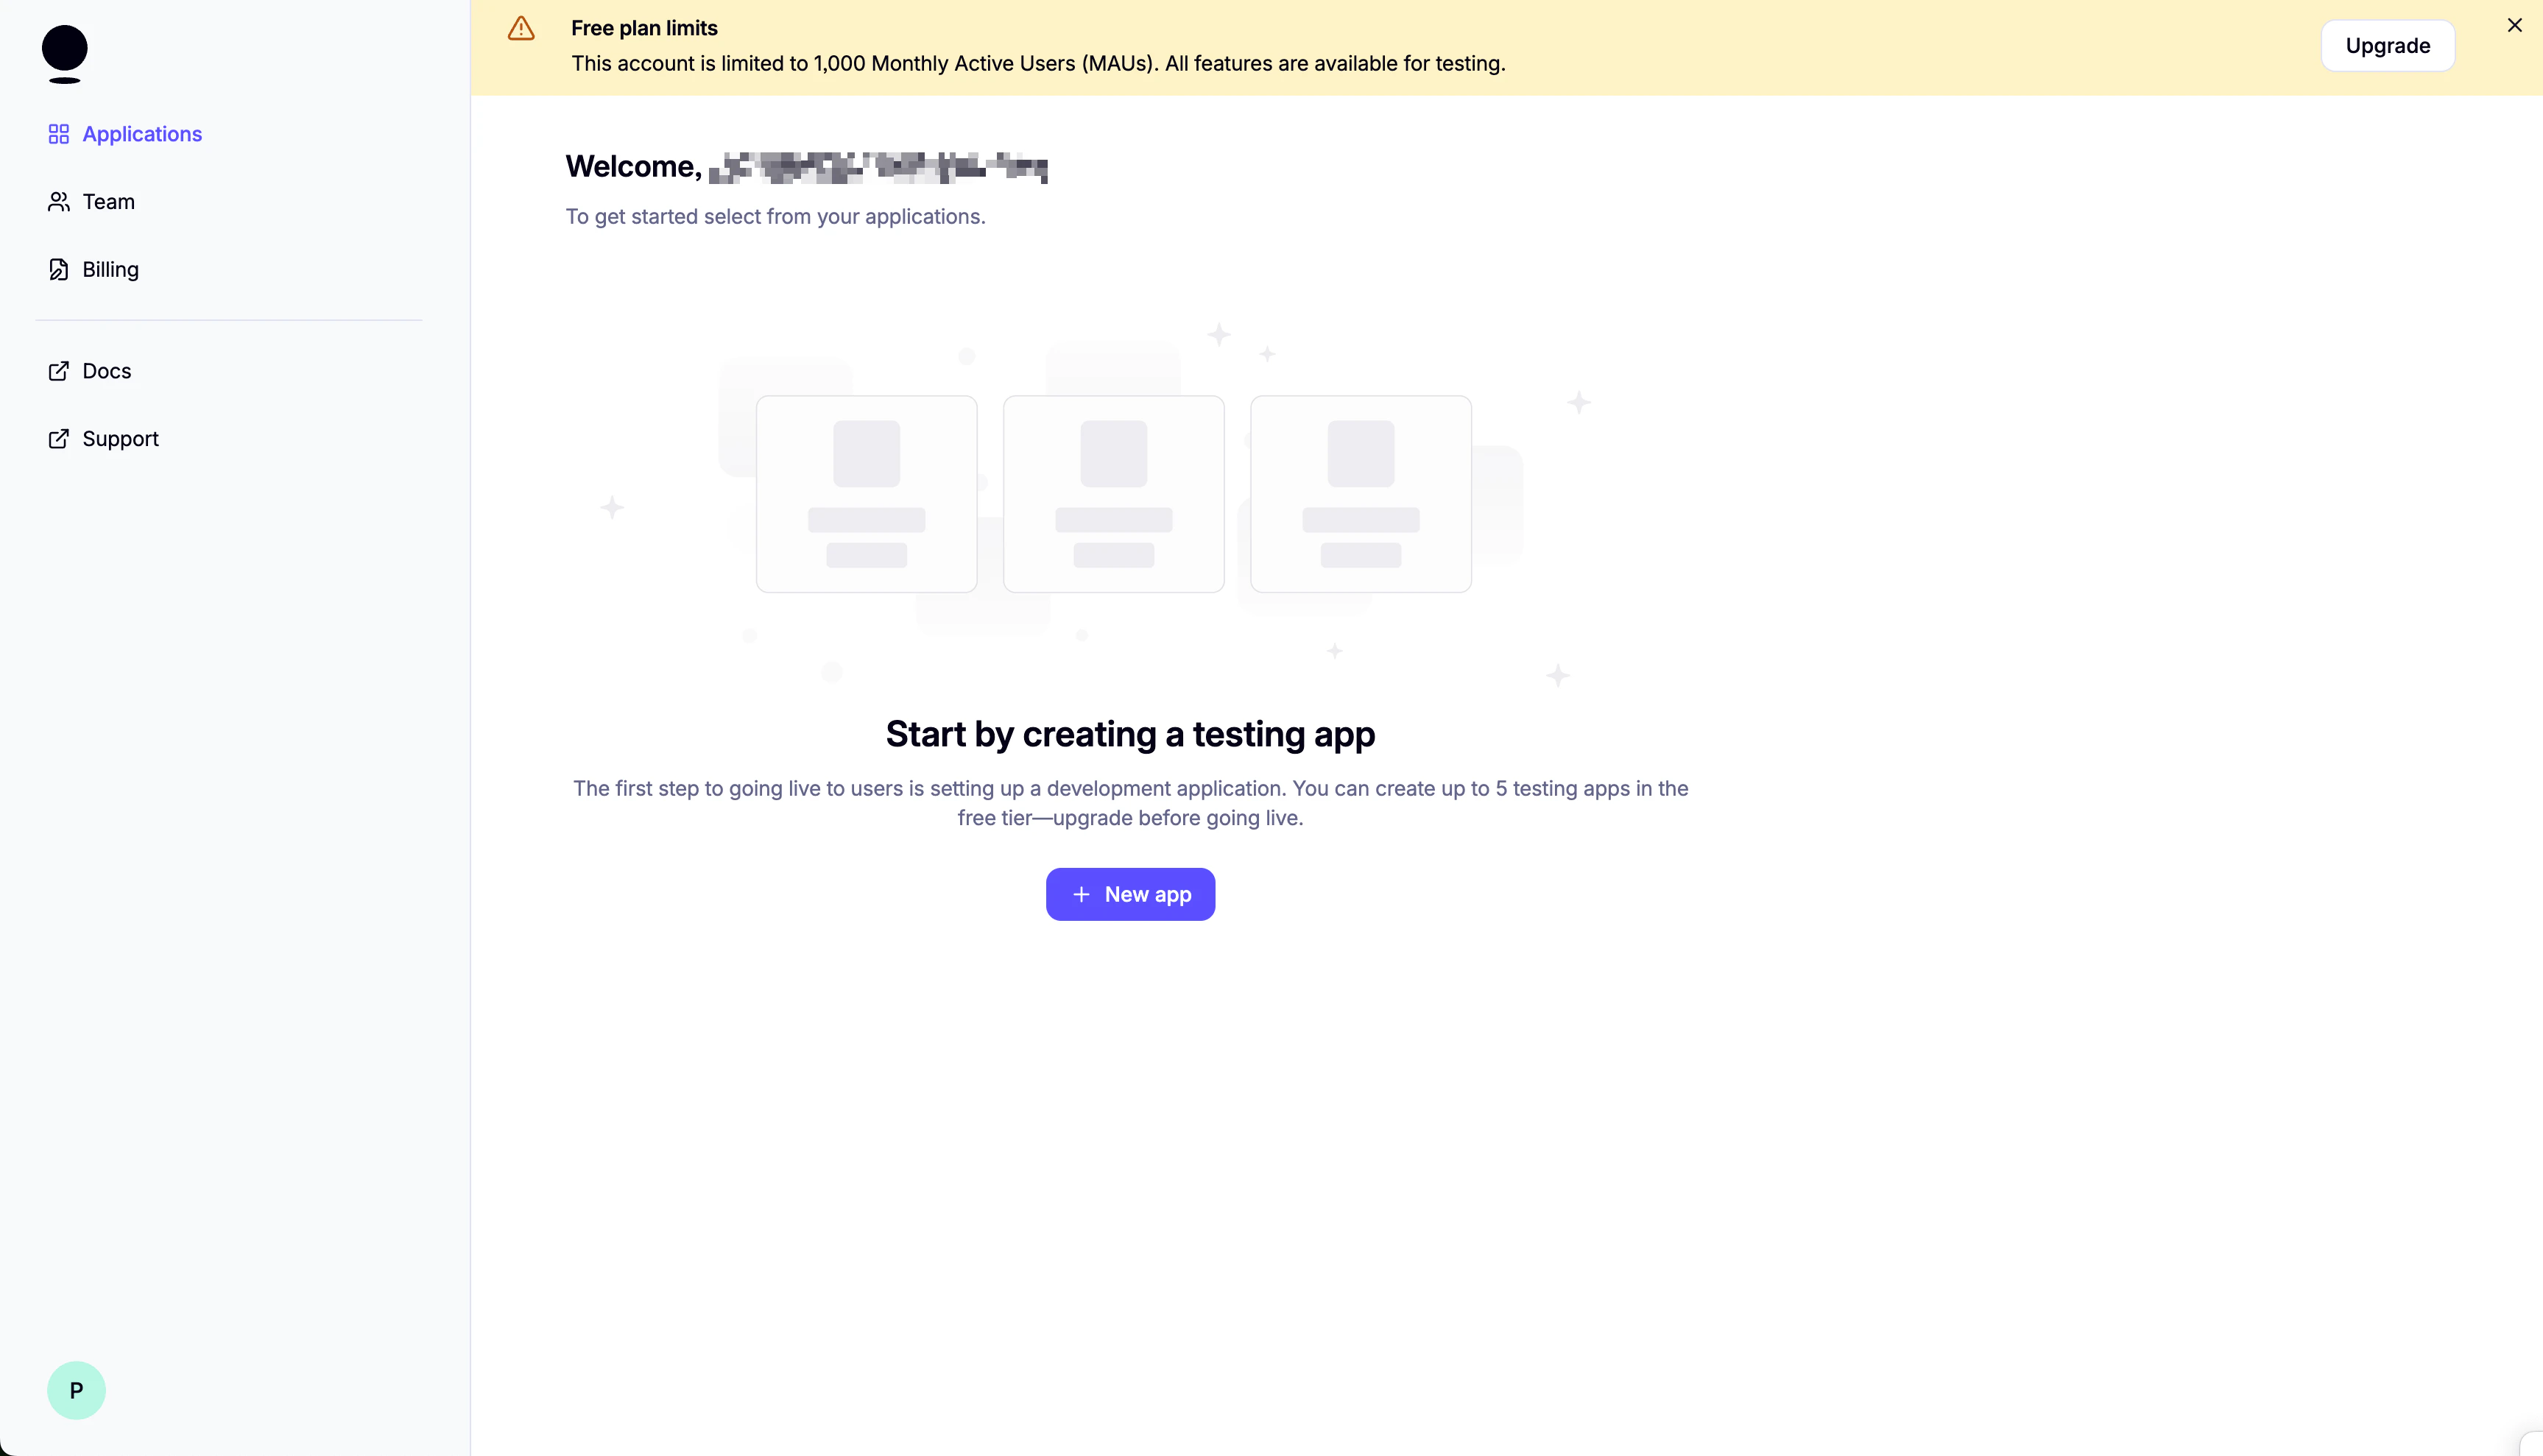
Create your Privy app:

-
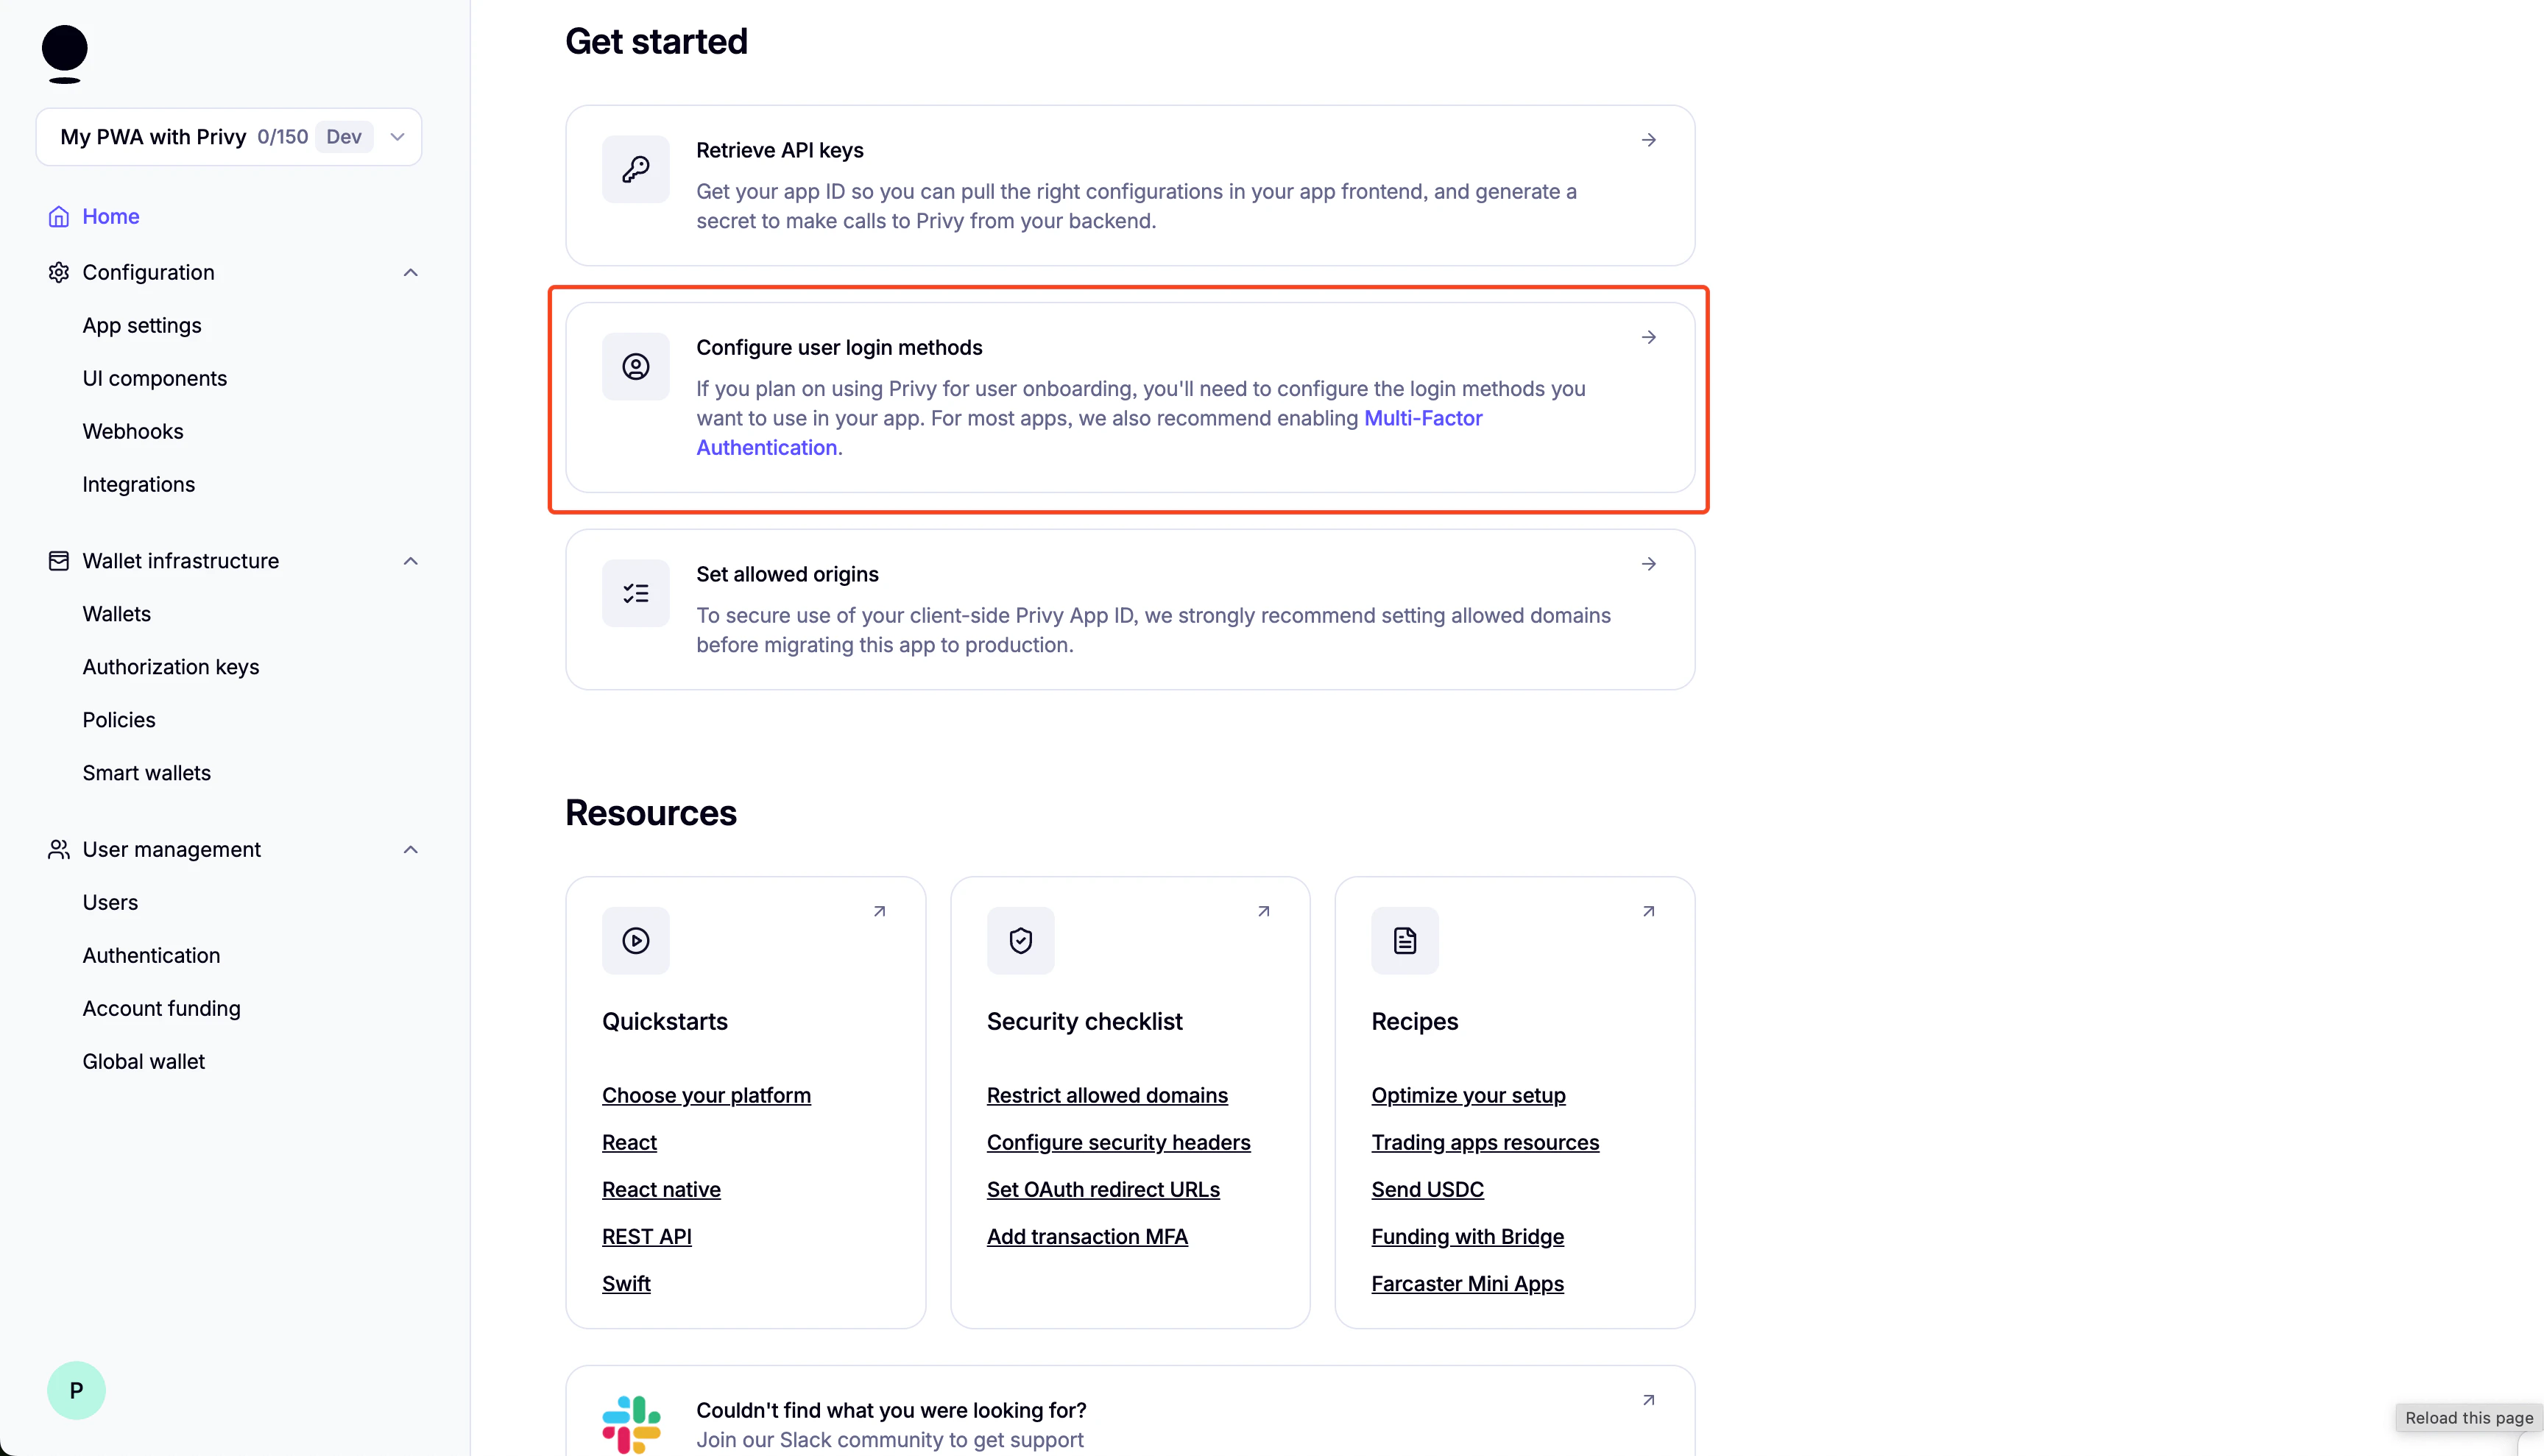
Set up login methods:
-
Disable External Wallets:

-
Scroll down and enable “Automatically create embedded wallets on login” and select “EVM Wallets”:
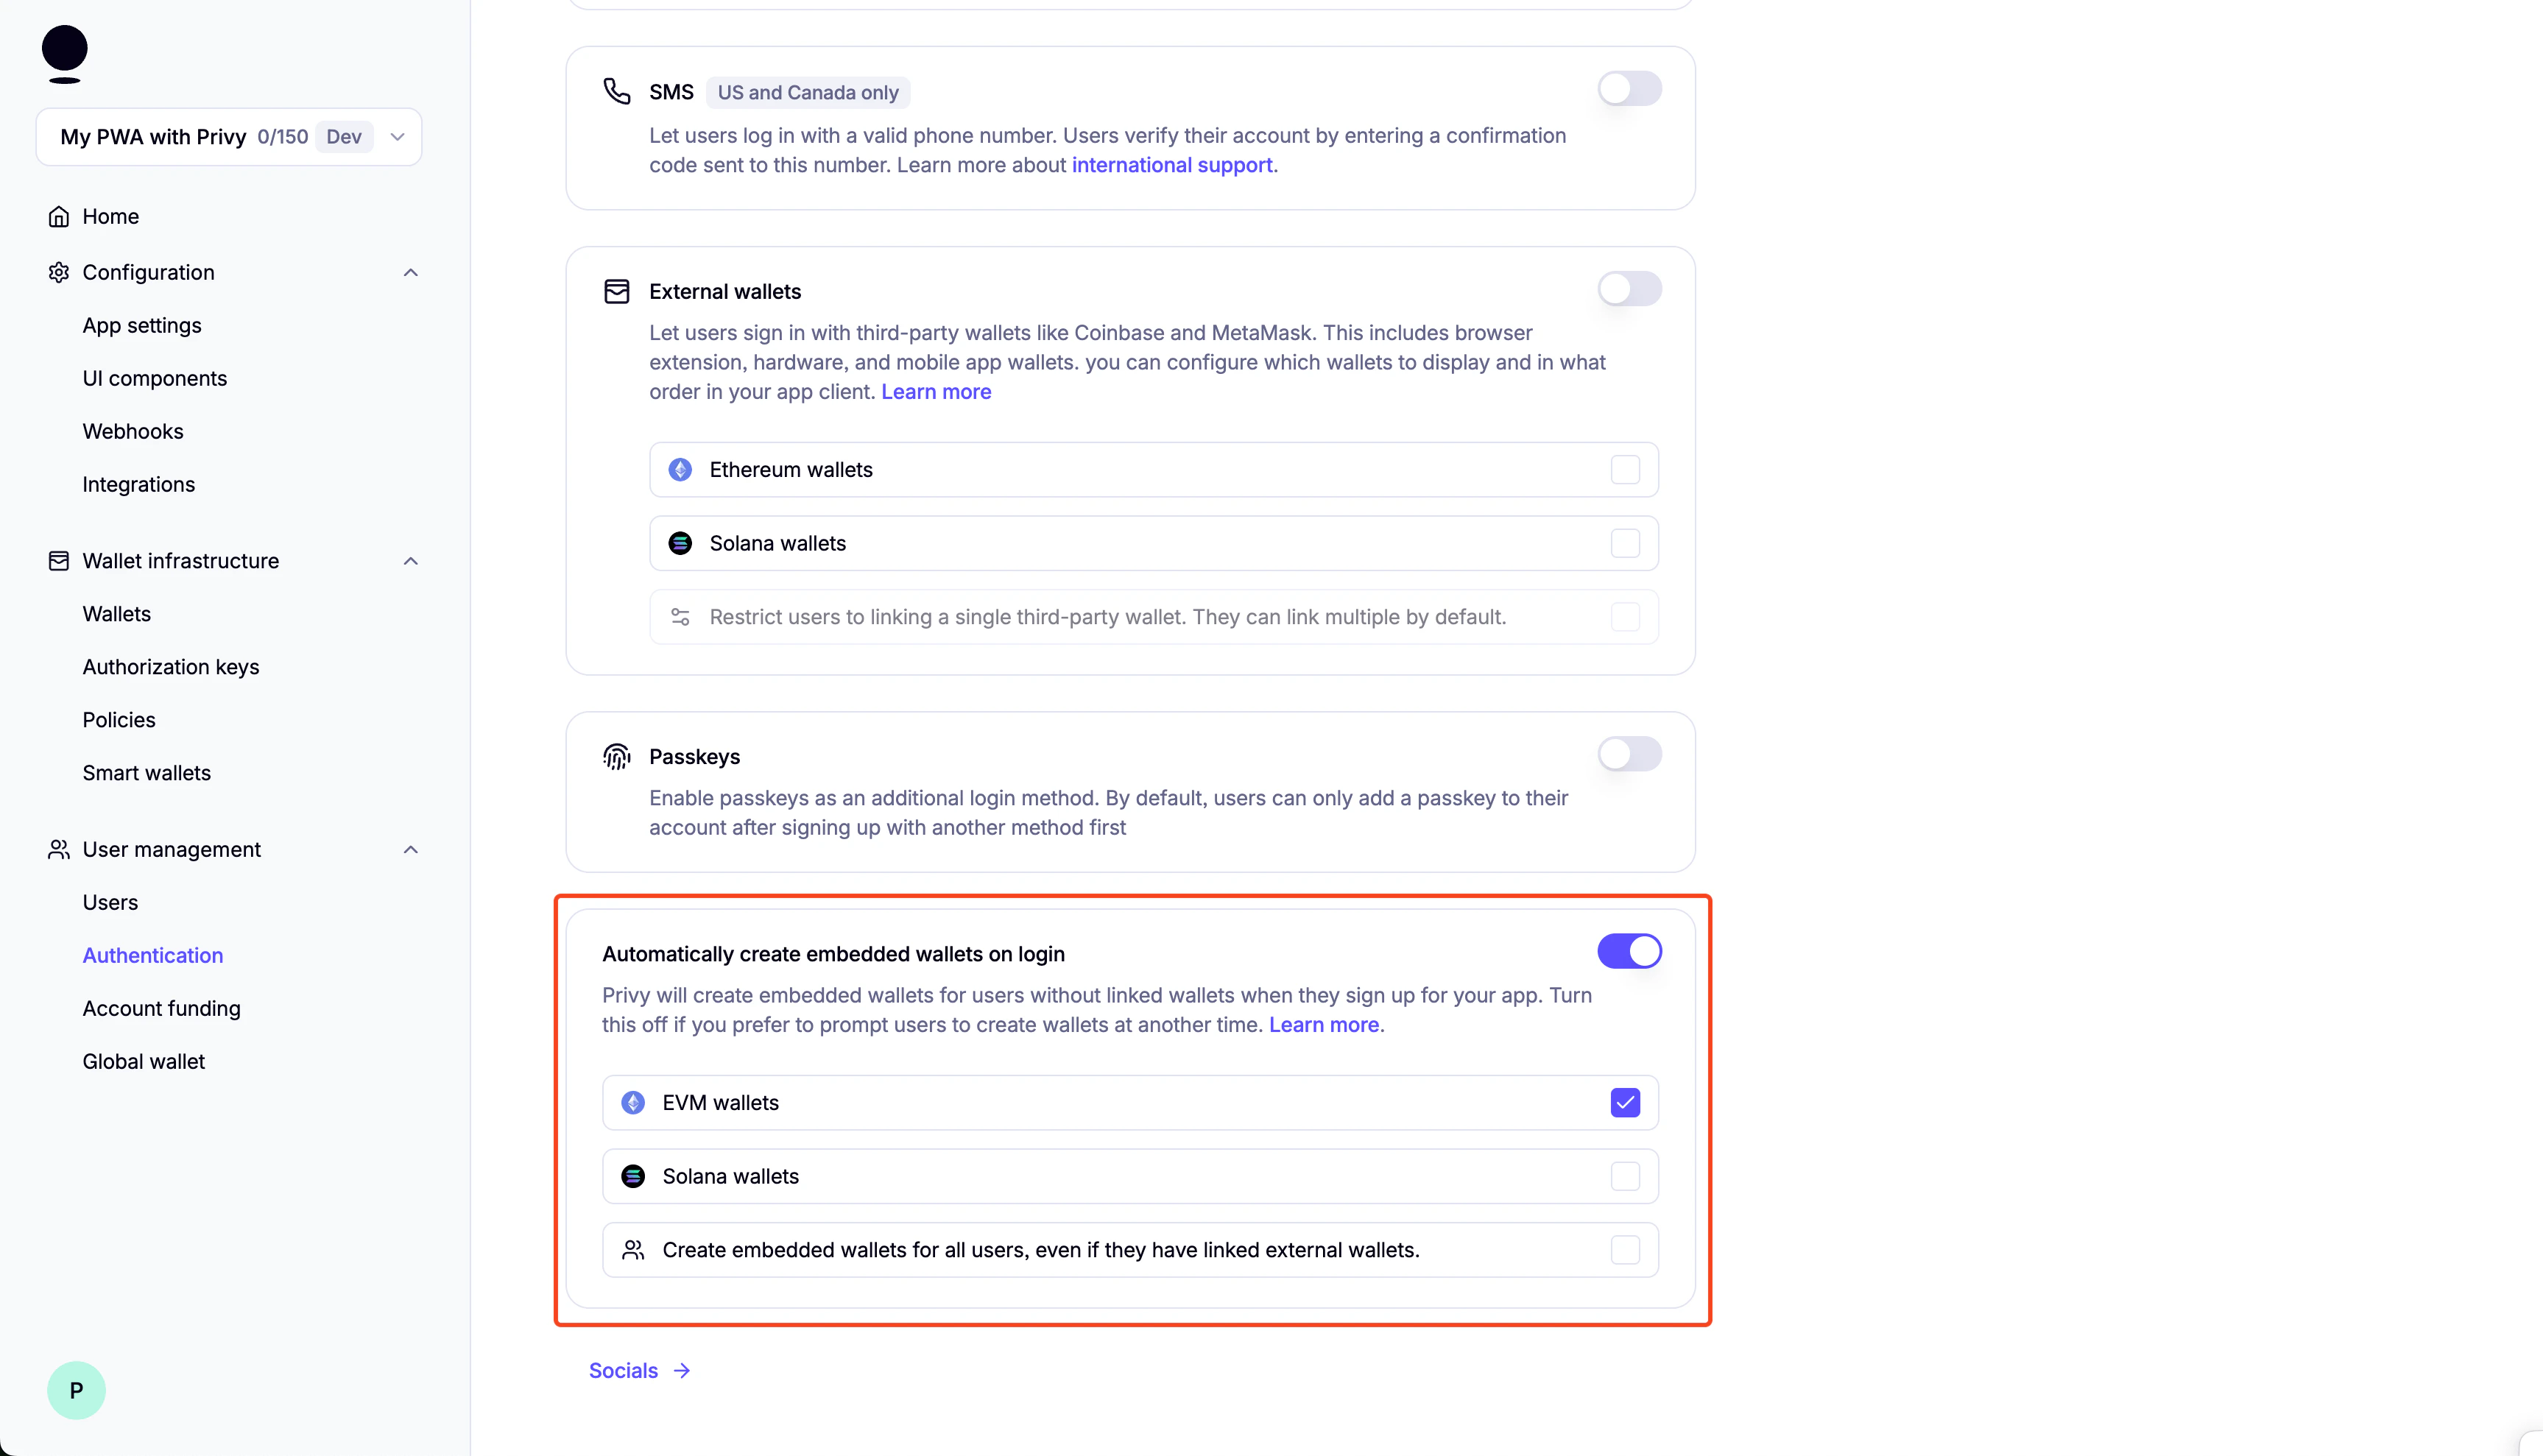
You can enable “Test Accounts” for testing purposes.
Setting up 0x
Setting up 0x
- Create your 0x account: Go to 0x dashboard and create your account. On the next screen, make sure to save your API Key.
- Get your API Key: To get your API key, create an app and then go to API Keys. Copy the API key and save it for later.
Setup
-
Clone the repository:
-
cdinto the project directory: -
Install dependencies:
-
Create a
.env.localfile in the root directory: -
Start adding your environment variables to the
.env.localfile:If you lost your Privy App ID, you can find it in the Privy dashboard. -
Generate VAPID keys for web push notifications:
Copy the generated keys to your .env.local file (replace the placeholder values from step 5).
-
Running the Application:
Development Mode:
The application will be available at http://localhost:3000. Production Mode: For full PWA functionality (including install prompts):
Folder structure of the template
Changing the app name
- Edit
public/manifest.json:- Change the
nameandshort_namefields
- Change the
- Run
npm run buildto update the app
Notification Setup
Browser Settings
Chrome/Edge
Chrome/Edge
- Click the lock icon 🔒 in the address bar
- Set “Notifications” to “Allow”
- Or go to Settings → Privacy and security → Site Settings → Notifications
Firefox
Firefox
- Click the shield icon 🛡️ in the address bar
- Turn off “Enhanced Tracking Protection” for this site (if needed)
- Allow notifications when prompted
- Or go to Settings → Privacy & Security → Permissions → Notifications
Safari
Safari
- Go to Safari → Settings → Websites → Notifications
- Find your site and set it to “Allow”
System Settings
macOS
macOS
- System Preferences → Notifications & Focus
- Find your browser and ensure notifications are enabled
- Check “Allow notifications from websites” in browser settings
Windows
Windows
- Settings → System → Notifications & actions
- Ensure your browser can send notifications
- Check browser notification settings
iOS
iOS
- Settings → Notifications → [Your Browser]
- Enable “Allow Notifications”
- Also enable in browser settings
Android
Android
- Settings → Apps → [Your Browser] → Notifications
- Enable notifications
- Check browser notification permissions
Backend Integration Required
This requires backend implementation:
- Save subscription data when users subscribe (see TODO comments in code)
- Delete subscription data when users unsubscribe
- Implement
/notificationendpoint to send actual push notifications - Use
web-pushlibrary or similar for server-side notification delivery
Customizing Notification Content
To customize your push notification content, editapp/notification/route.ts and modify the title, message, icon, and other properties in the sendNotification call.
Modifying the App Icon & Splash Screen
App Icons
Replace the icon files in thepublic/icons/ directory with your custom icons:
icon-512x512.png- Main app icon (512×512px)android-chrome-192x192.png- Android icon (192×192px)apple-touch-icon.png- iOS home screen icon (180×180px)
public/favicon.ico- Browser faviconapp/favicon.ico- Next.js app favicon
Splash Screen
Splash screens are automatically generated from your app icon and theme colors defined inmanifest.json. To customize:
- Update the
theme_colorandbackground_colorinmanifest.json - Ensure your main icon (
icon-512x512.png) represents your brand - Run
npm run buildto apply changes
Adding More Tokens
The template currently supports WMON and USDT tokens. To add more tokens for trading, follow these steps:1. Find Token Information
Before adding a token, you’ll need the following information:- Contract Address: The token’s smart contract address
- Symbol: The token’s symbol (e.g., “ETH”, “USDC”)
- Name: The full name of the token
- Decimals: Number of decimal places (usually 18 for most ERC-20 tokens)
- Logo URI: URL to the token’s logo image
2. Update Token Constants
Editutils/constants.ts and add your new token to three places:
A. Add to MONAD_TESTNET_TOKENS array
utils/constants.ts
B. Add to MONAD_TESTNET_TOKENS_BY_SYMBOL record
utils/constants.ts
C. Add to MONAD_TESTNET_TOKENS_BY_ADDRESS record
utils/constants.ts
3. Example: Adding shMON
Here’s a complete example of adding USDC:utils/constants.ts
4. Important Notes
- Decimals: Most tokens use 18 decimals, but some (like USDT, USDC) use 6
- Logo URLs: Use permanent, reliable image URLs. Consider hosting logos yourself for better reliability
- Testing: Test thoroughly with small amounts before using in production
- 0x Protocol Support: Ensure the token is supported by 0x Protocol for your target network
5. Rebuild and Test
After adding tokens:Configuring Slippage Tolerance
Slippage tolerance determines how much price movement you’re willing to accept during a trade. The app currently uses the 0x API’s default slippage tolerance of 1% (100 basis points).Adding Slippage Configuration
1. Update Constants
Add slippage options toutils/constants.ts:
utils/constants.ts
2. Update API Routes
AddslippageBps parameter to both API routes:
app/api/price/route.ts and app/api/quote/route.ts:
app/api/price/route.ts
3. Add Slippage to Components
Update the price/quote requests to includeslippageBps parameter:
In app/components/0x/price.tsx:
app/components/0x/price.tsx
Slippage Parameter Details
- Range: 0-10000 basis points (0%-100%)
- Default: 100 (1%)
- Format: Basis points (100 bps = 1%)
Deploying to Vercel
Using Vercel Dashboard
-
Connect your repository:
- Push your code to GitHub
- Visit vercel.com and import your repository
-
Configure environment variables:
- In your Vercel project dashboard, go to Settings → Environment Variables
- Add the same variables from your
.env.local:
- Deploy: Vercel will automatically build and deploy your app
-
Update Privy settings: In your Privy dashboard, add your Vercel domain (e.g.,
your-app.vercel.app) to the allowed origins
Using Vercel CLI
Alternatively, deploy using the Vercel CLI:-
Install Vercel CLI:
-
Login to Vercel:
-
Deploy:
Follow the prompts to configure your project.
-
Add environment variables:
Or you can go to the Vercel dashboard and add the environment variables there.
-
Redeploy with environment variables:
Learn more
- Serwist: docs | guides
- Privy: create a wallet | send a transaction | sign a transaction
- 0x: docs | guides
- Monad: supported tooling and infra