Prerequisites
- Node.js (v18 or higher)
- a Privy account
- a Pimlico account
Setting up Privy
Setting up Privy
-
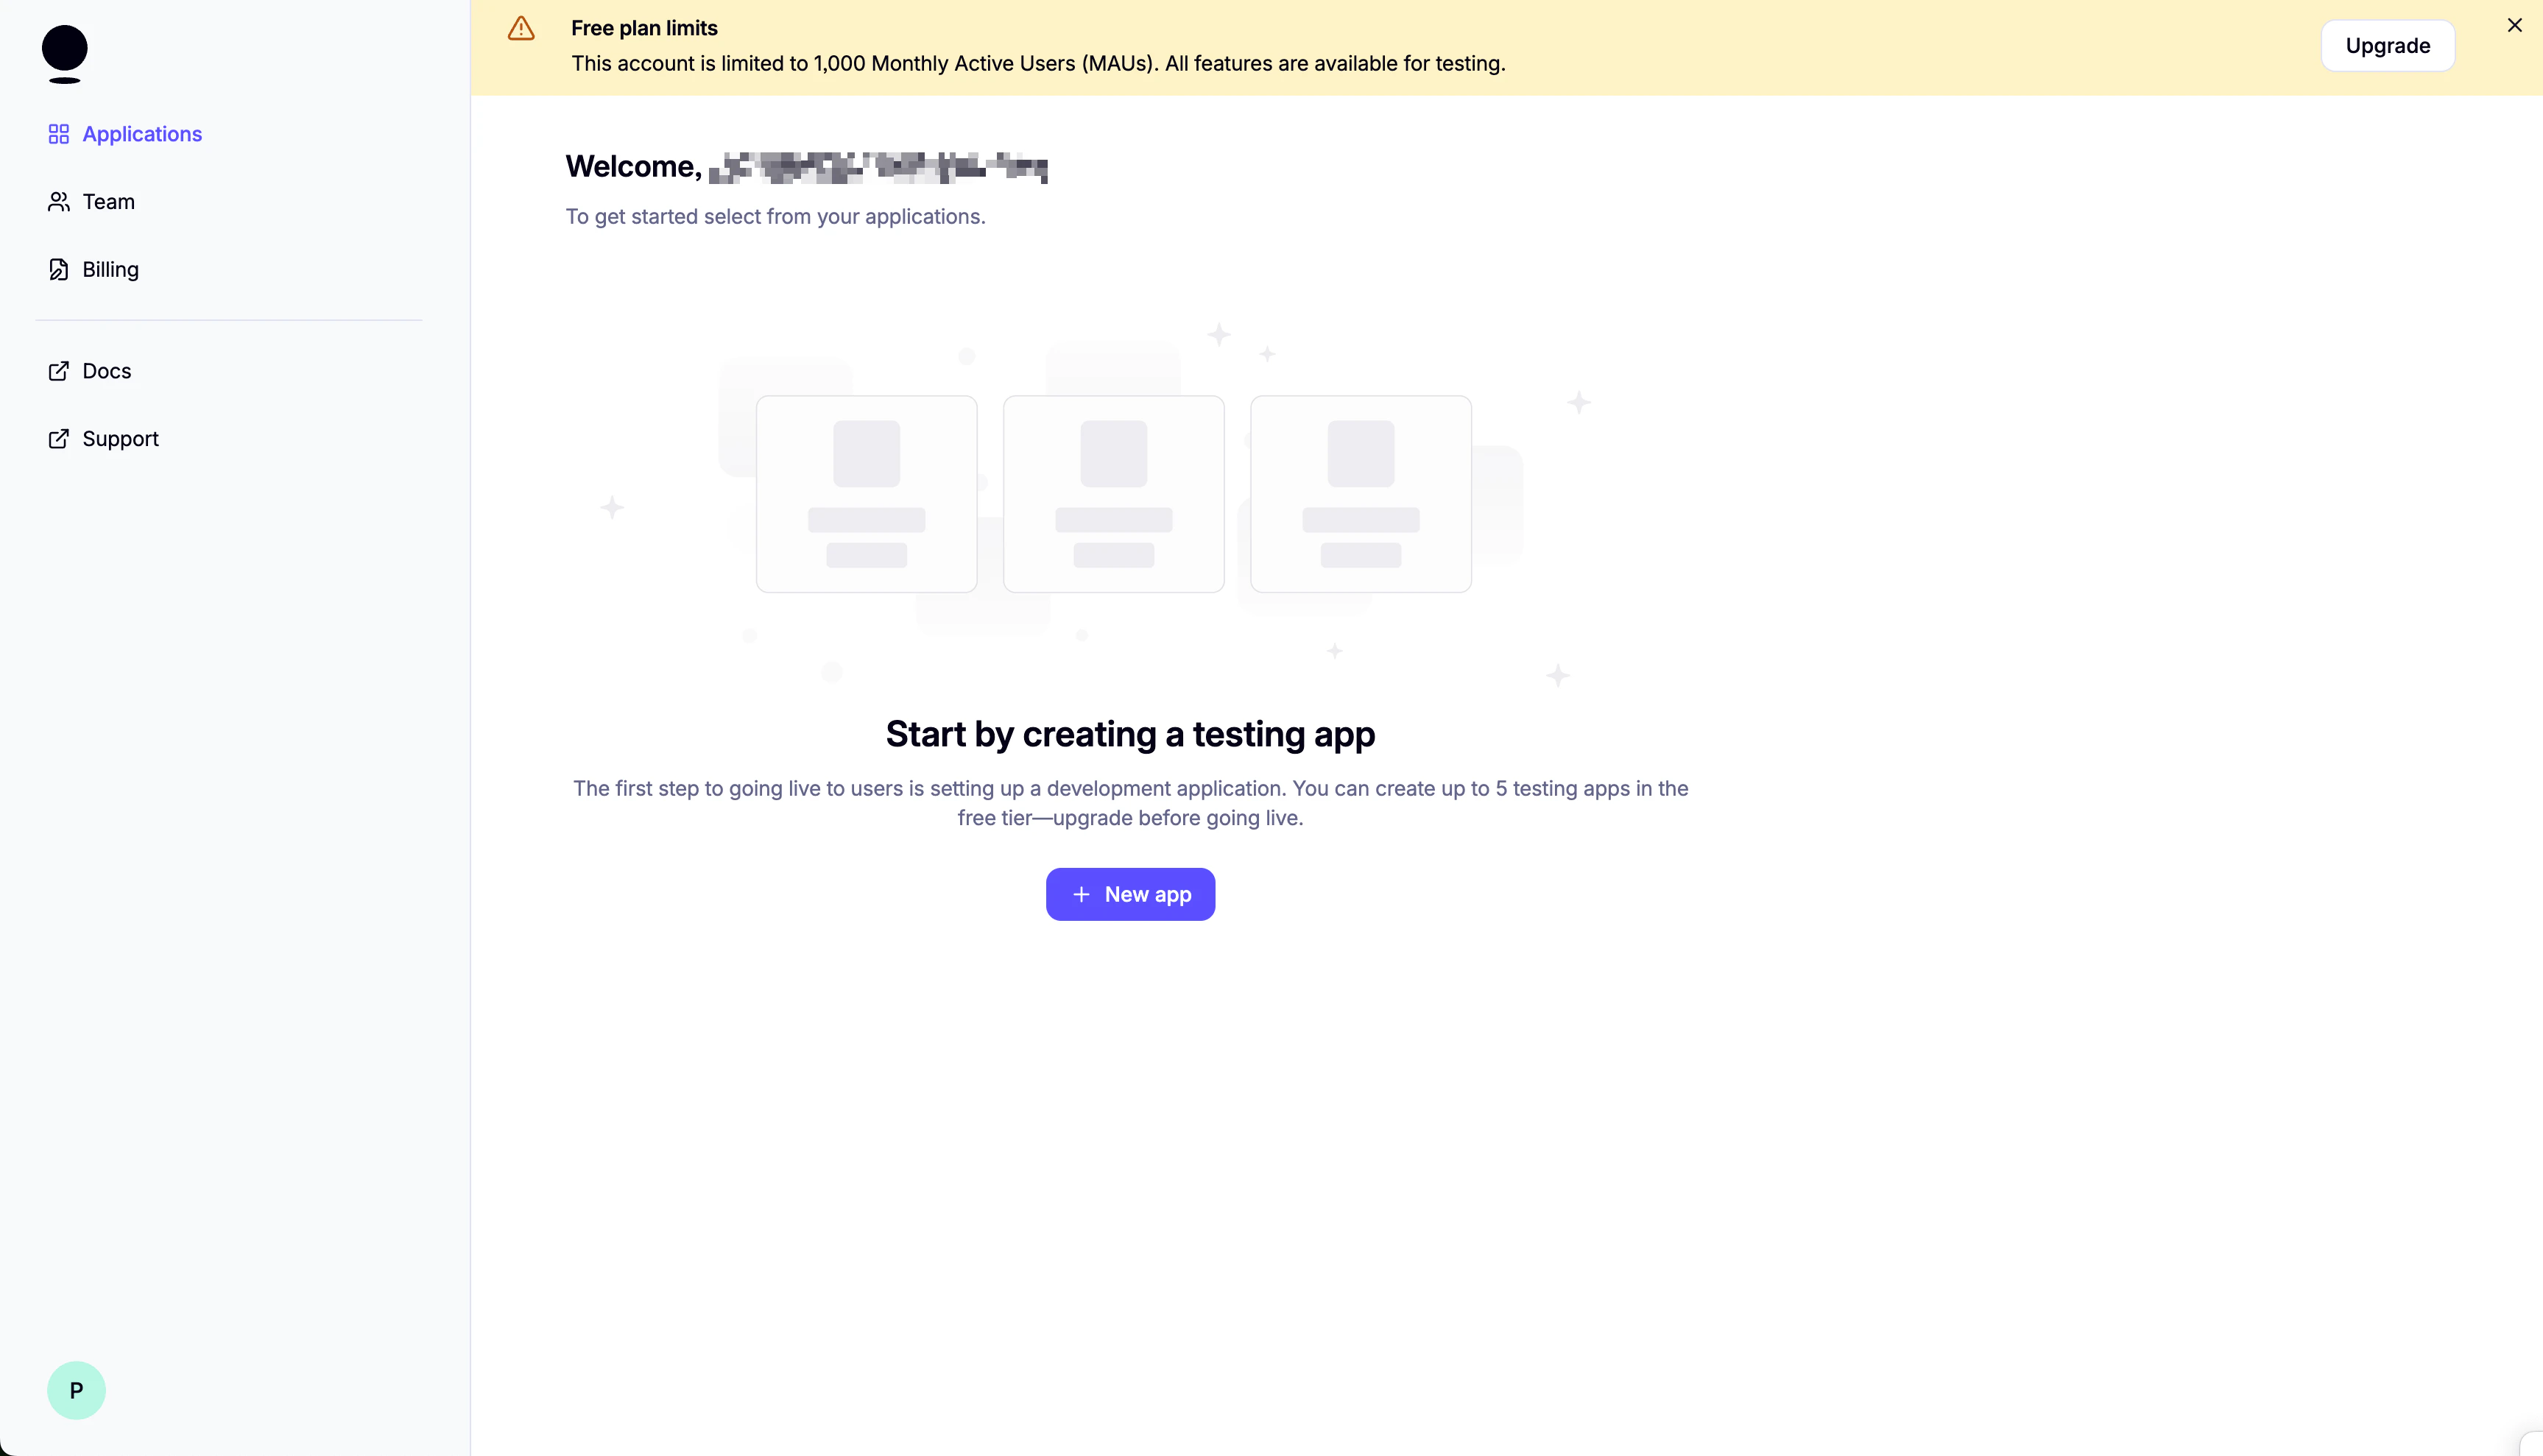
Create your Privy app:

-
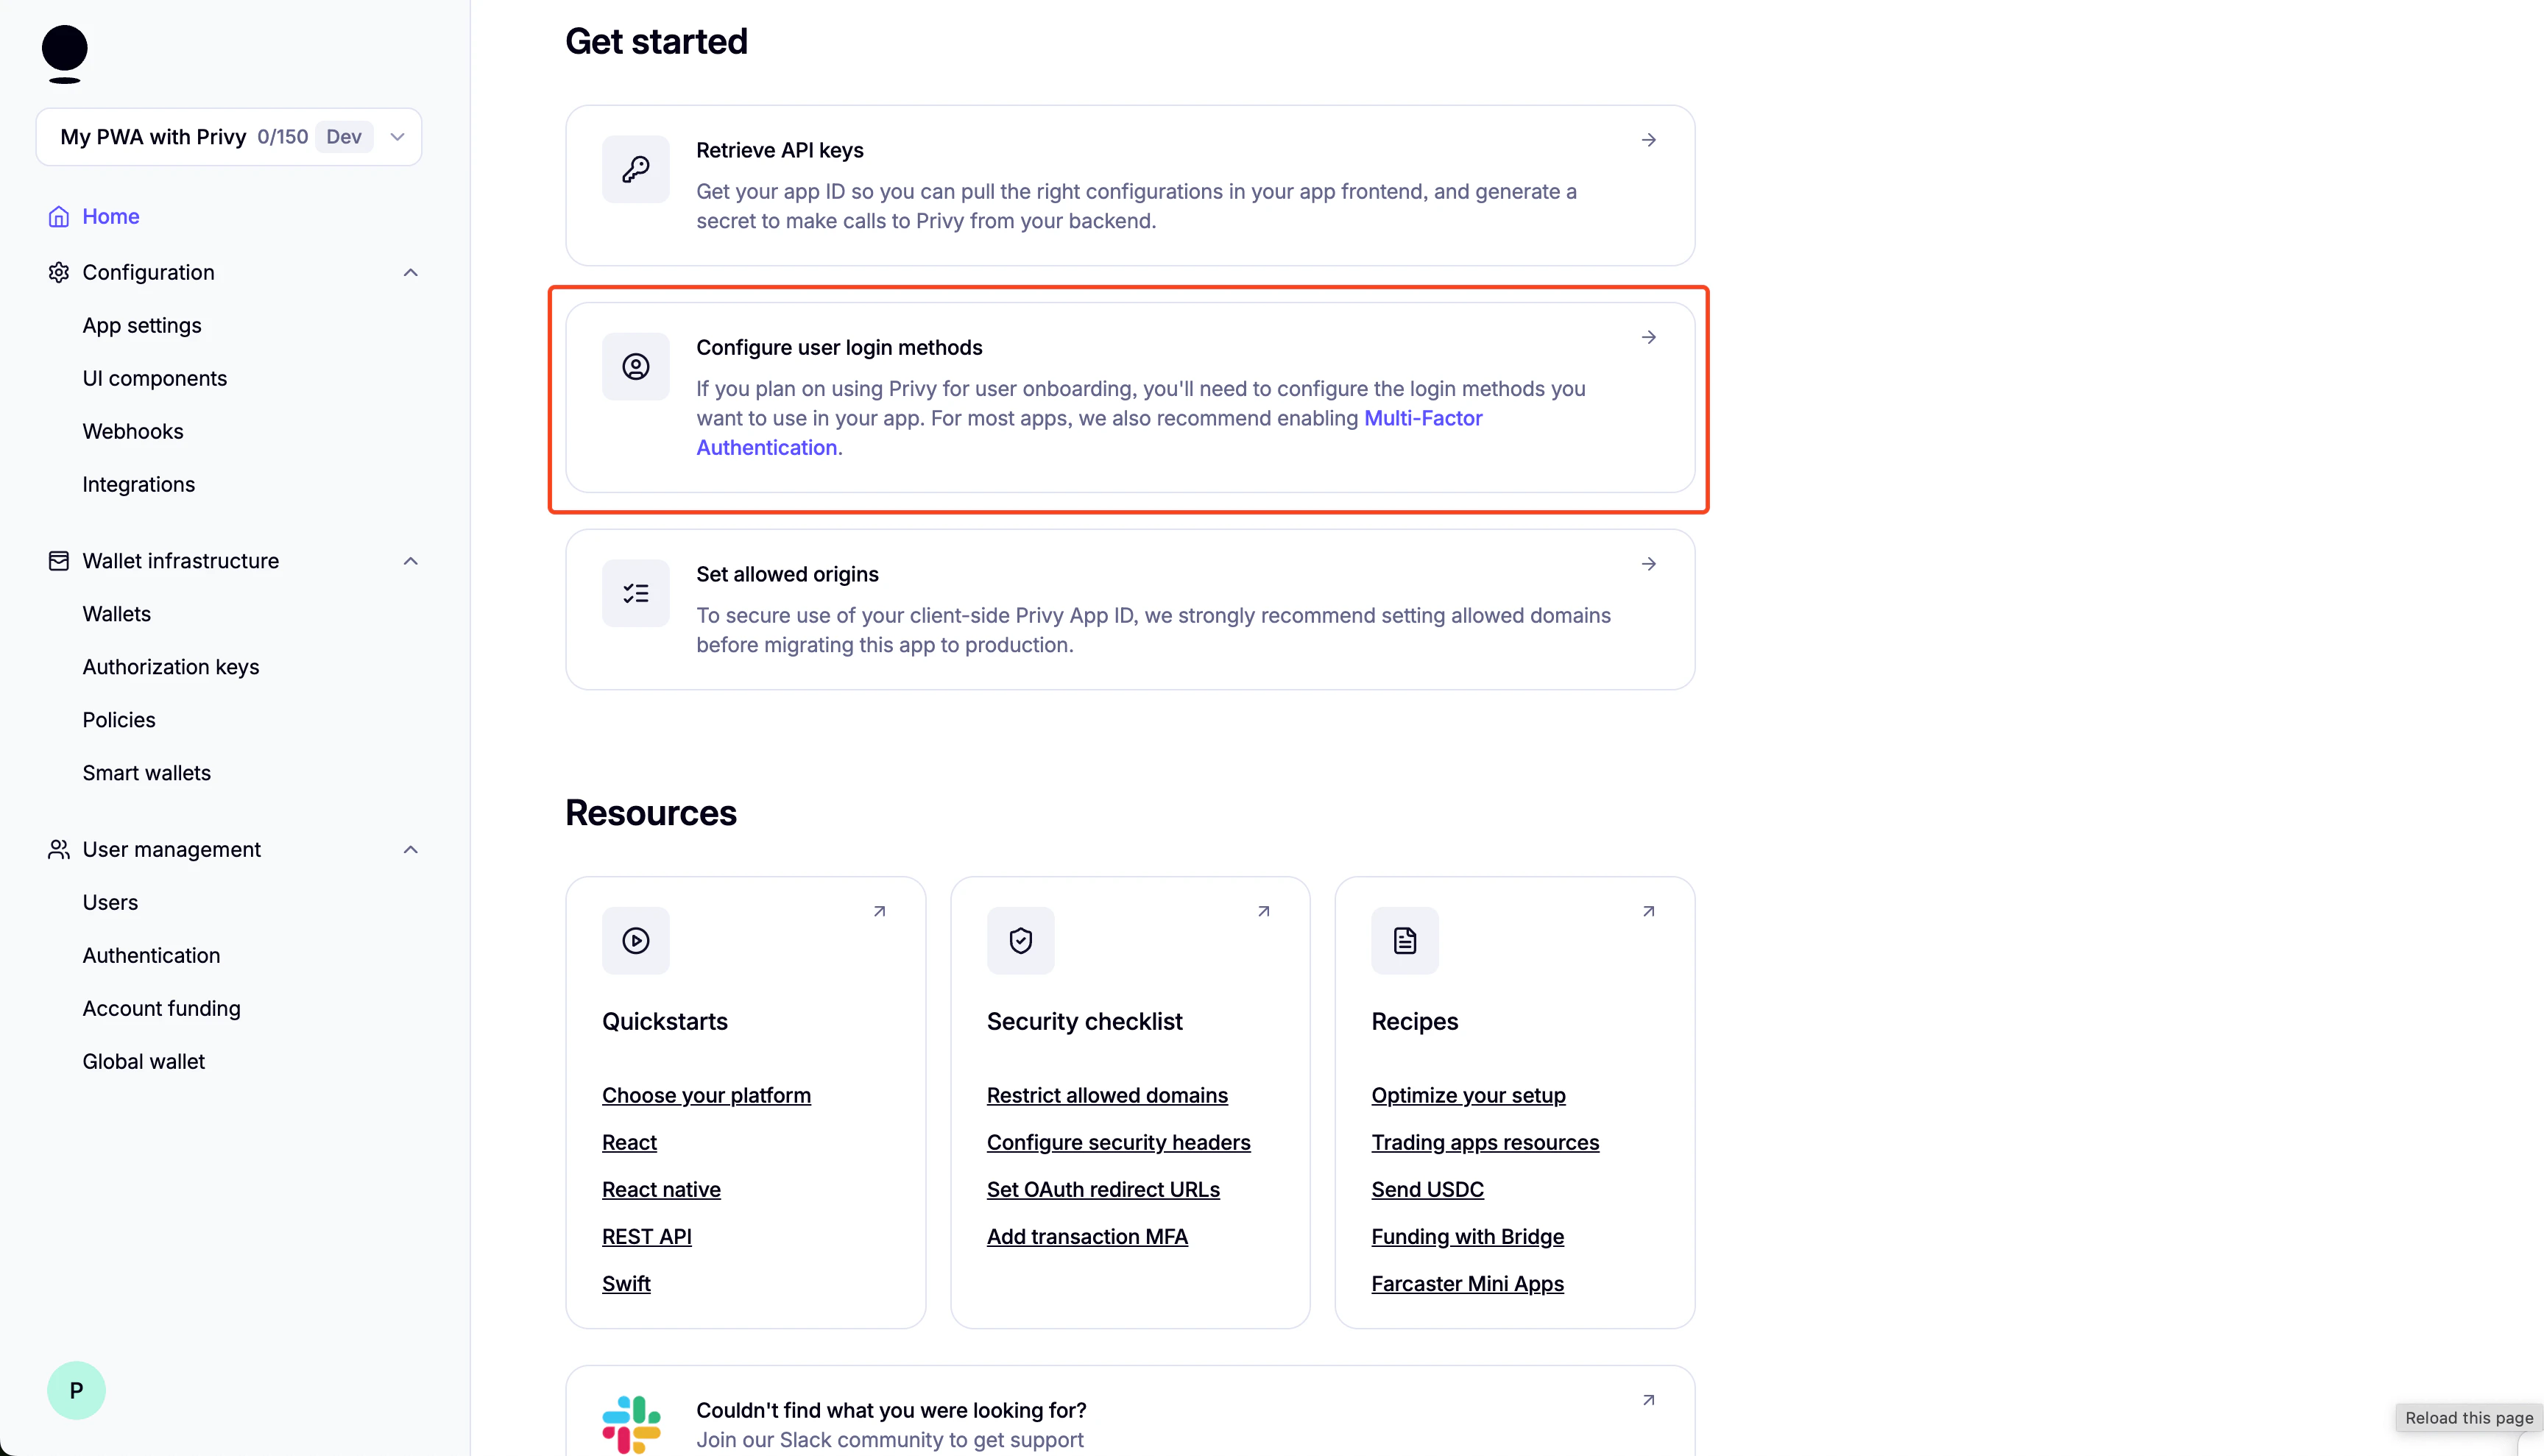
Set up login methods:
-
Disable External Wallets:

-
Scroll down and enable “Automatically create embedded wallets on login” and select “EVM Wallets”:
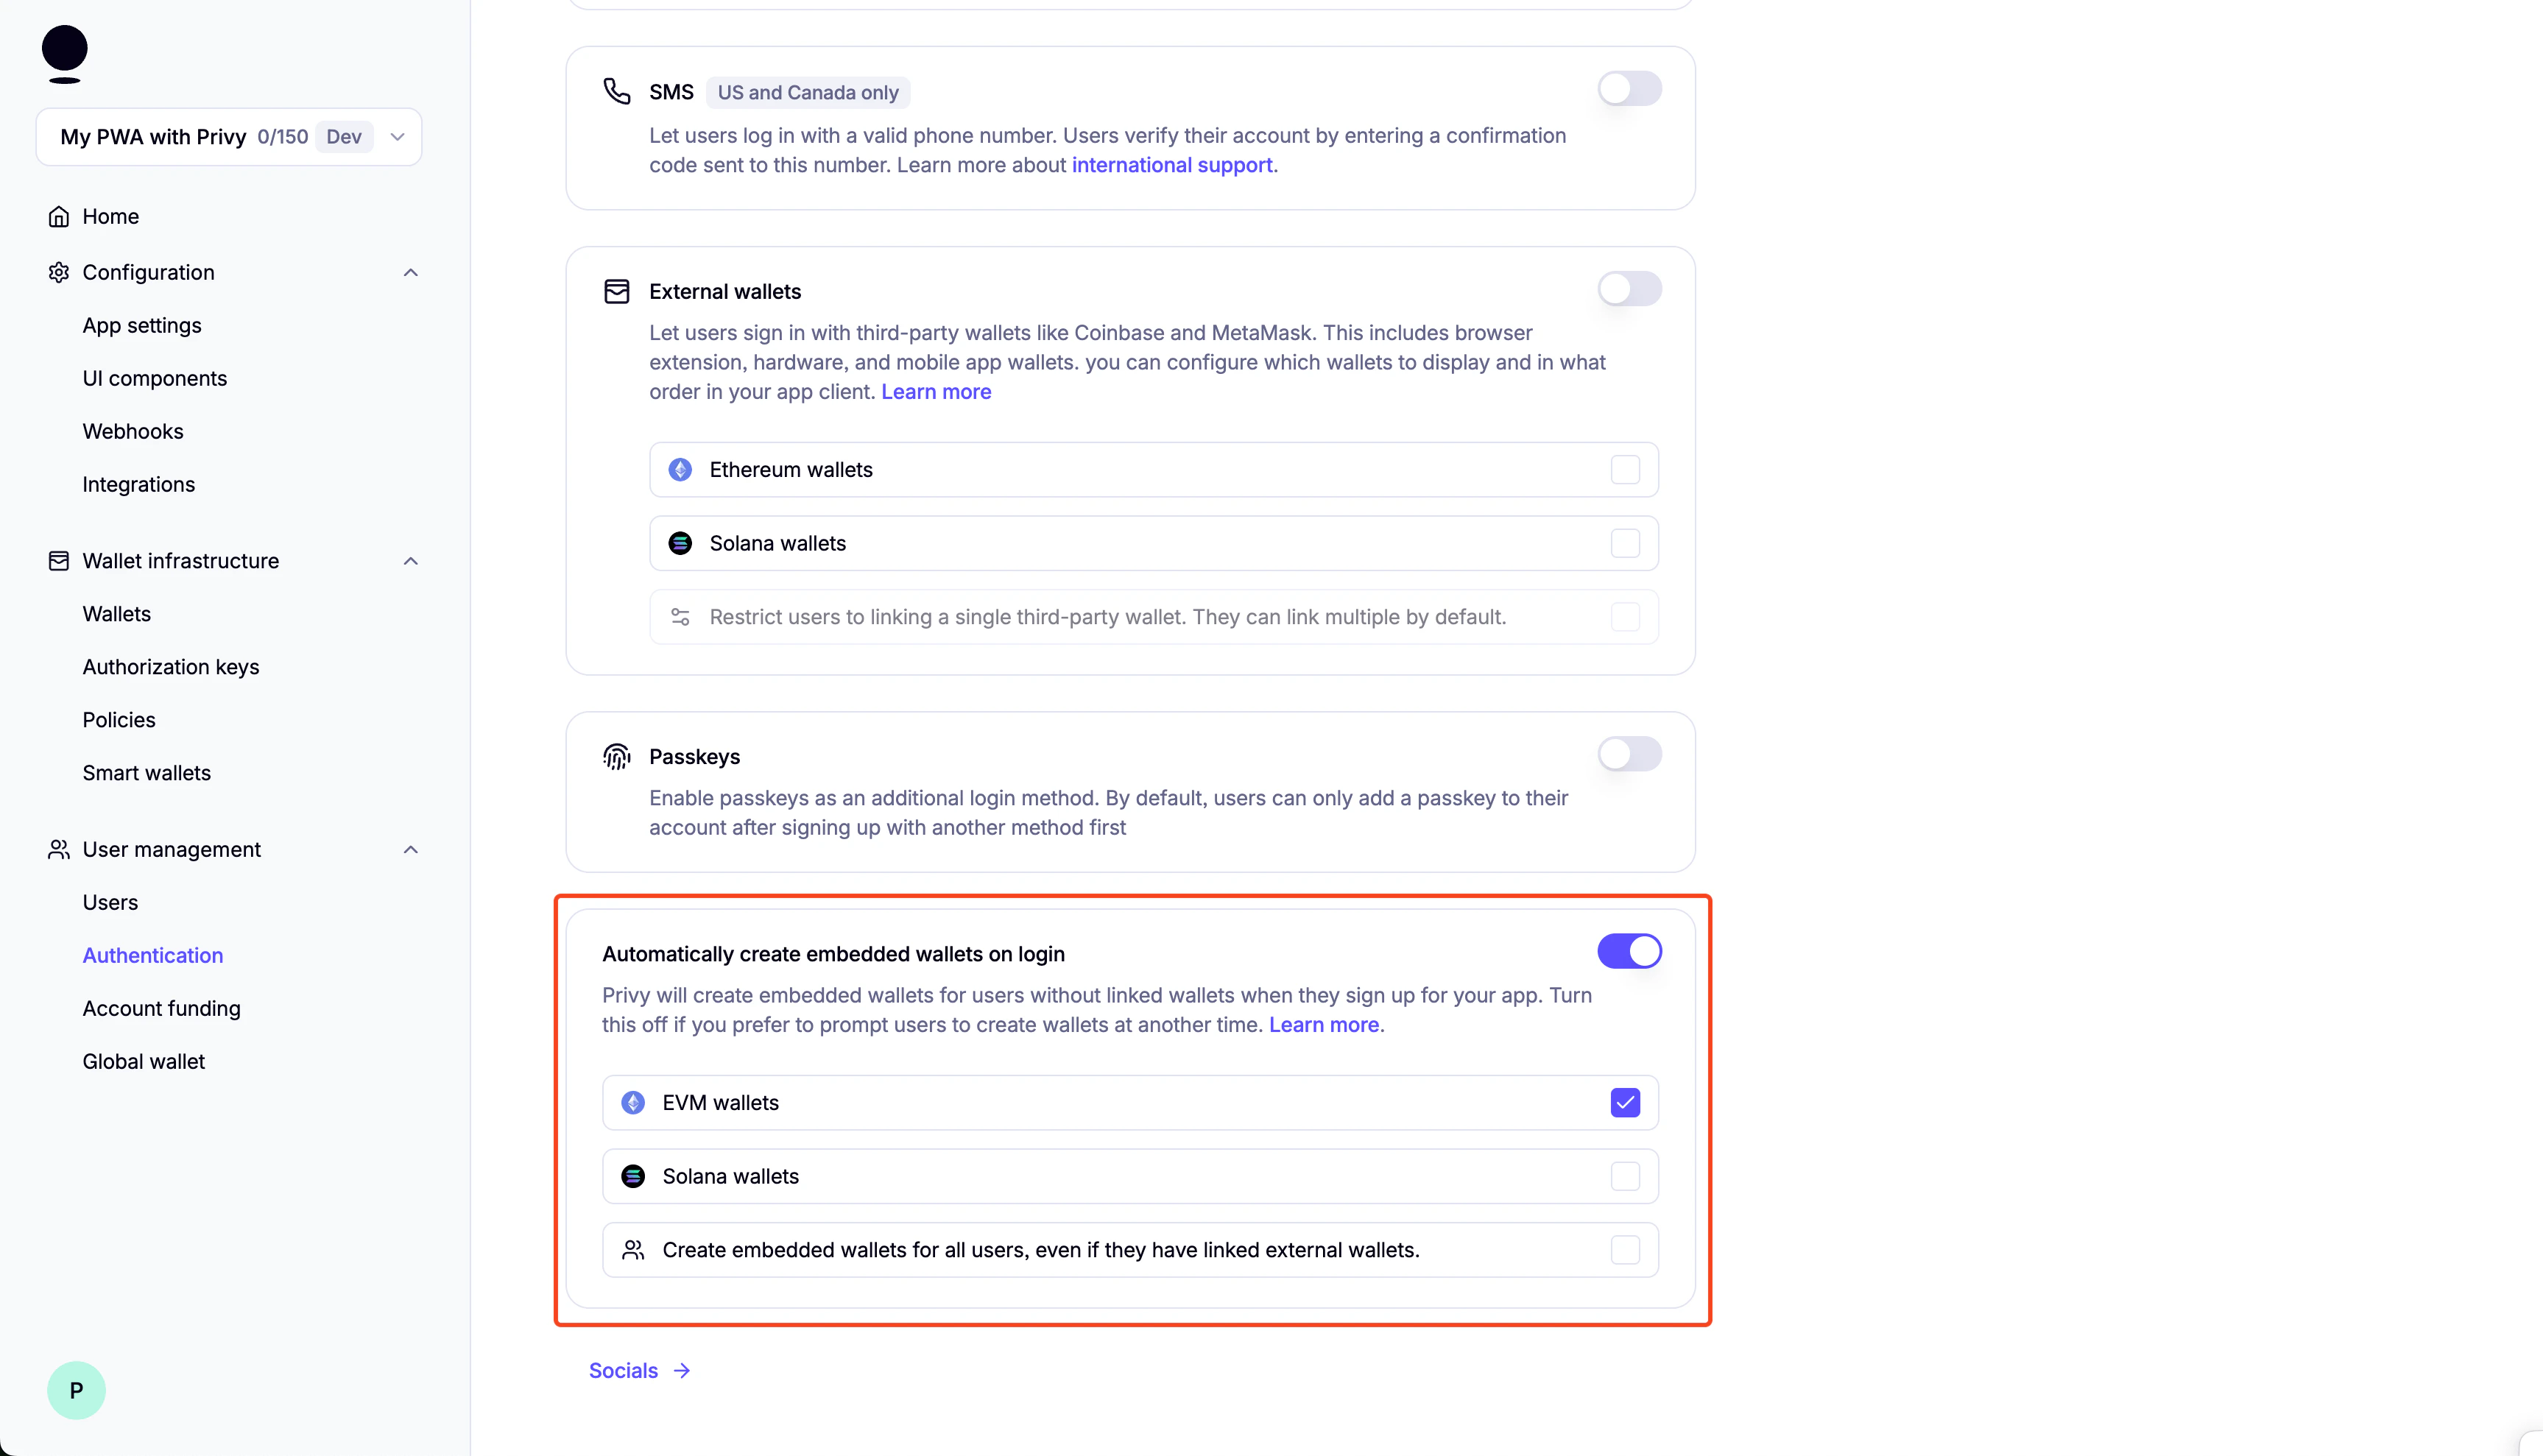
You can enable “Test Accounts” for testing purposes:
Setting up Pimlico
Setting up Pimlico
-
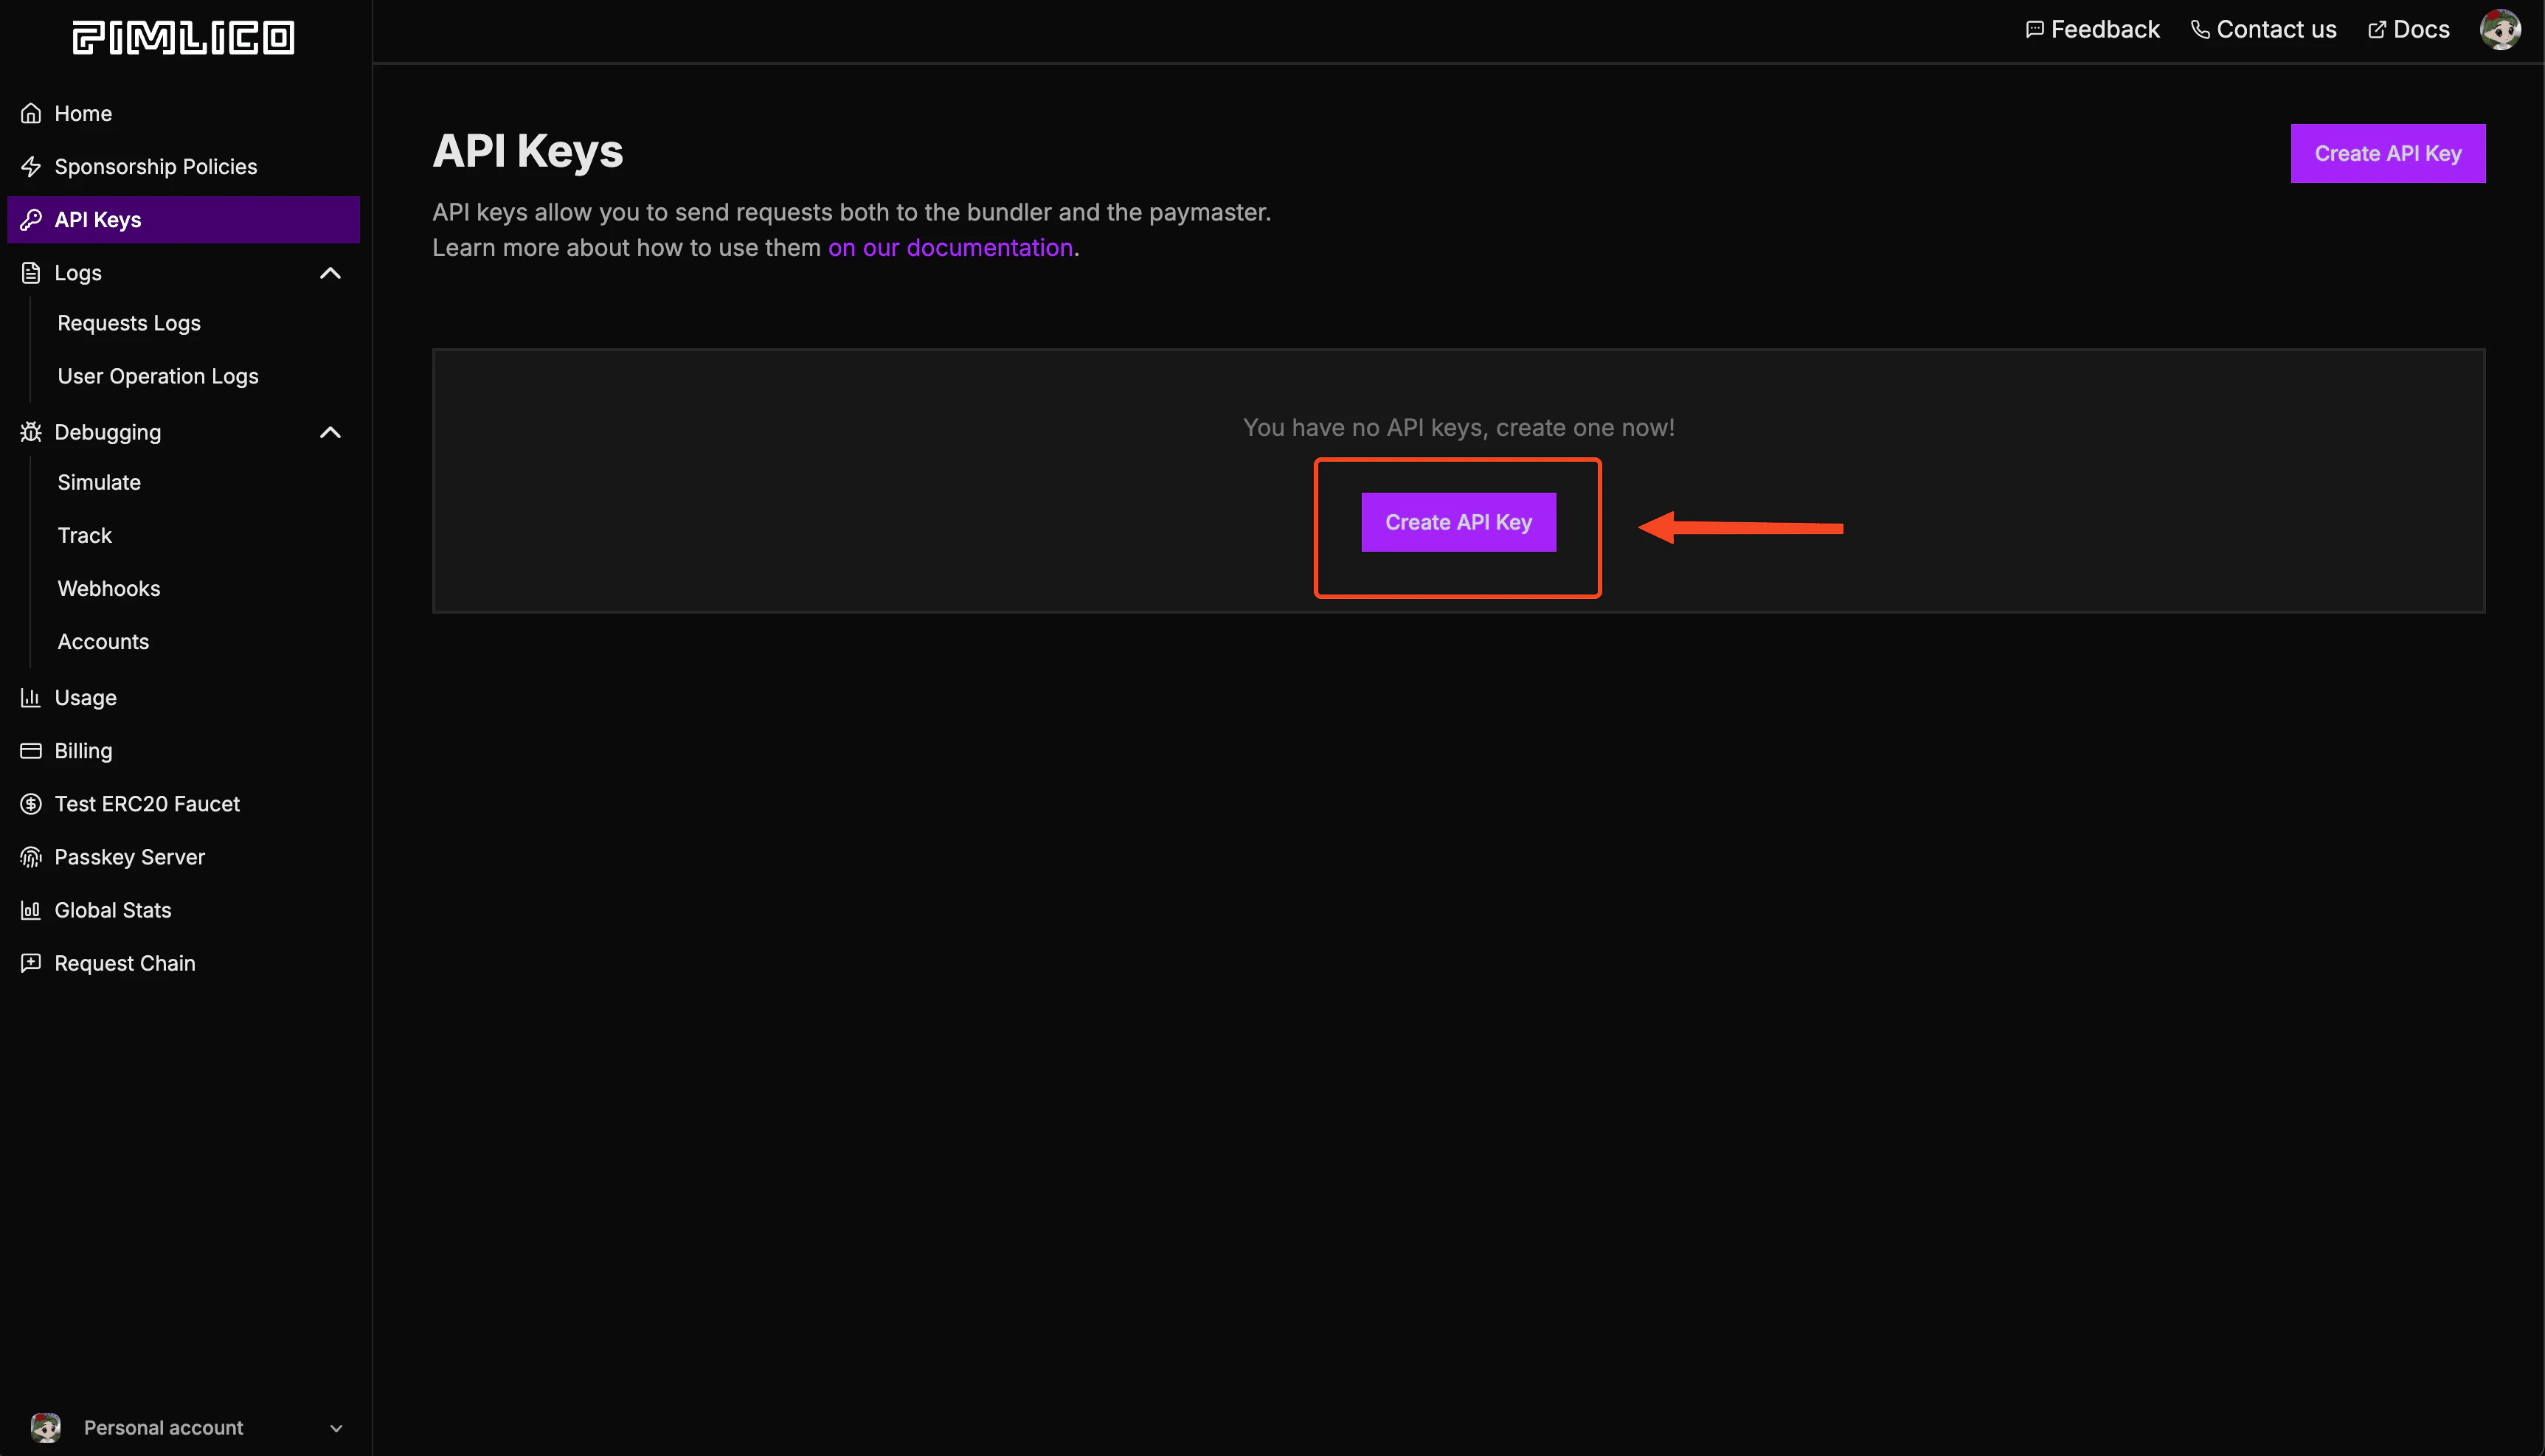
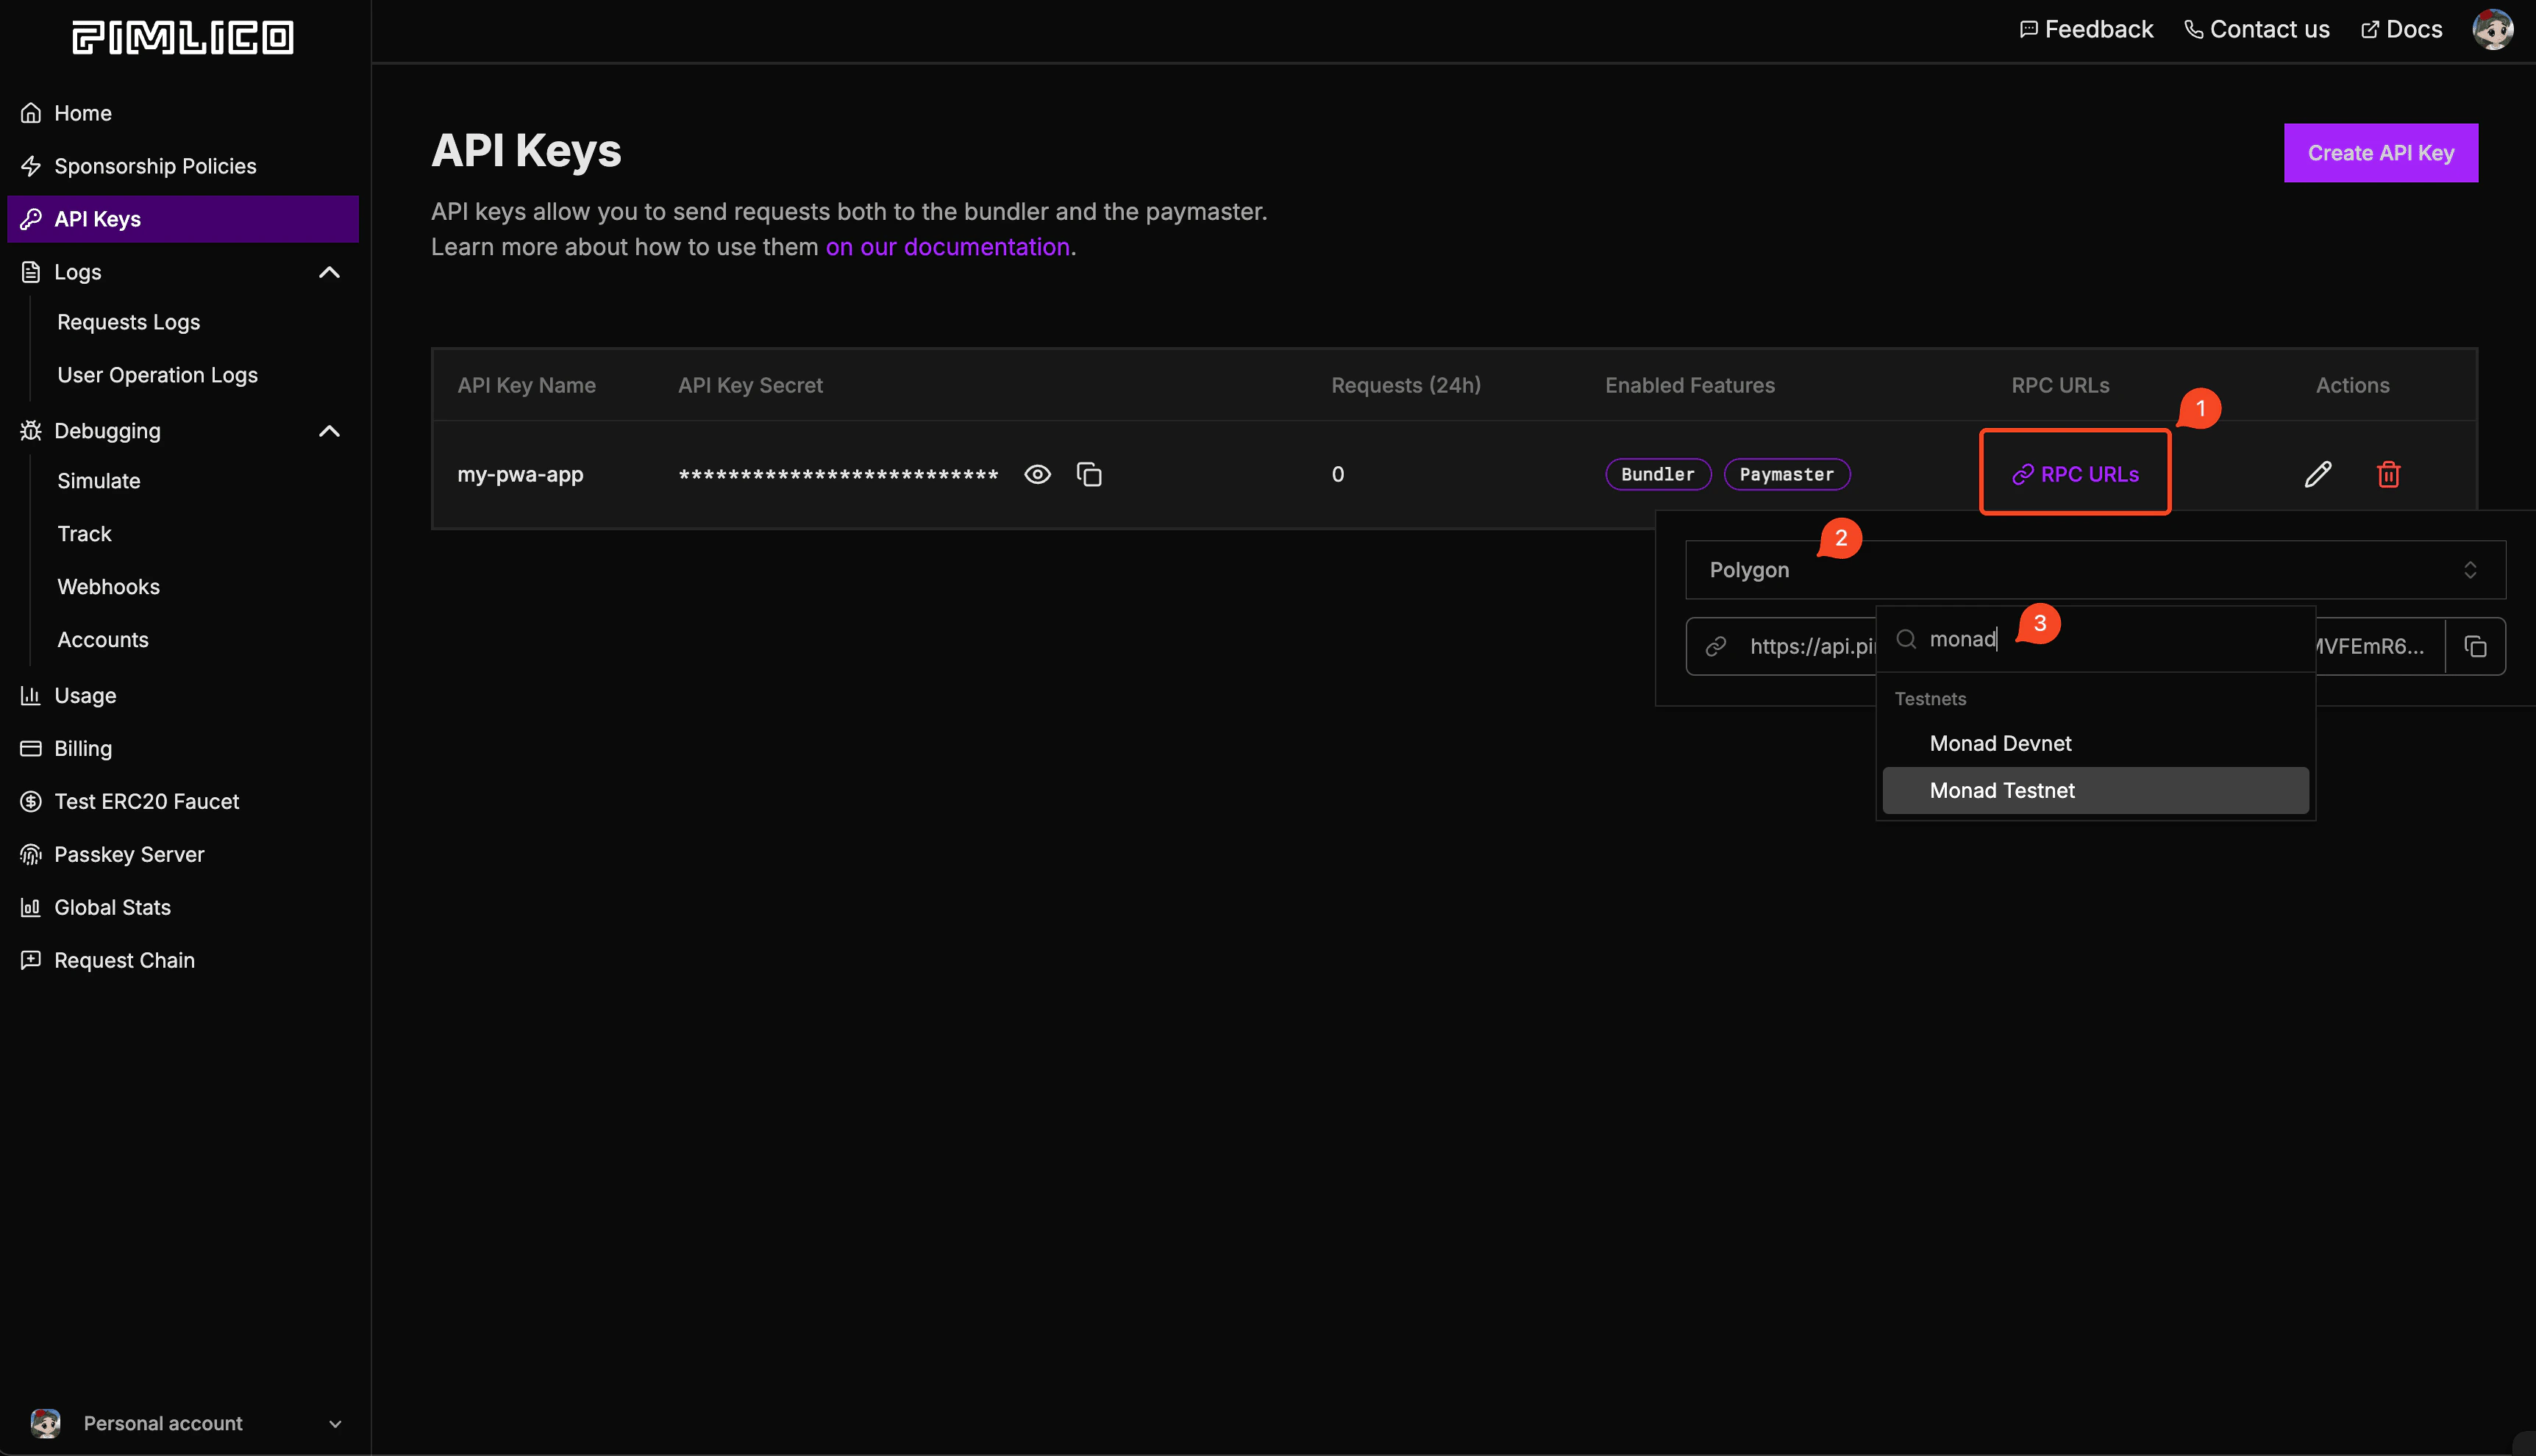
Sign up for a Pimlico account and go to “API Keys”
-
Create a new API key:
-
Click on RPC URLs, then Select “Monad Testnet”, and copy the RPC URL:
-
Copy the RPC URL and save it to your
.env.localfile asNEXT_PUBLIC_PIMLICO_BUNDLER_URL.
Setup
-
Clone the repository:
-
cdinto the project directory: -
Install dependencies:
-
Create a
.env.localfile in the root directory: -
Start adding your environment variables to the
.env.localfile:If you lost your Privy App ID, you can find it in the Privy dashboard. -
Generate VAPID keys for web push notifications:
Copy the generated keys to your .env.local file (replace the placeholder values from step 5).
-
Running the Application:
Development Mode:
The application will be available at http://localhost:3000. Production Mode: For full PWA functionality (including install prompts):
Send sponsored transactions
Below is an example of how to use theuseSmartWallet hook to send sponsored transactions. You can either modify the code to send your own transactions or integrate it into your existing project.
Send batch sponsored transactions
You can also send batches of sponsored transactions:useSmartWallet.tsx to inspect the implementation details.
Folder structure of the template
Changing the app name
- Edit
public/manifest.json:- Change the
nameandshort_namefields
- Change the
- Run
npm run buildto update the app
Notification Setup
Browser Settings
Chrome/Edge
Chrome/Edge
- Click the lock icon 🔒 in the address bar
- Set “Notifications” to “Allow”
- Or go to Settings → Privacy and security → Site Settings → Notifications
Firefox
Firefox
- Click the shield icon 🛡️ in the address bar
- Turn off “Enhanced Tracking Protection” for this site (if needed)
- Allow notifications when prompted
- Or go to Settings → Privacy & Security → Permissions → Notifications
Safari
Safari
- Go to Safari → Settings → Websites → Notifications
- Find your site and set it to “Allow”
System Settings
macOS
macOS
- System Preferences → Notifications & Focus
- Find your browser and ensure notifications are enabled
- Check “Allow notifications from websites” in browser settings
Windows
Windows
- Settings → System → Notifications & actions
- Ensure your browser can send notifications
- Check browser notification settings
iOS
iOS
- Settings → Notifications → [Your Browser]
- Enable “Allow Notifications”
- Also enable in browser settings
Android
Android
- Settings → Apps → [Your Browser] → Notifications
- Enable notifications
- Check browser notification permissions
Backend Integration Required
SendNotification.tsx requires backend implementation:- Save subscription data when users subscribe (see TODO comments in code)
- Delete subscription data when users unsubscribe
- Implement
/notificationendpoint to send actual push notifications - Use
web-pushlibrary or similar for server-side notification delivery
Customizing Notification Content
To customize your push notification content, editapp/notification/route.ts and modify the title, message, icon, and other properties in the sendNotification call.
Modifying the App Icon & Splash Screen
App Icons
Replace the icon files in thepublic/icons/ directory with your custom icons:
icon-512x512.png- Main app icon (512×512px)android-chrome-192x192.png- Android icon (192×192px)apple-touch-icon.png- iOS home screen icon (180×180px)
public/favicon.ico- Browser faviconapp/favicon.ico- Next.js app favicon
Splash Screen
Splash screens are automatically generated from your app icon and theme colors defined inpublic/manifest.json. To customize:
- Update the
theme_colorandbackground_colorinpublic/manifest.json - Ensure your main icon (
icon-512x512.png) represents your brand - Run
npm run buildto apply changes
Deploying to Vercel
Using Vercel Dashboard
-
Connect your repository:
- Push your code to GitHub
- Visit vercel.com and import your repository
-
Configure environment variables:
- In your Vercel project dashboard, go to Settings → Environment Variables
- Add the same variables from your
.env.local:
- Deploy: Vercel will automatically build and deploy your app
-
Update Privy settings: In your Privy dashboard, add your Vercel domain (e.g.,
your-app.vercel.app) to the allowed origins
Using Vercel CLI
Alternatively, deploy using the Vercel CLI:-
Install Vercel CLI:
-
Login to Vercel:
-
Deploy:
Follow the prompts to configure your project.
-
Add environment variables:
Or you can go to the Vercel dashboard and add the environment variables there.
-
Redeploy with environment variables:
Learn more
- Serwist: docs | guides
- Privy: create a wallet | send a transaction | sign a transaction
- Pimlico: docs | guides
- Monad: supported tooling and infra