Requirements
- You need to have the Monad Testnet network added to your wallet.
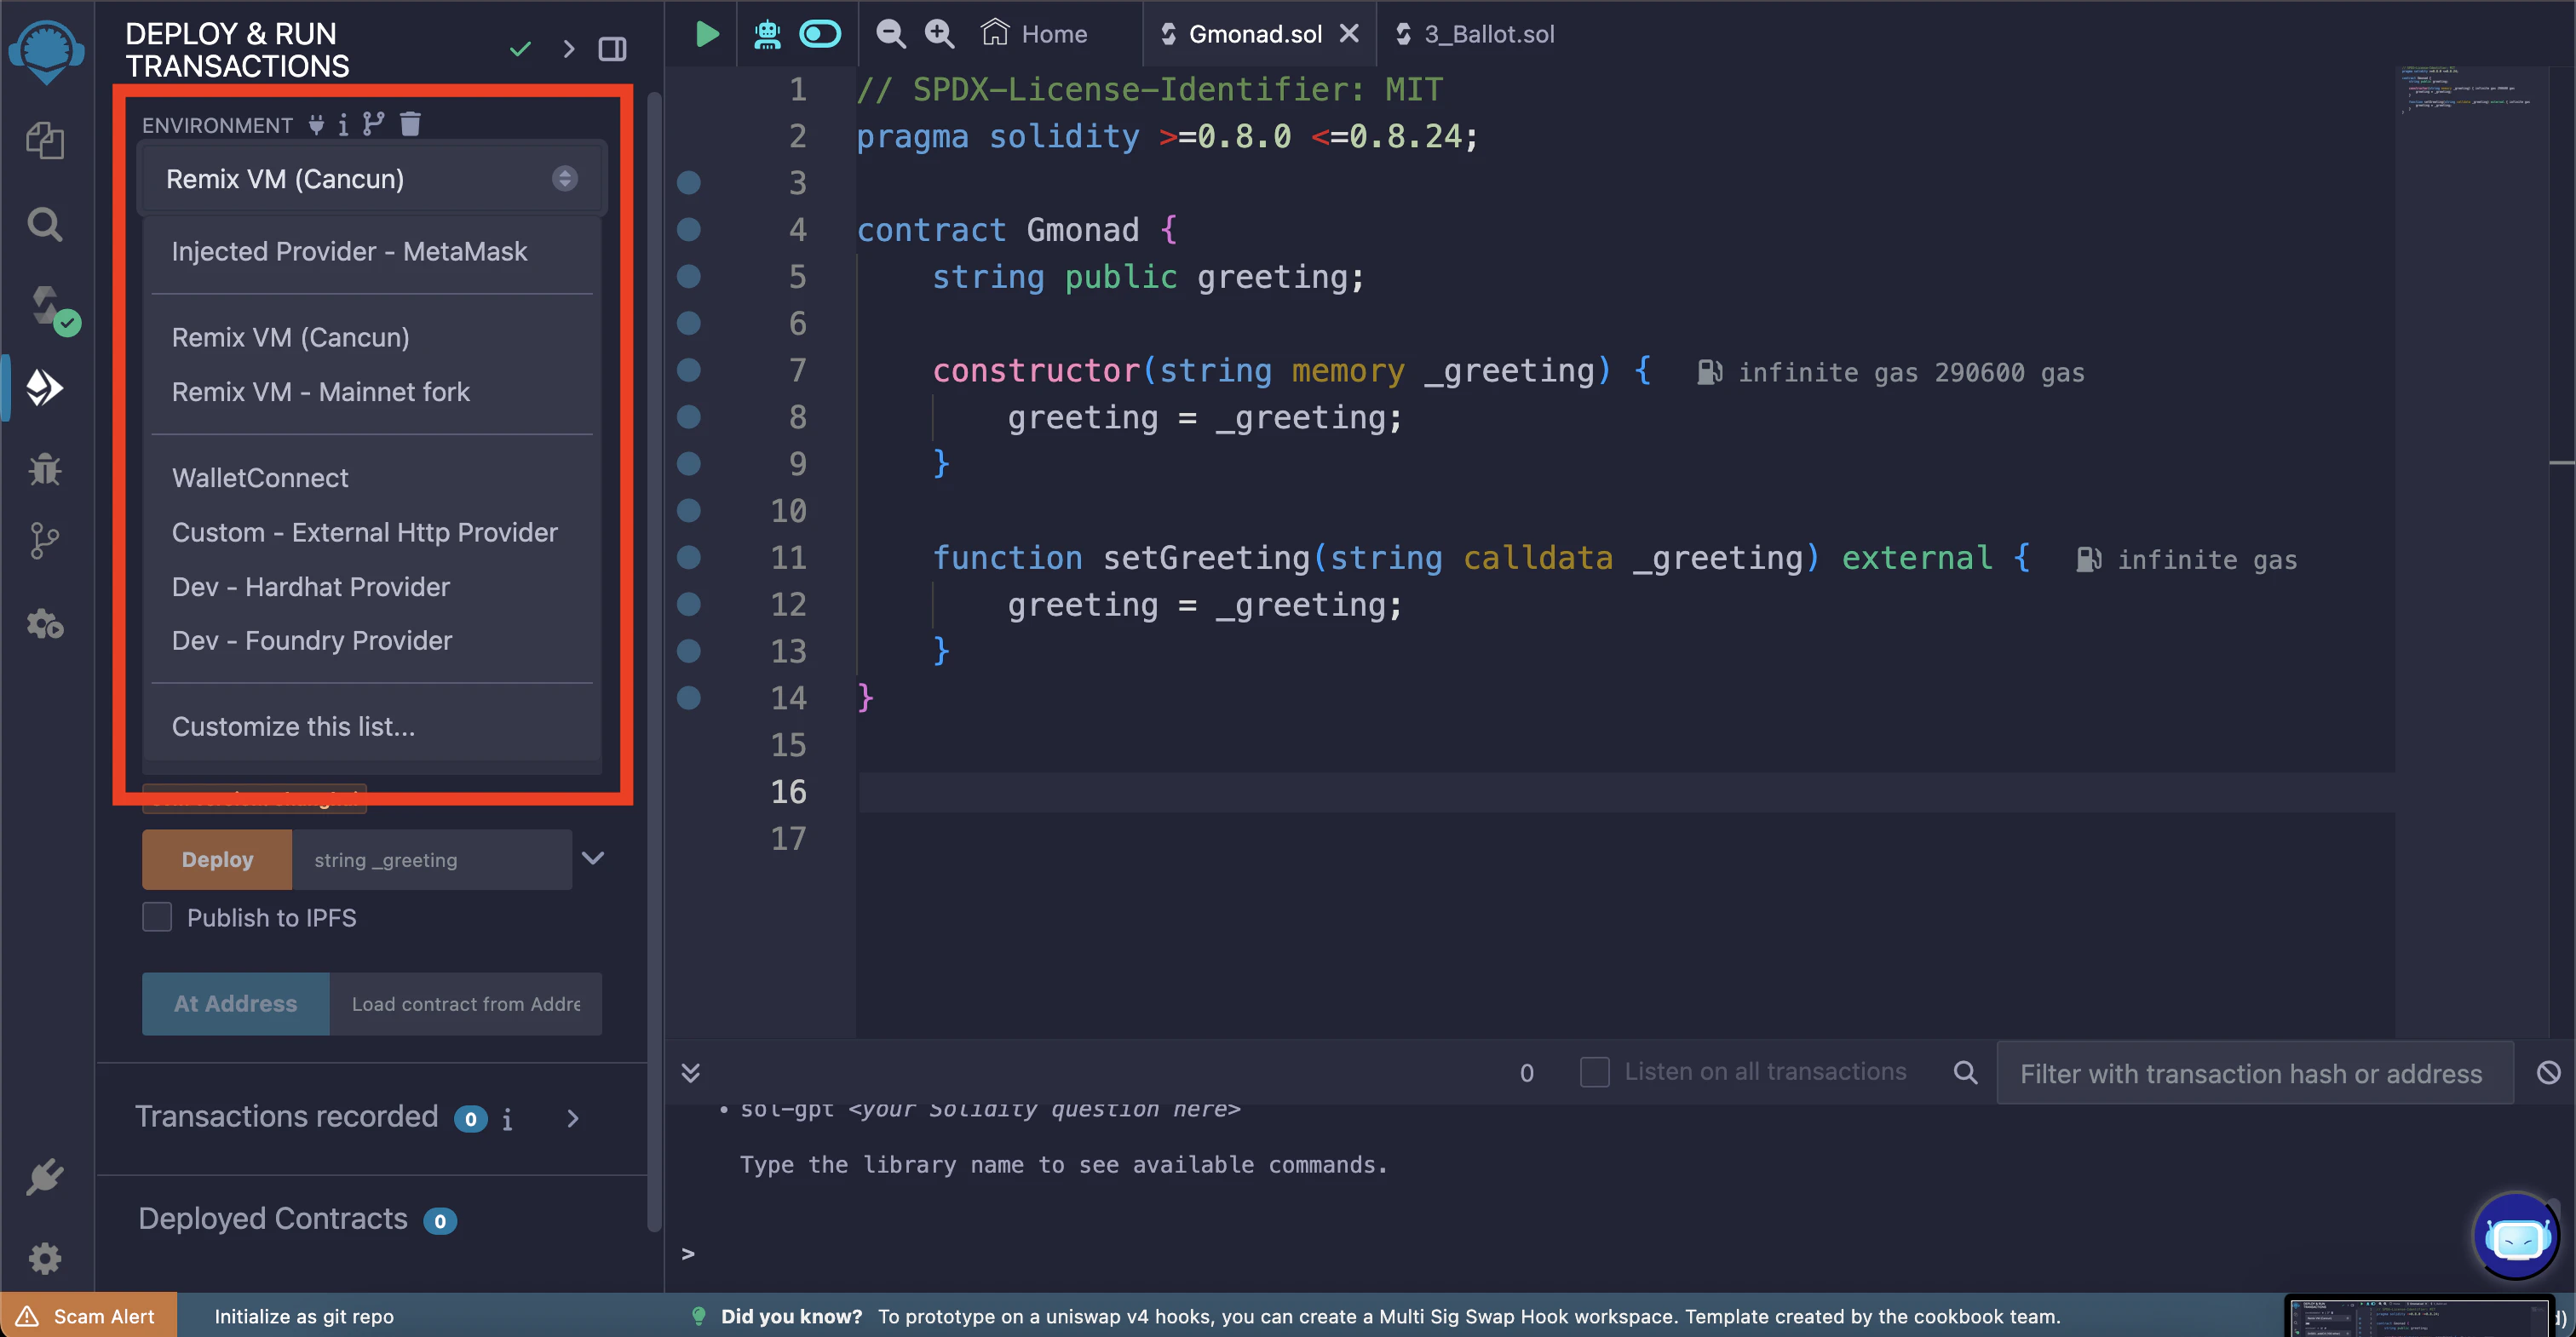
Deploying the smart contract
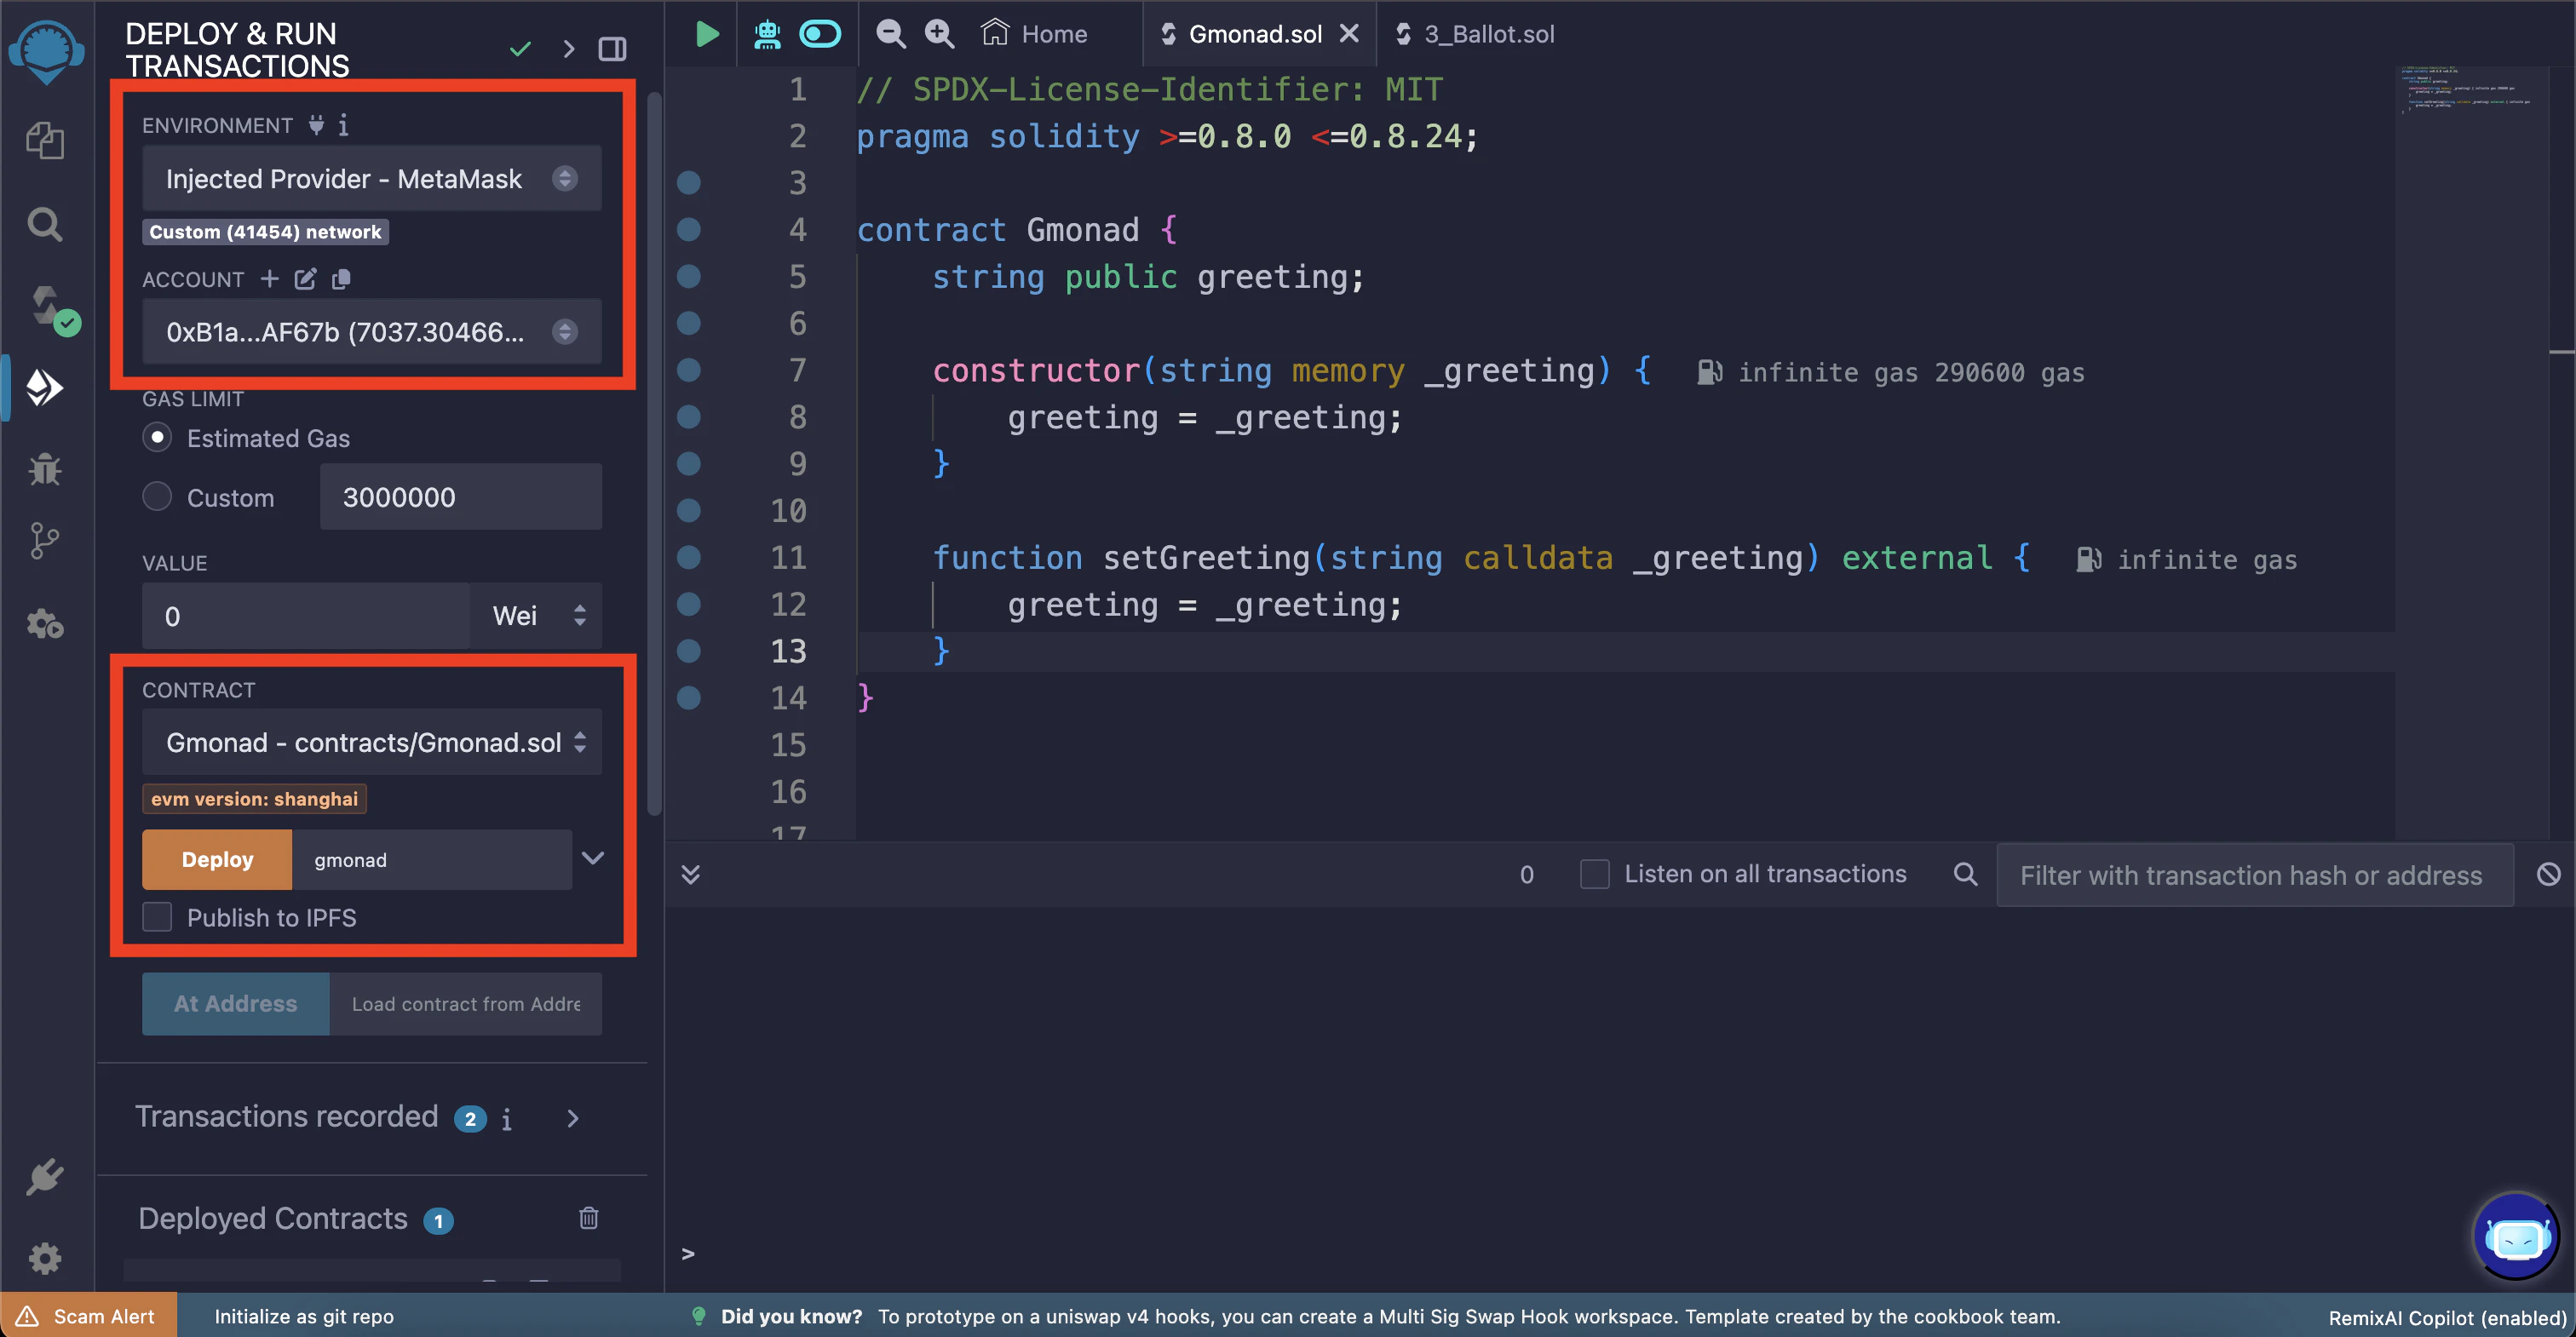
Head over to Remix IDE in your browser. Click ‘Start Coding’ to create a new project template.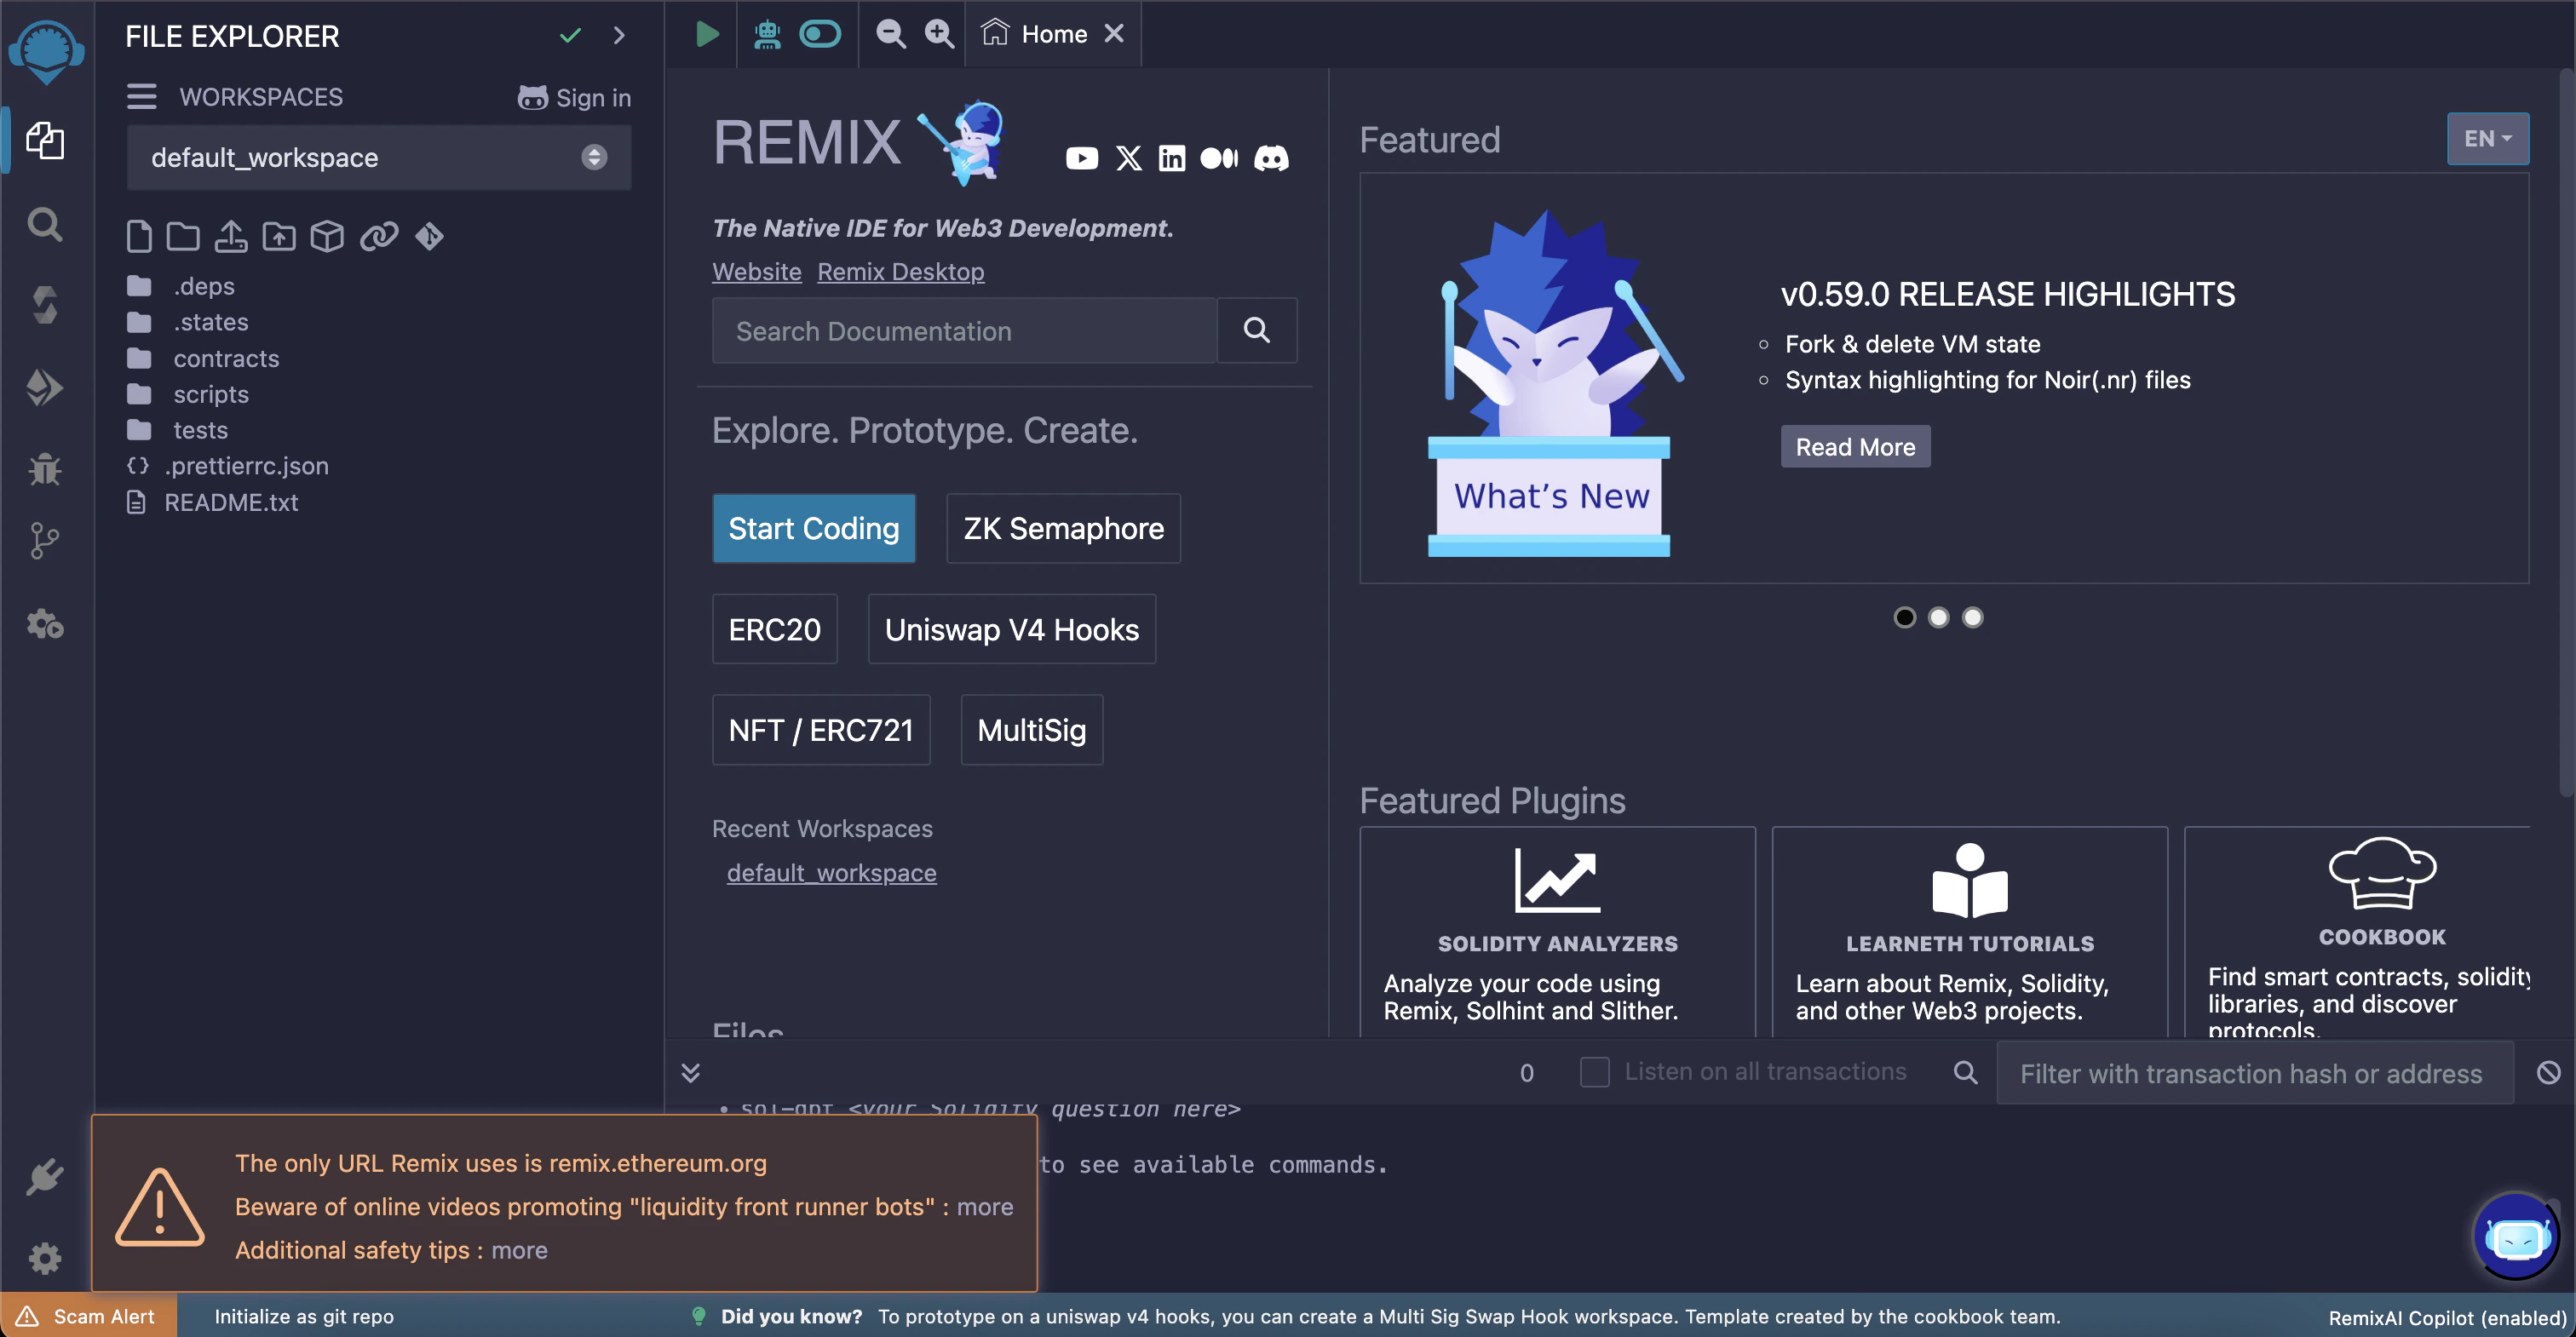
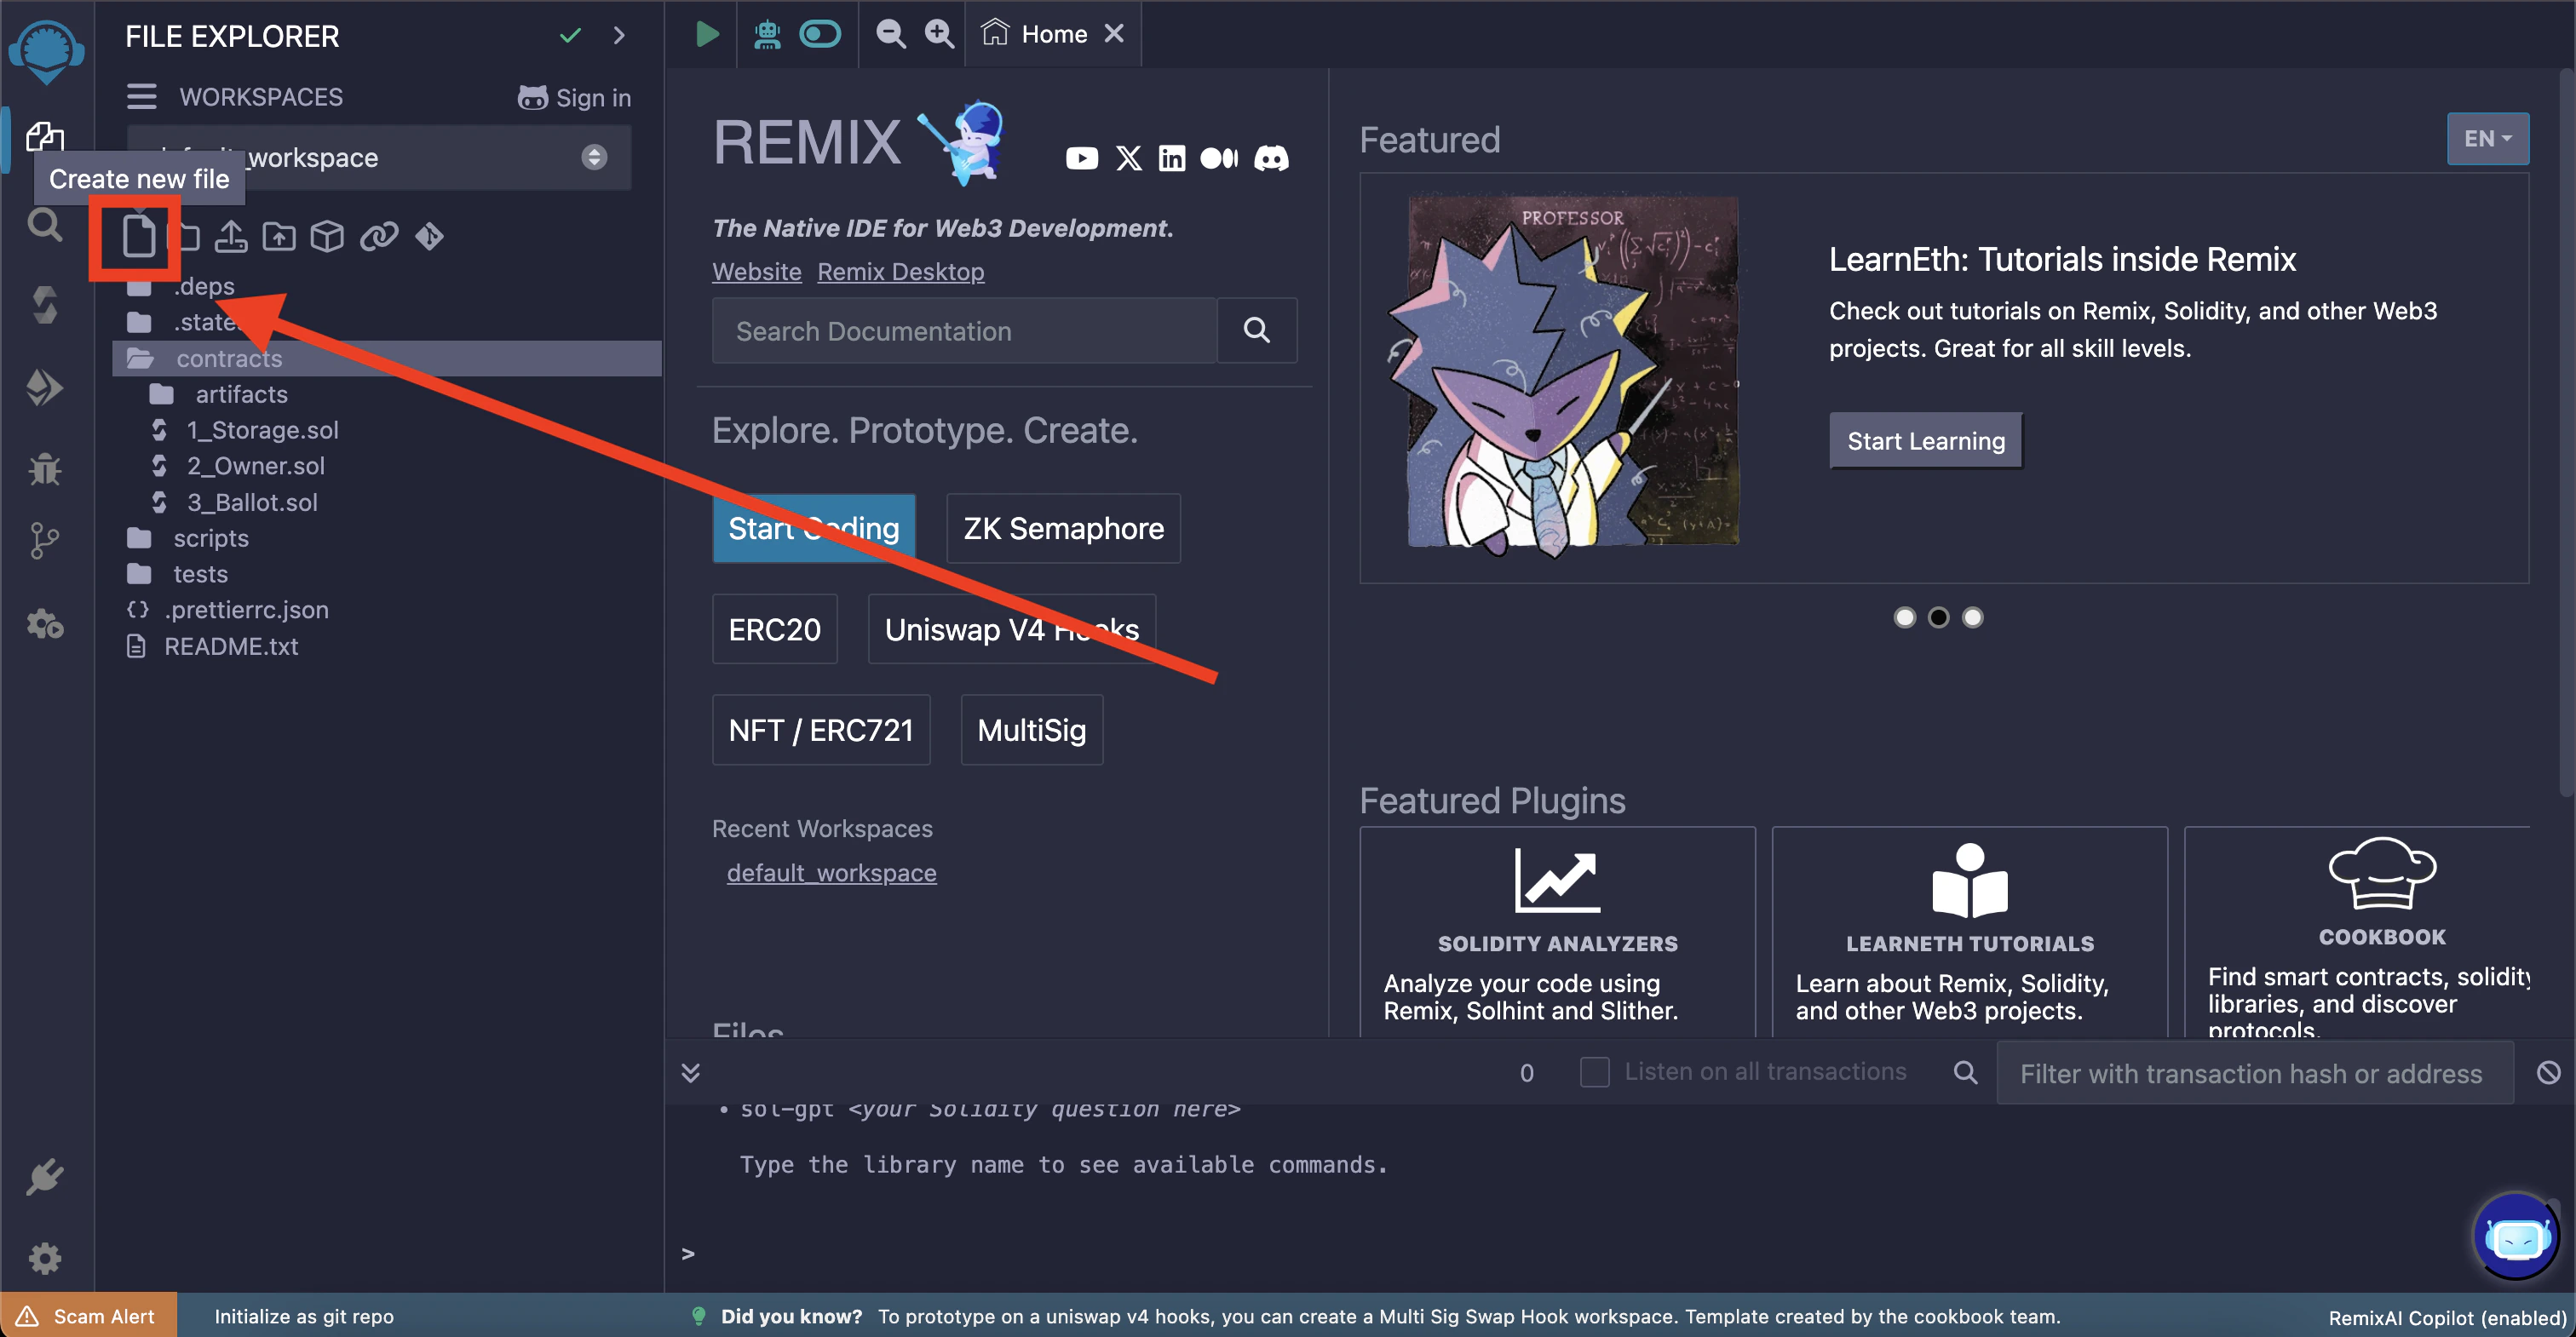
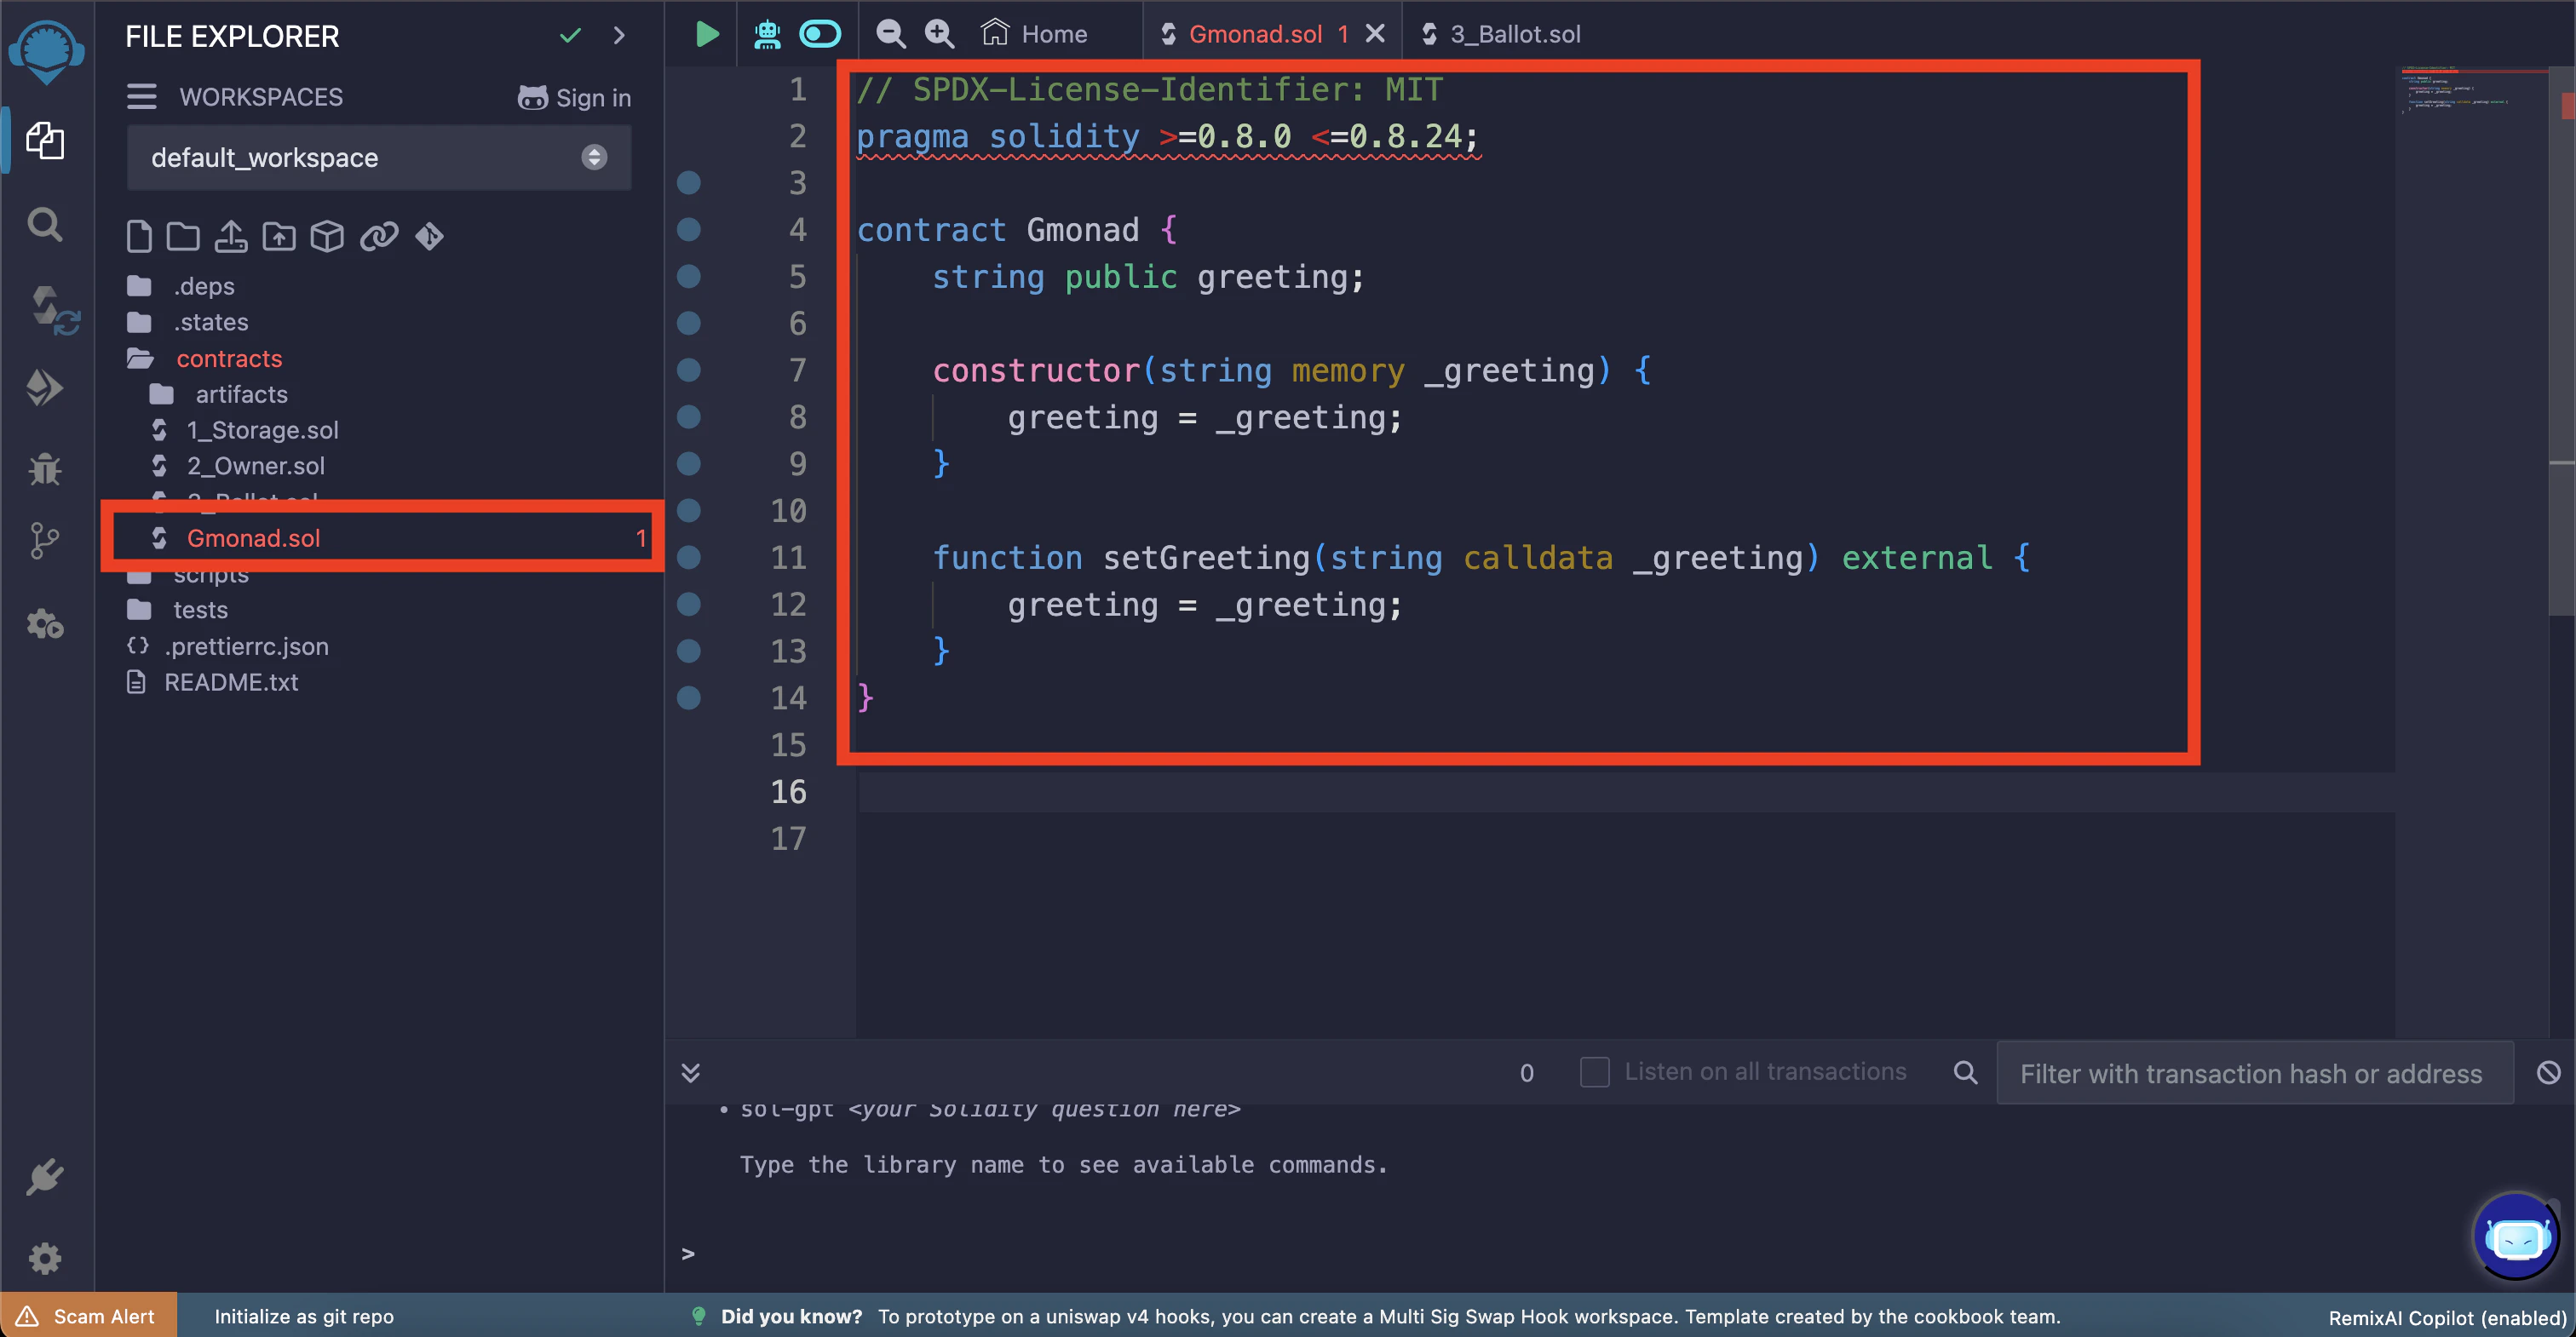
src/Gmonad.sol
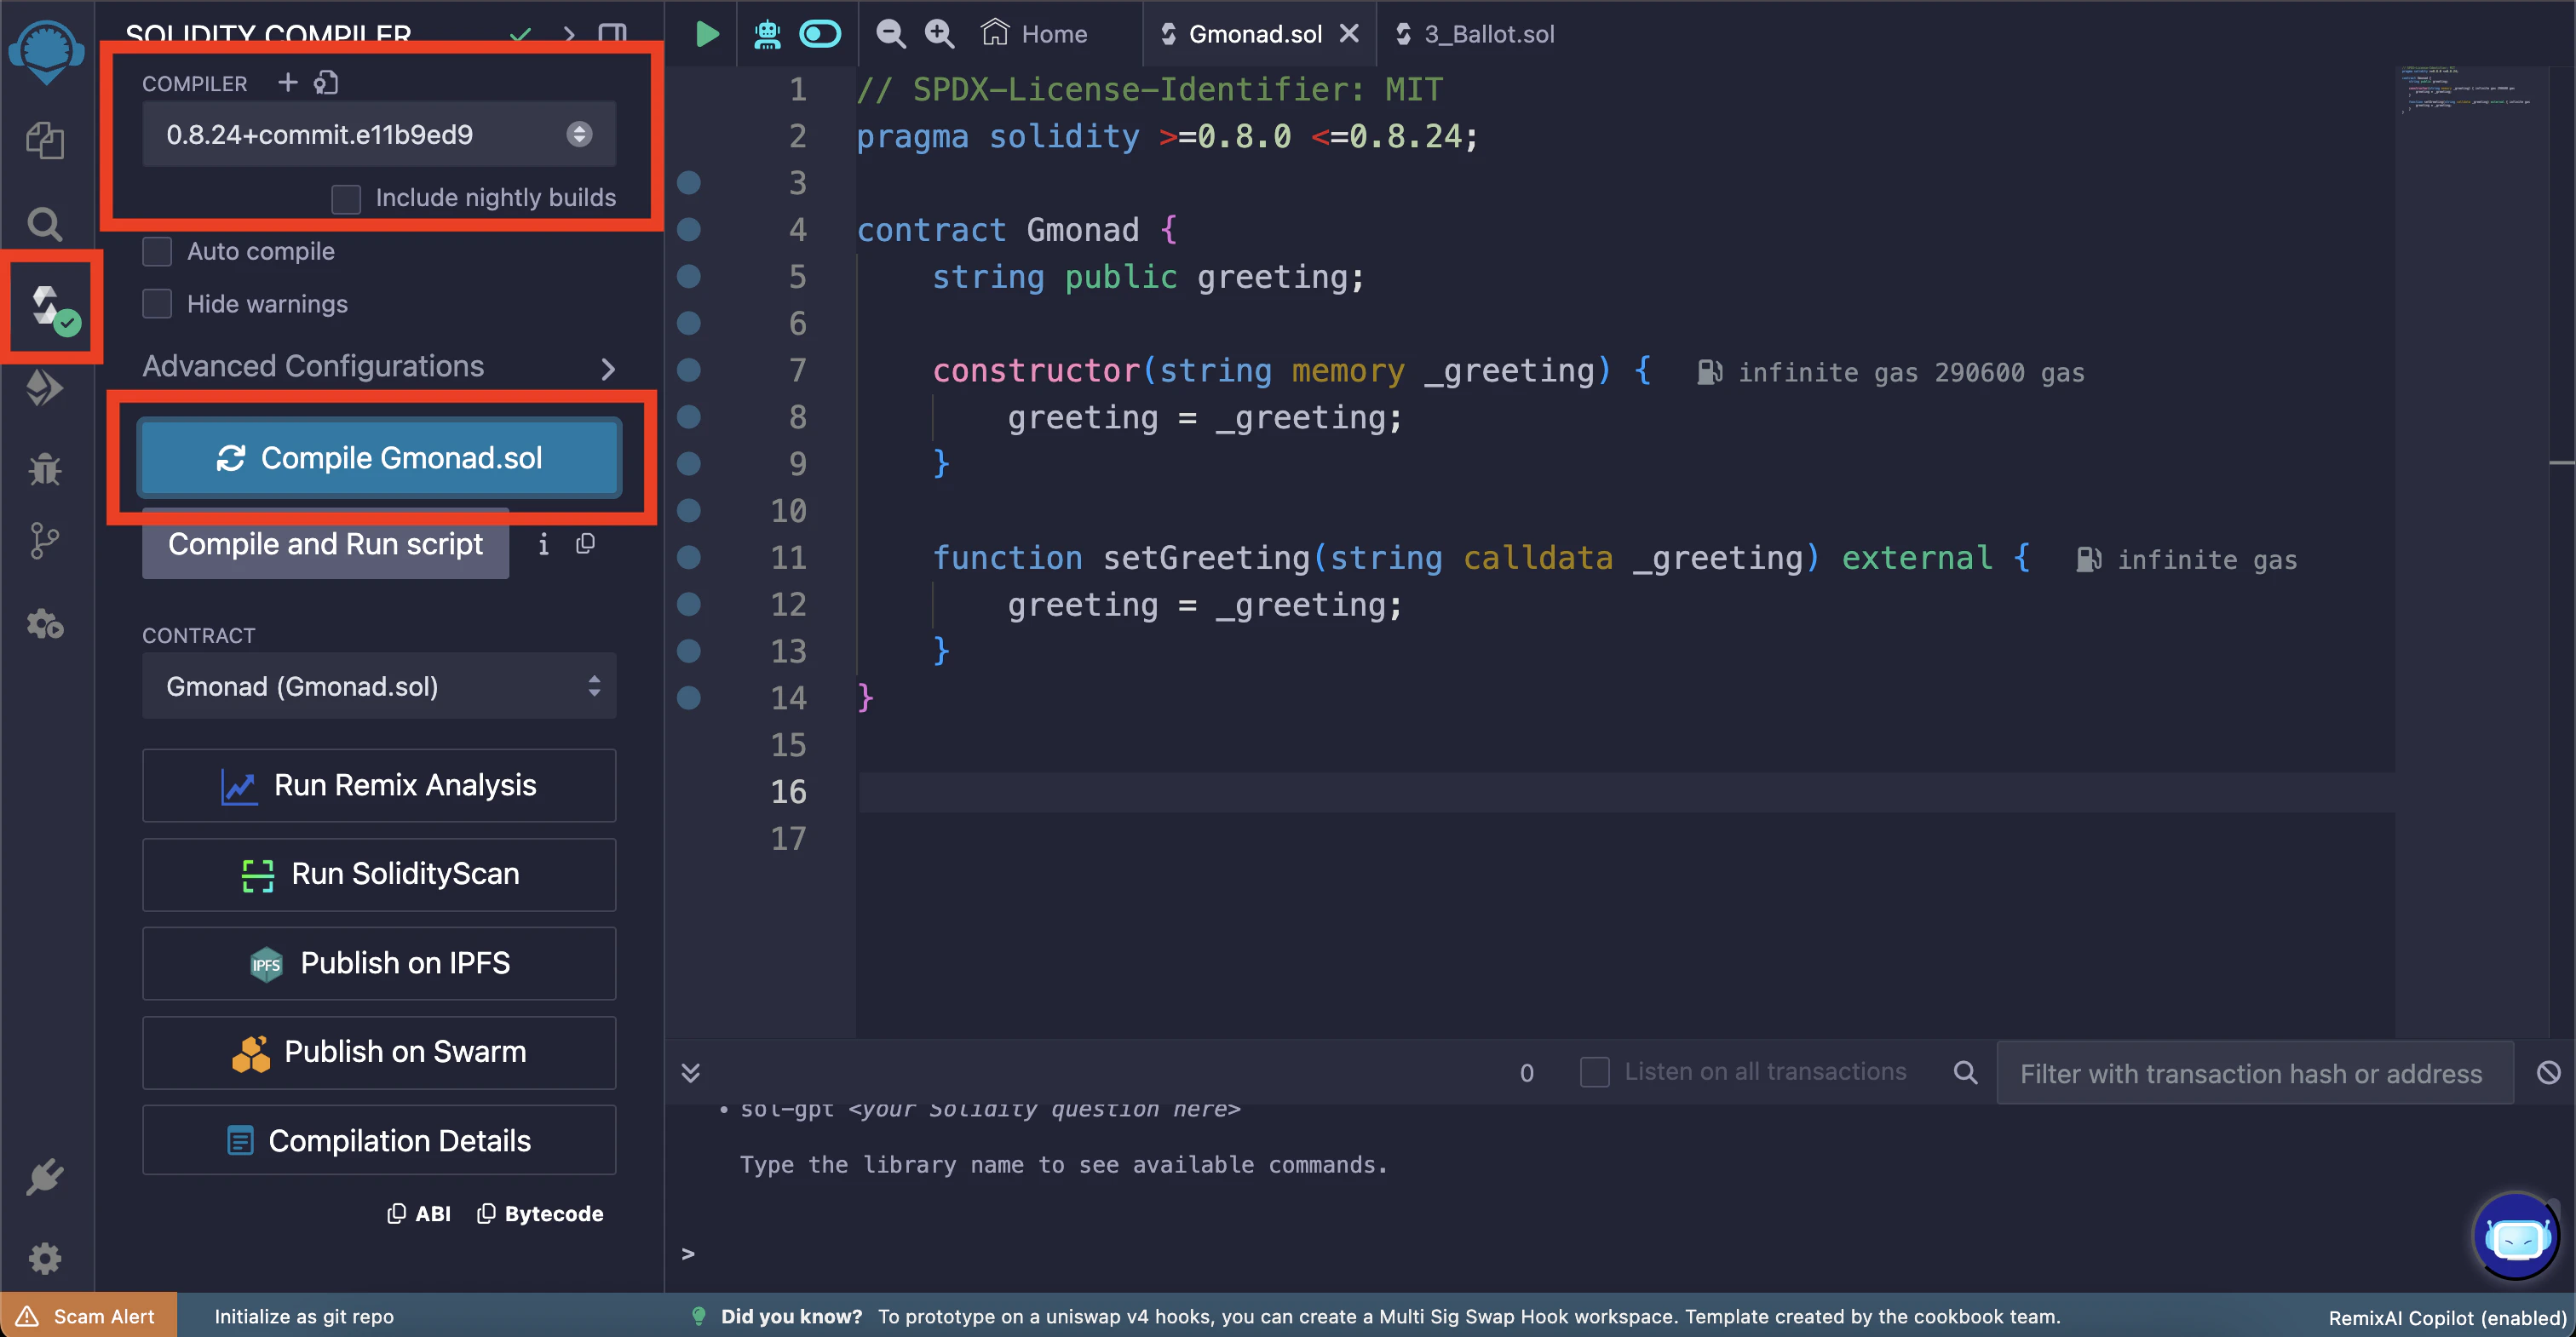
pragma solidity... line; this is because the default compiler version is outside of the range specified in the contract. We’ll fix that in the next step.

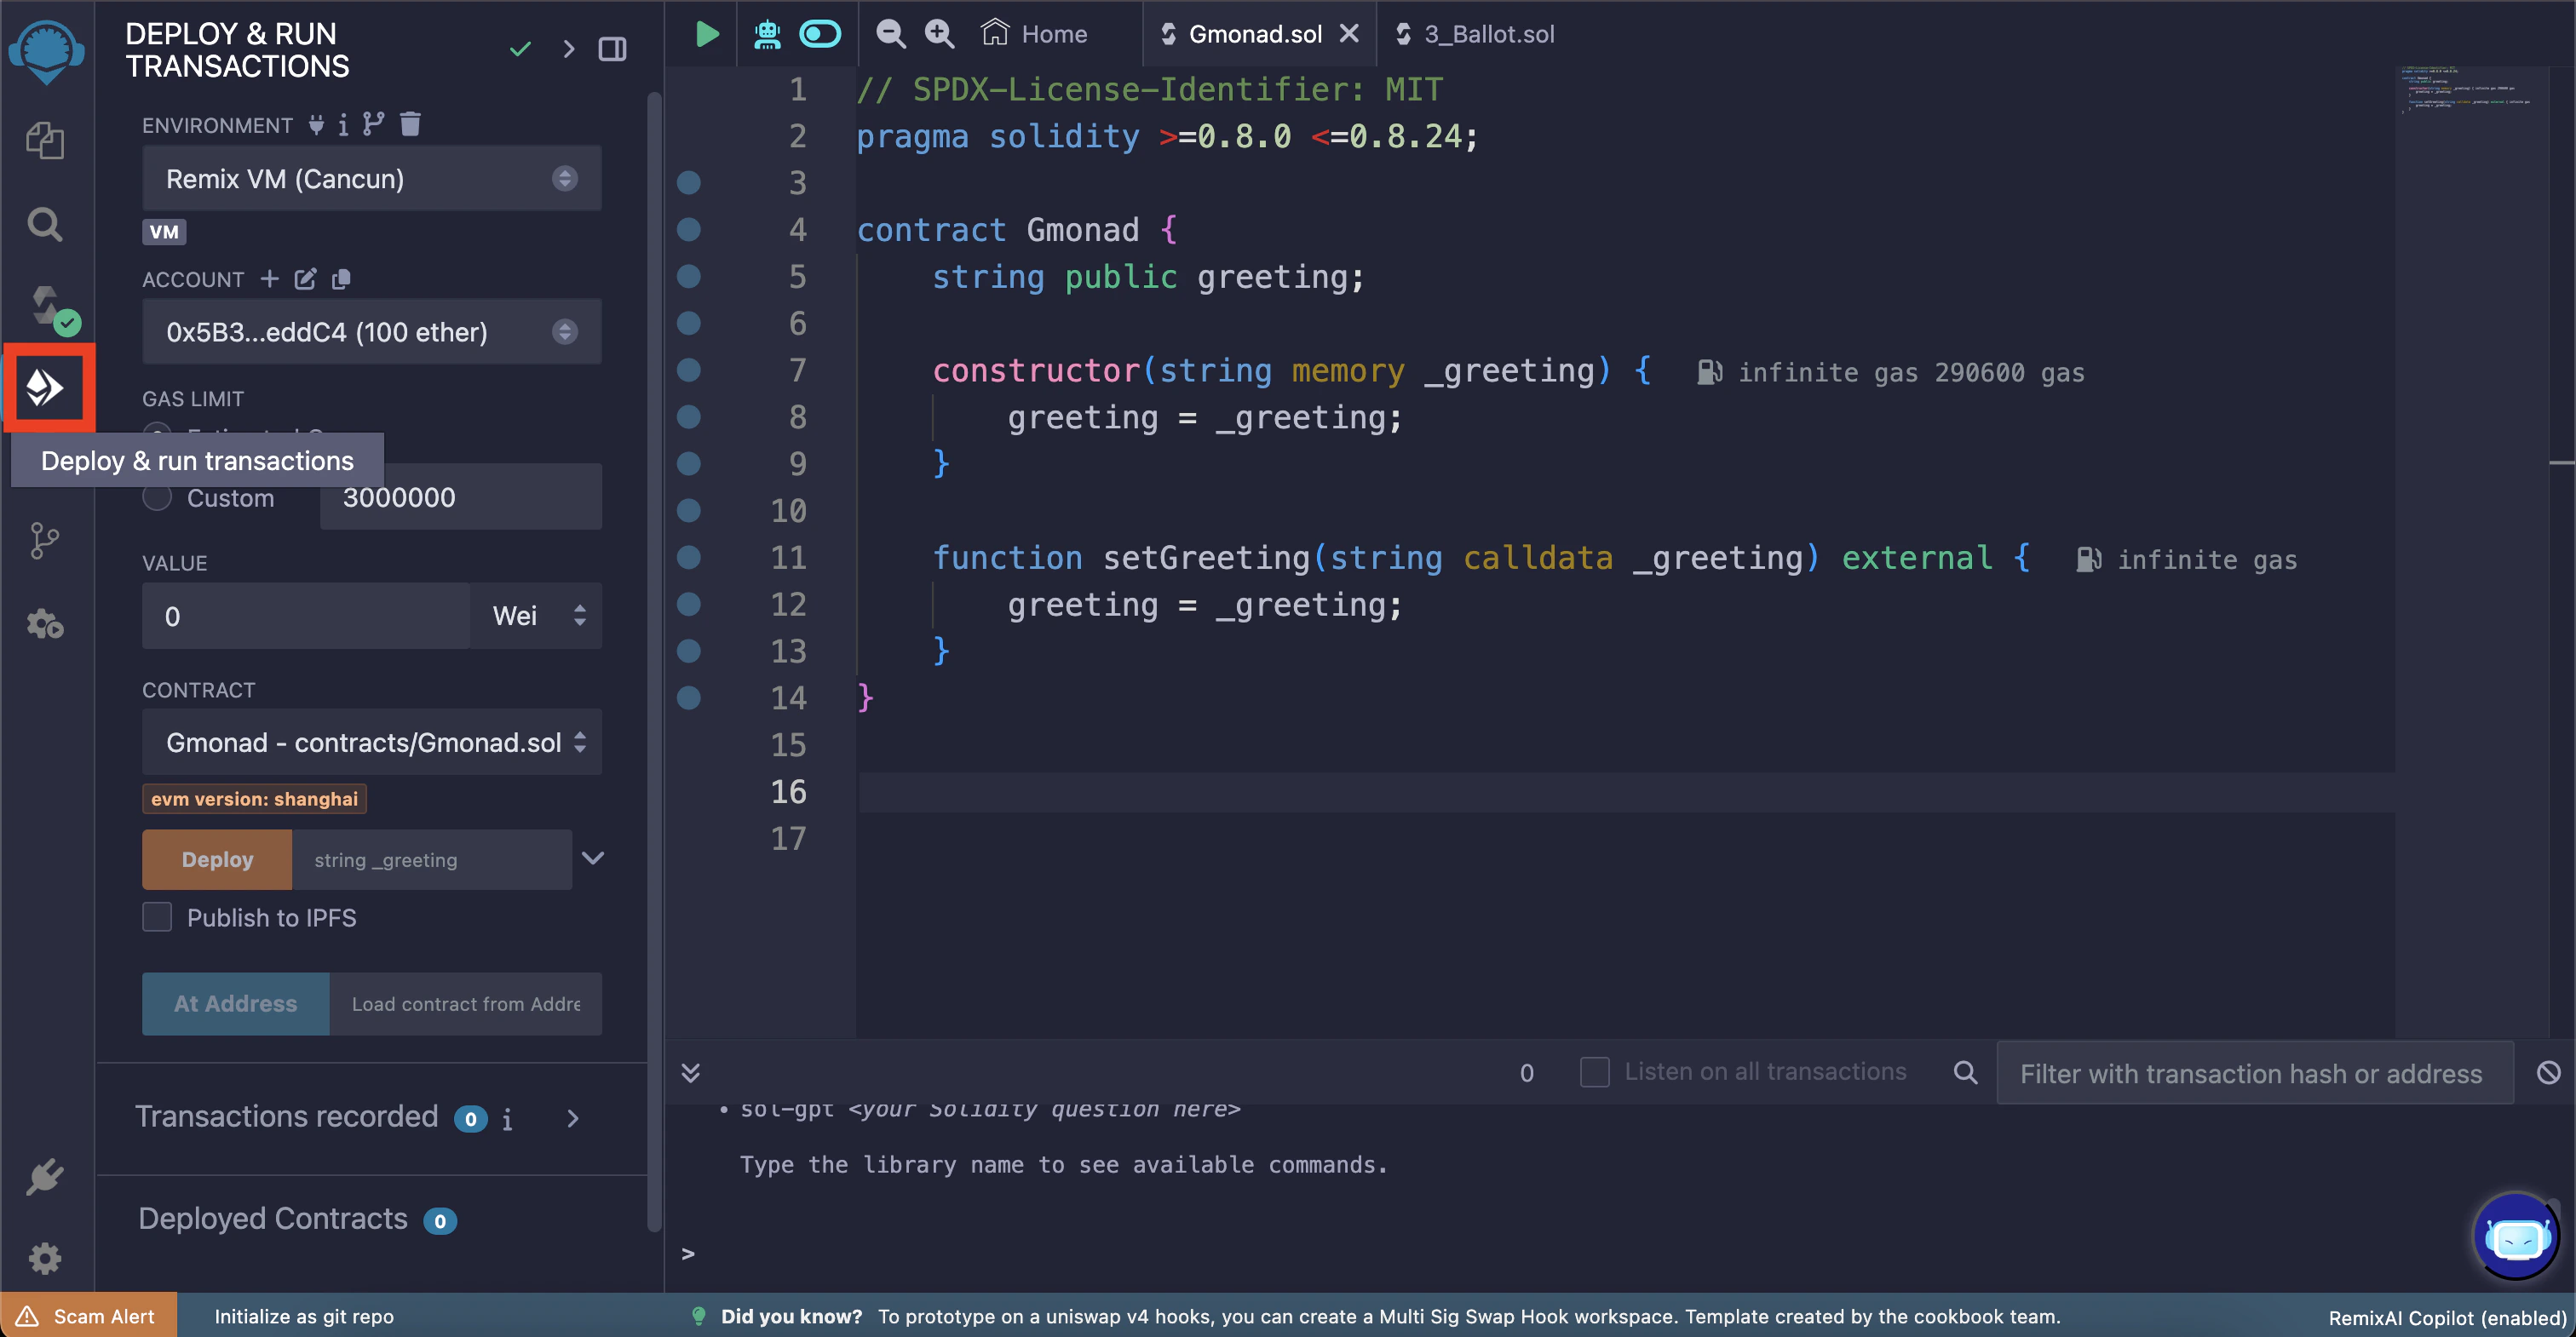
Gmonad.sol requires a greeting message to be passed to the constructor before it can be deployed; choose the greeting message of your choice (in this example it is “gmonad”).
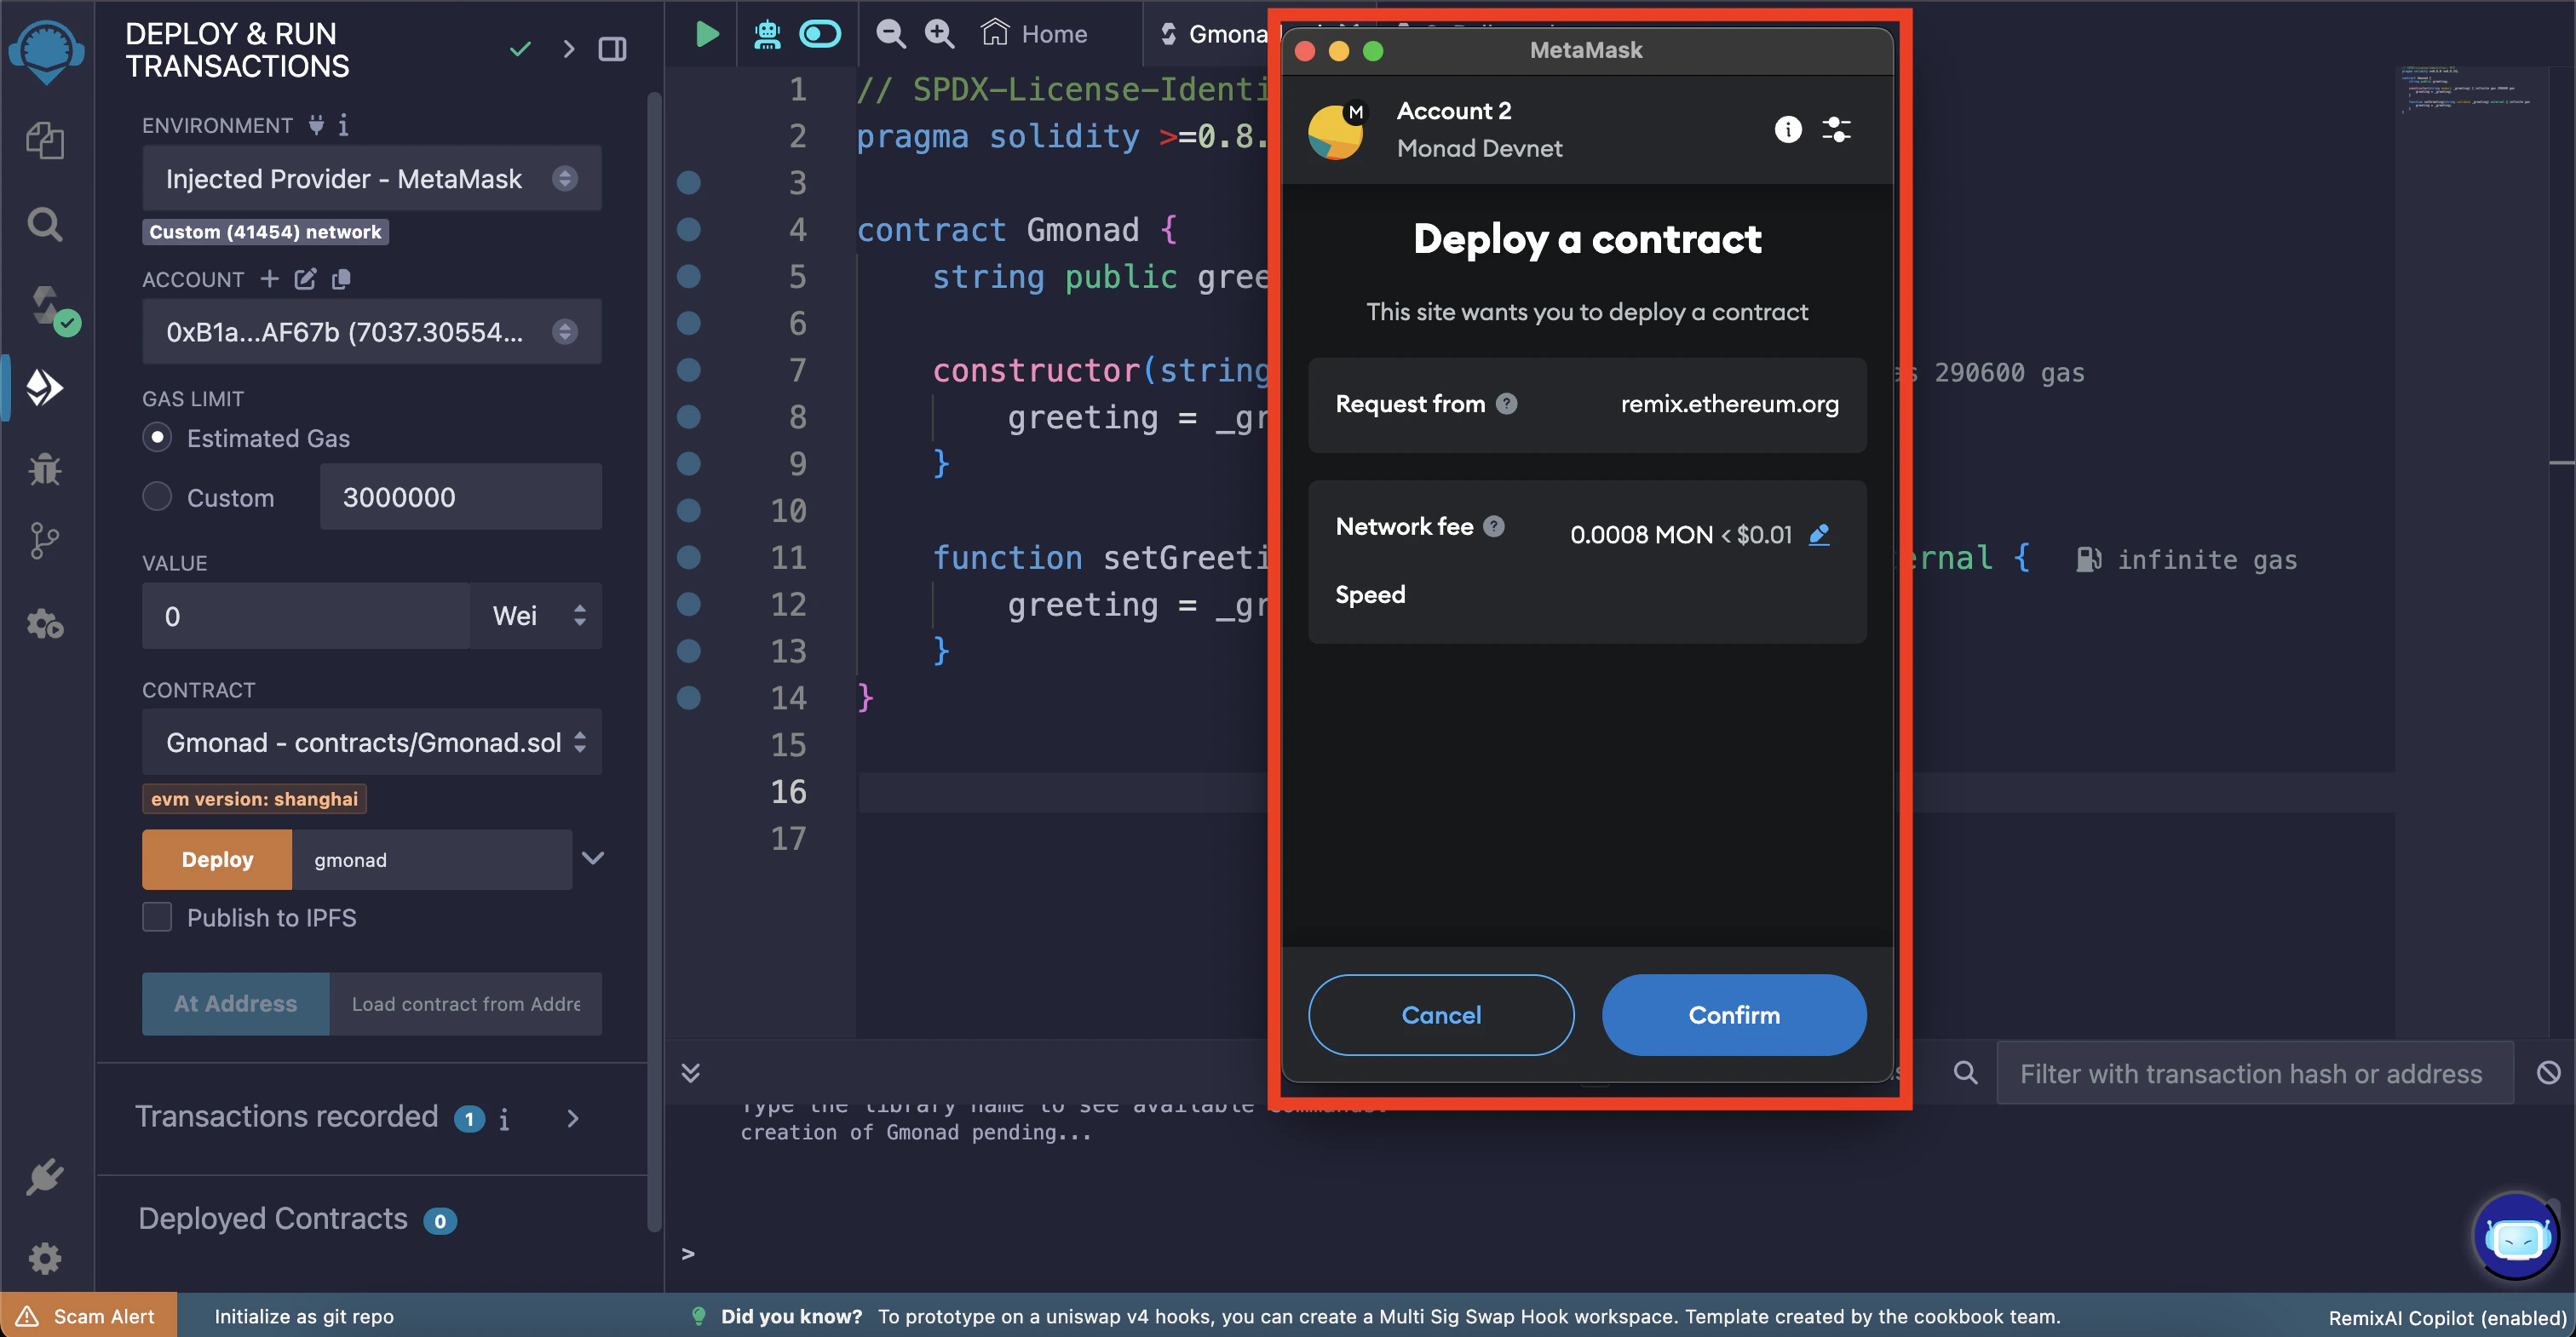
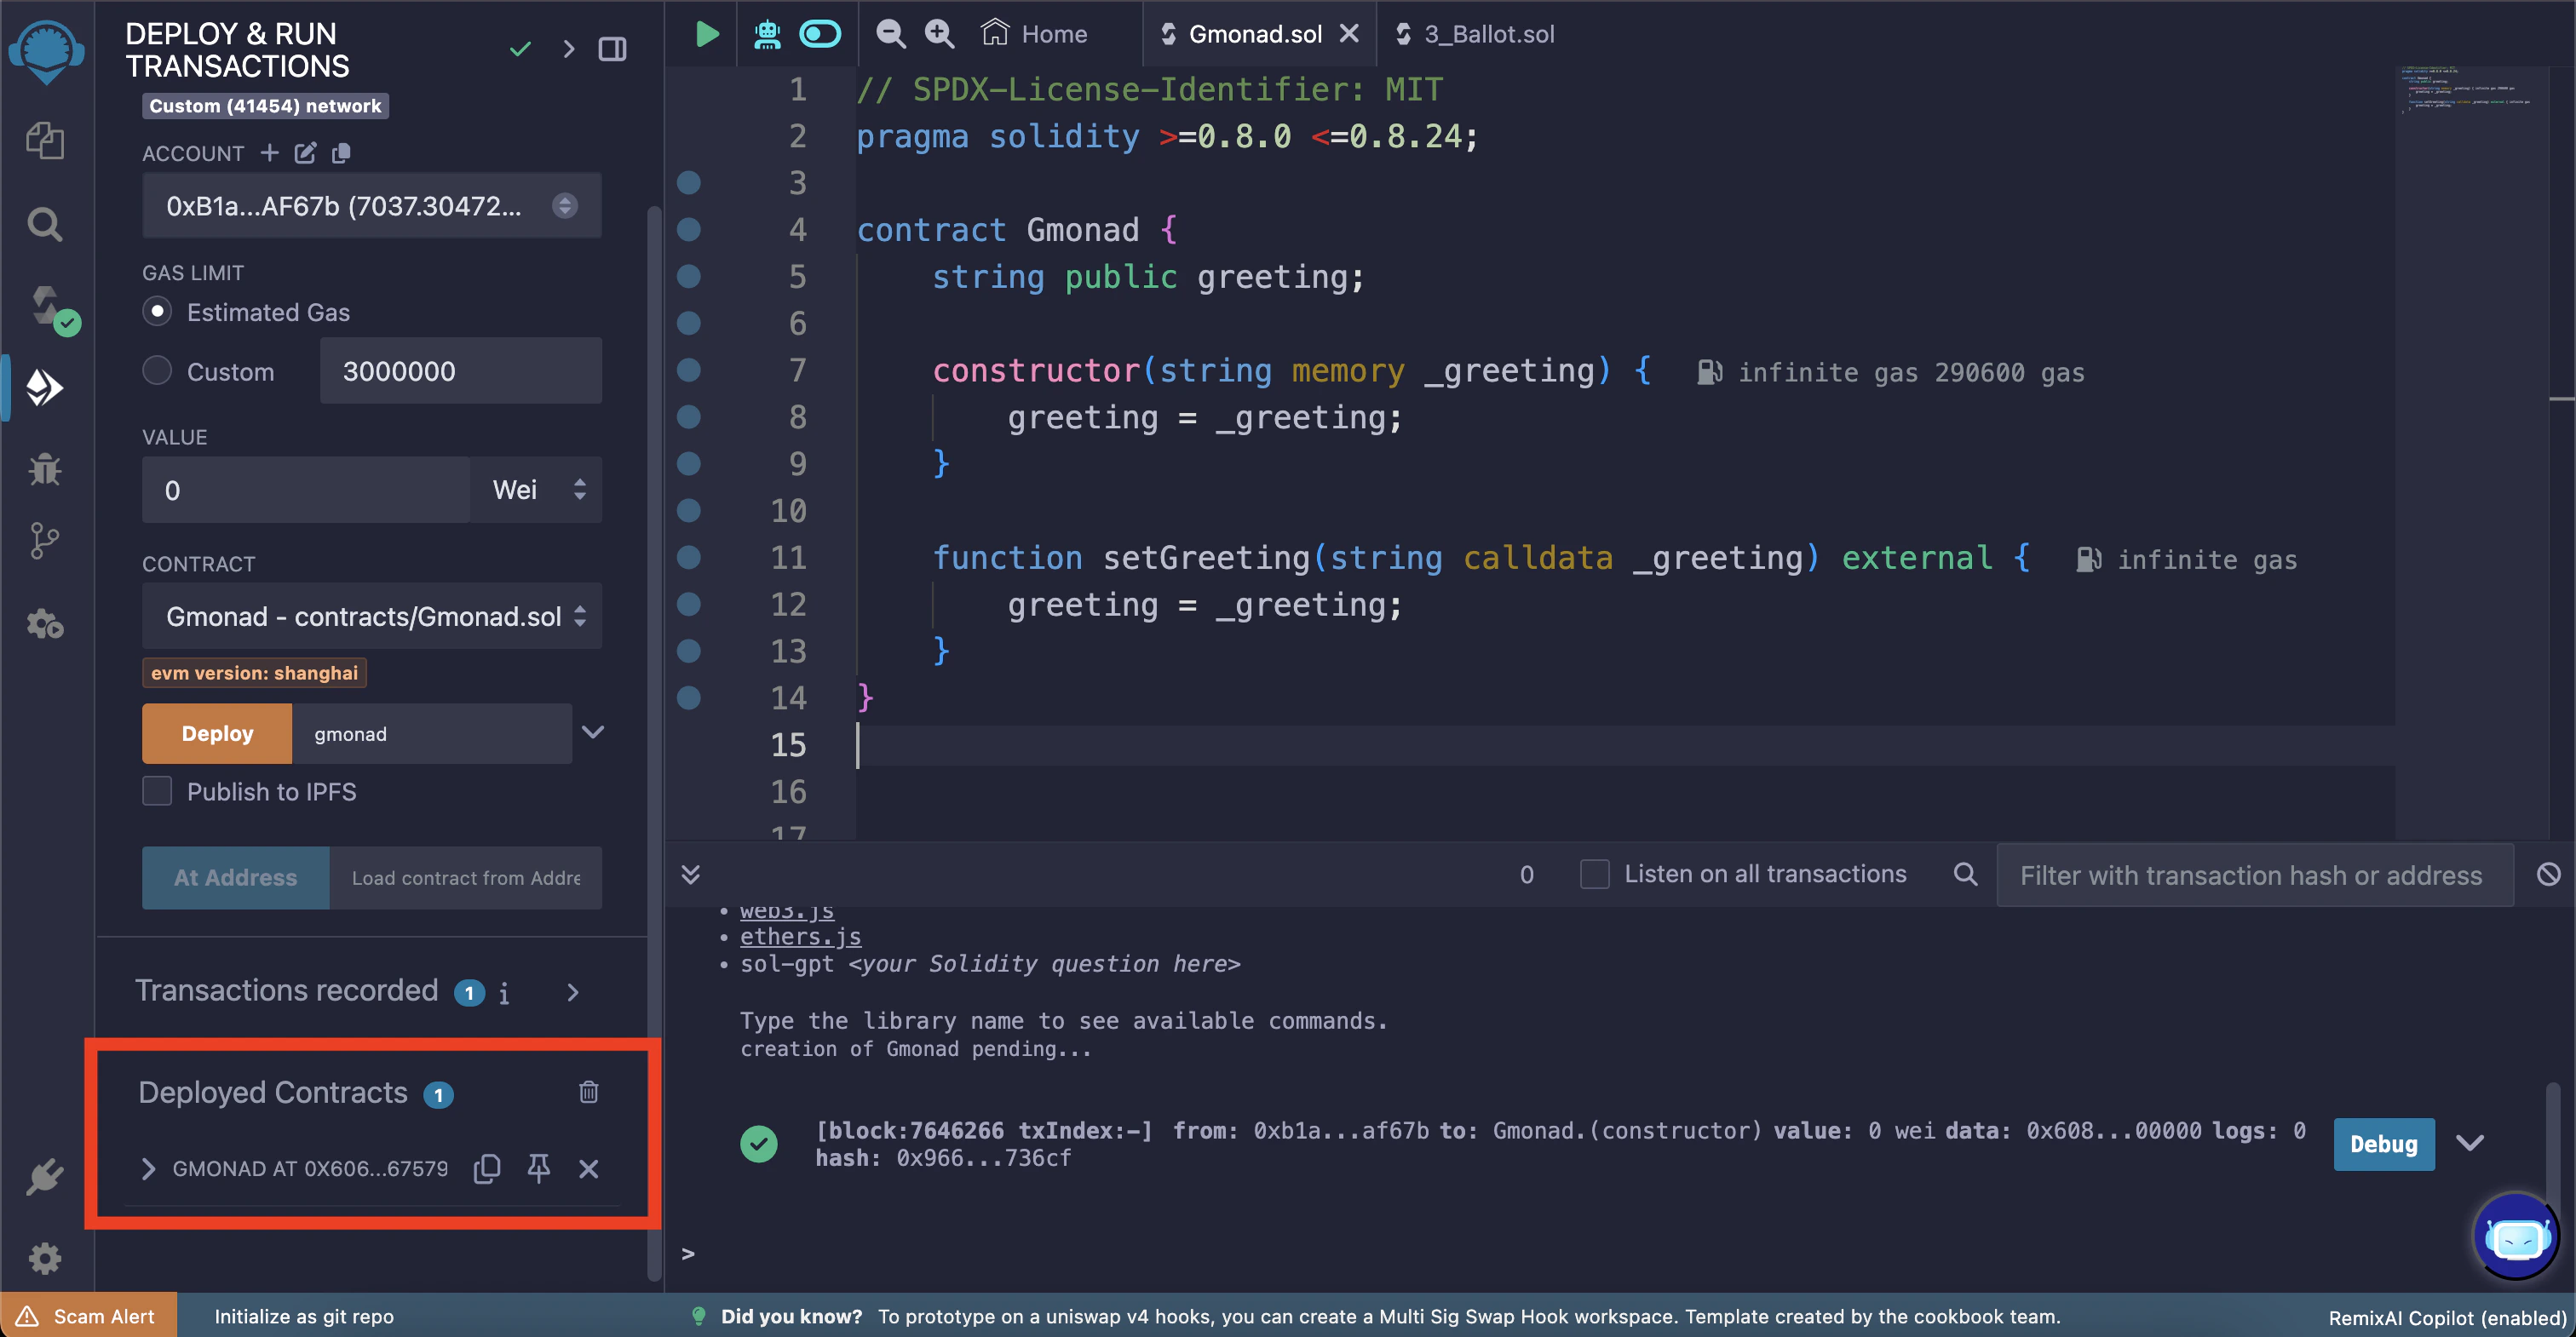
Now you can deploy the smart contract by clicking the “Deploy” button.
Interacting with the smart contract
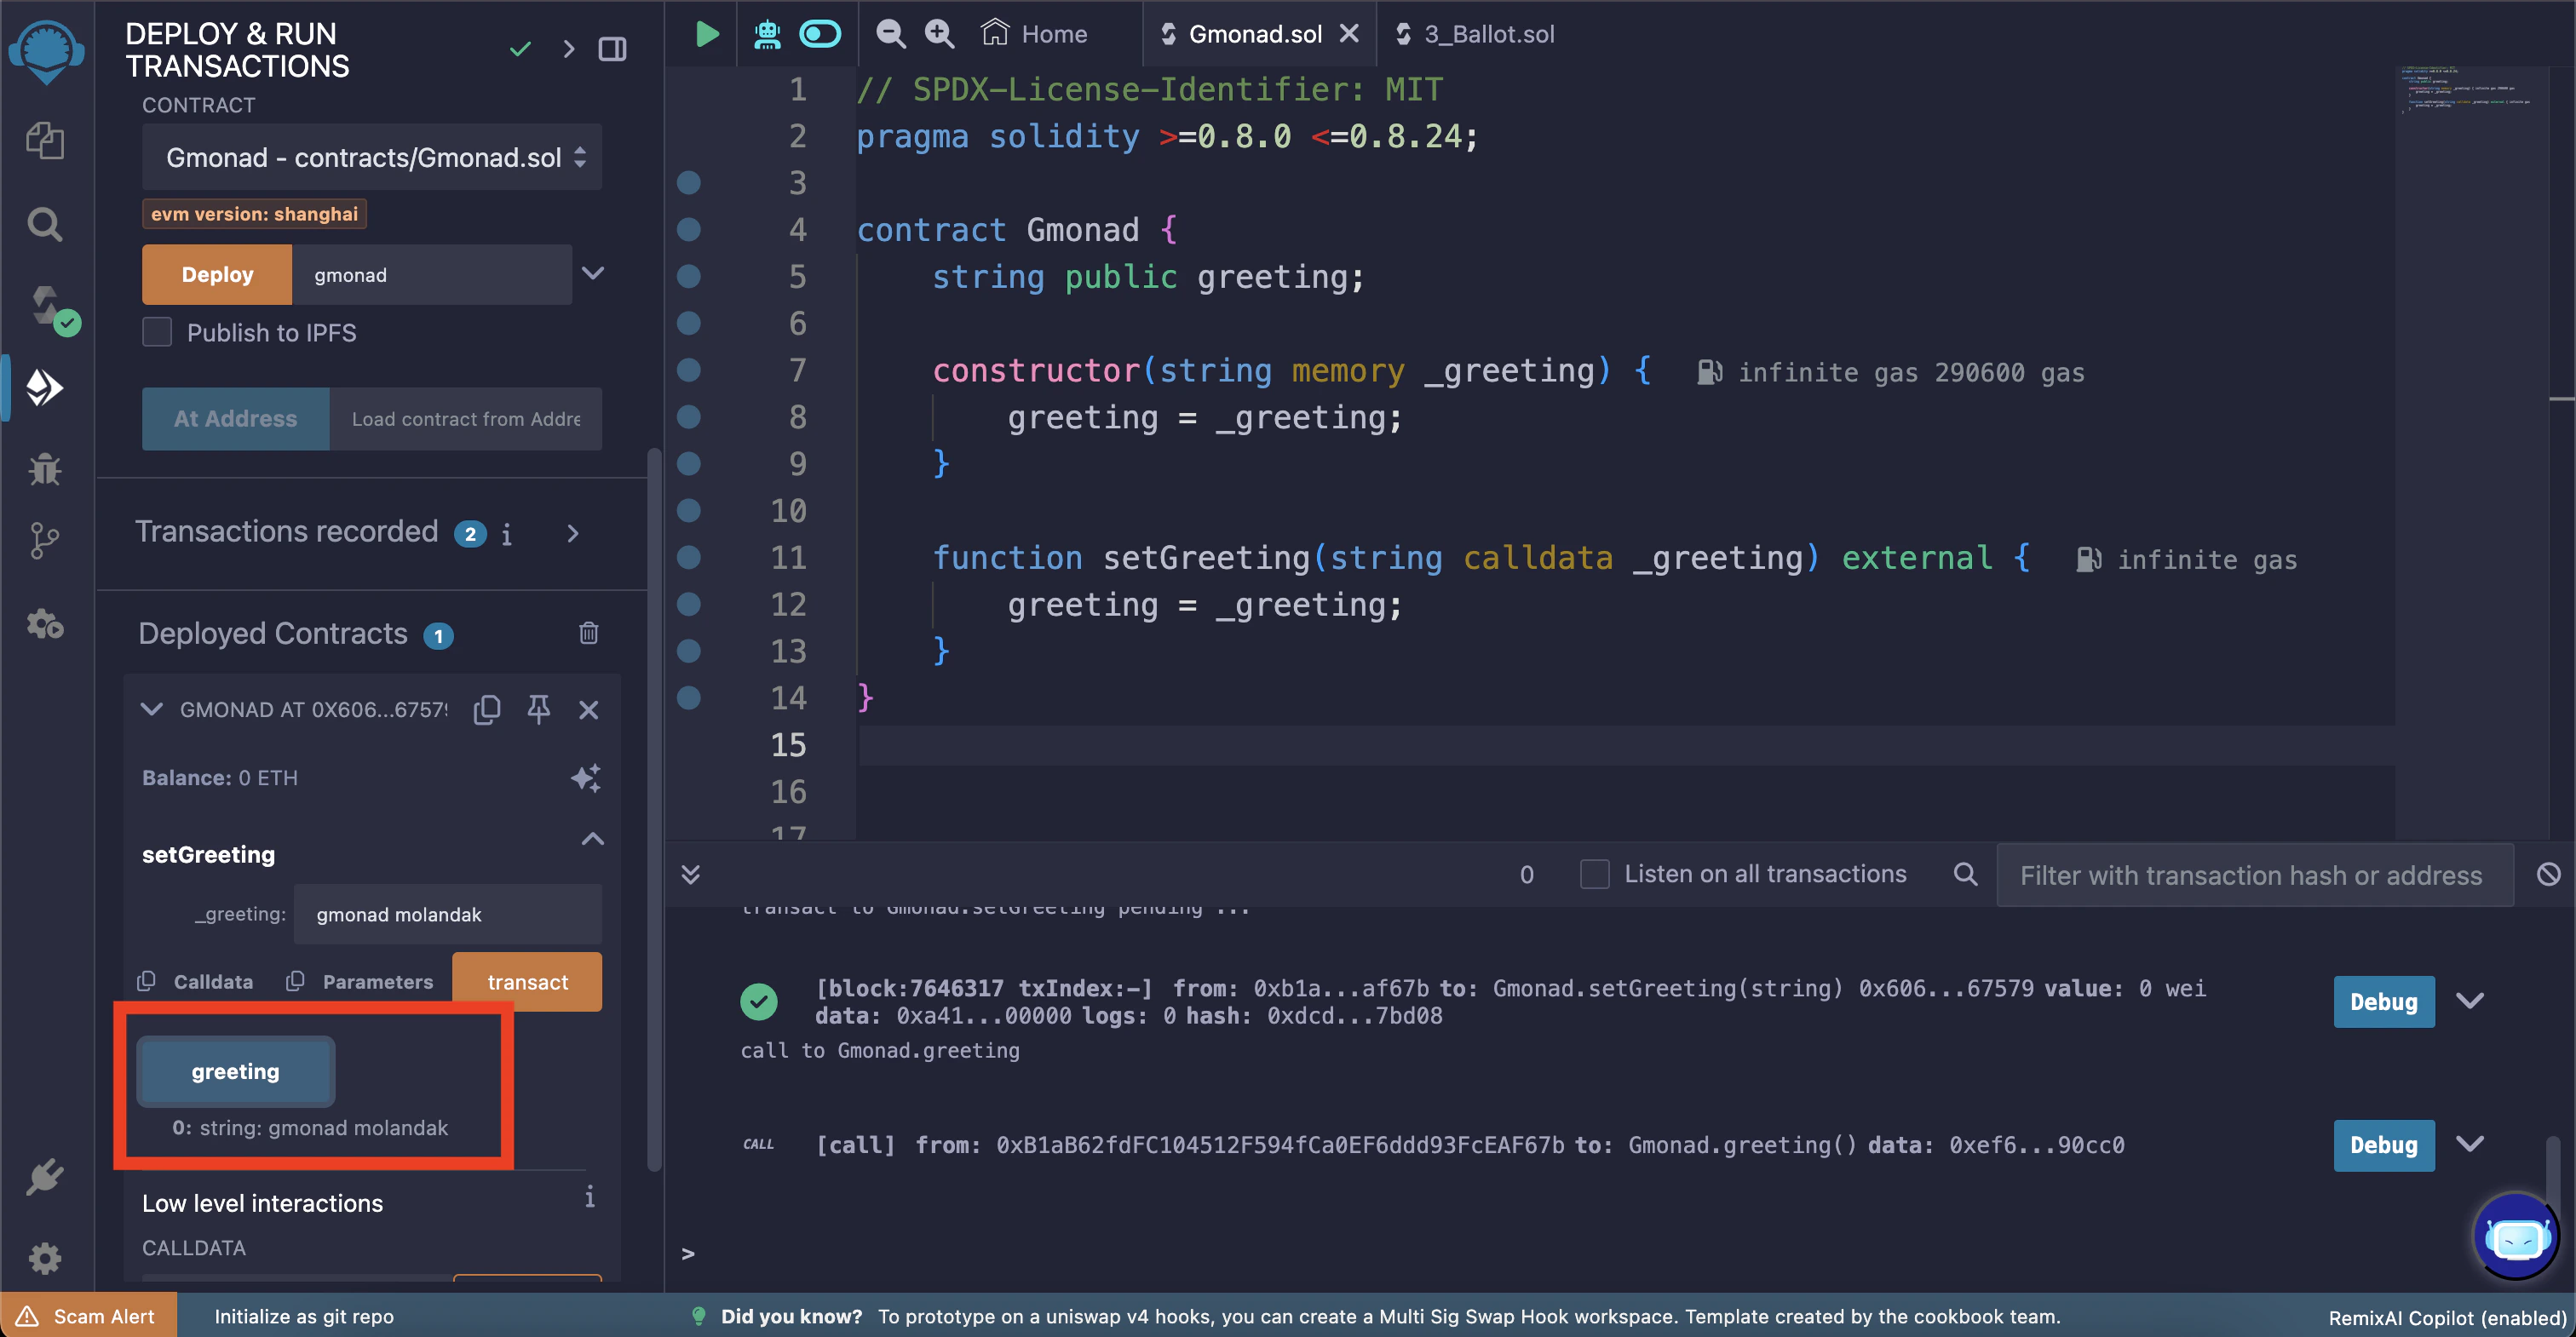
You can expand the smart contract to see the functions available. There you will find agreeting button which can be used to read the current greeting message stored in the smart contract.
Click the “greeting” button to call the greeting() method (which outputs the current greeting message). You’ll need to click the expand arrow in the terminal output to see the decoded output.
This “greeting” button is a getter function which is automatically created for the public
greeting state variable in the smart contract.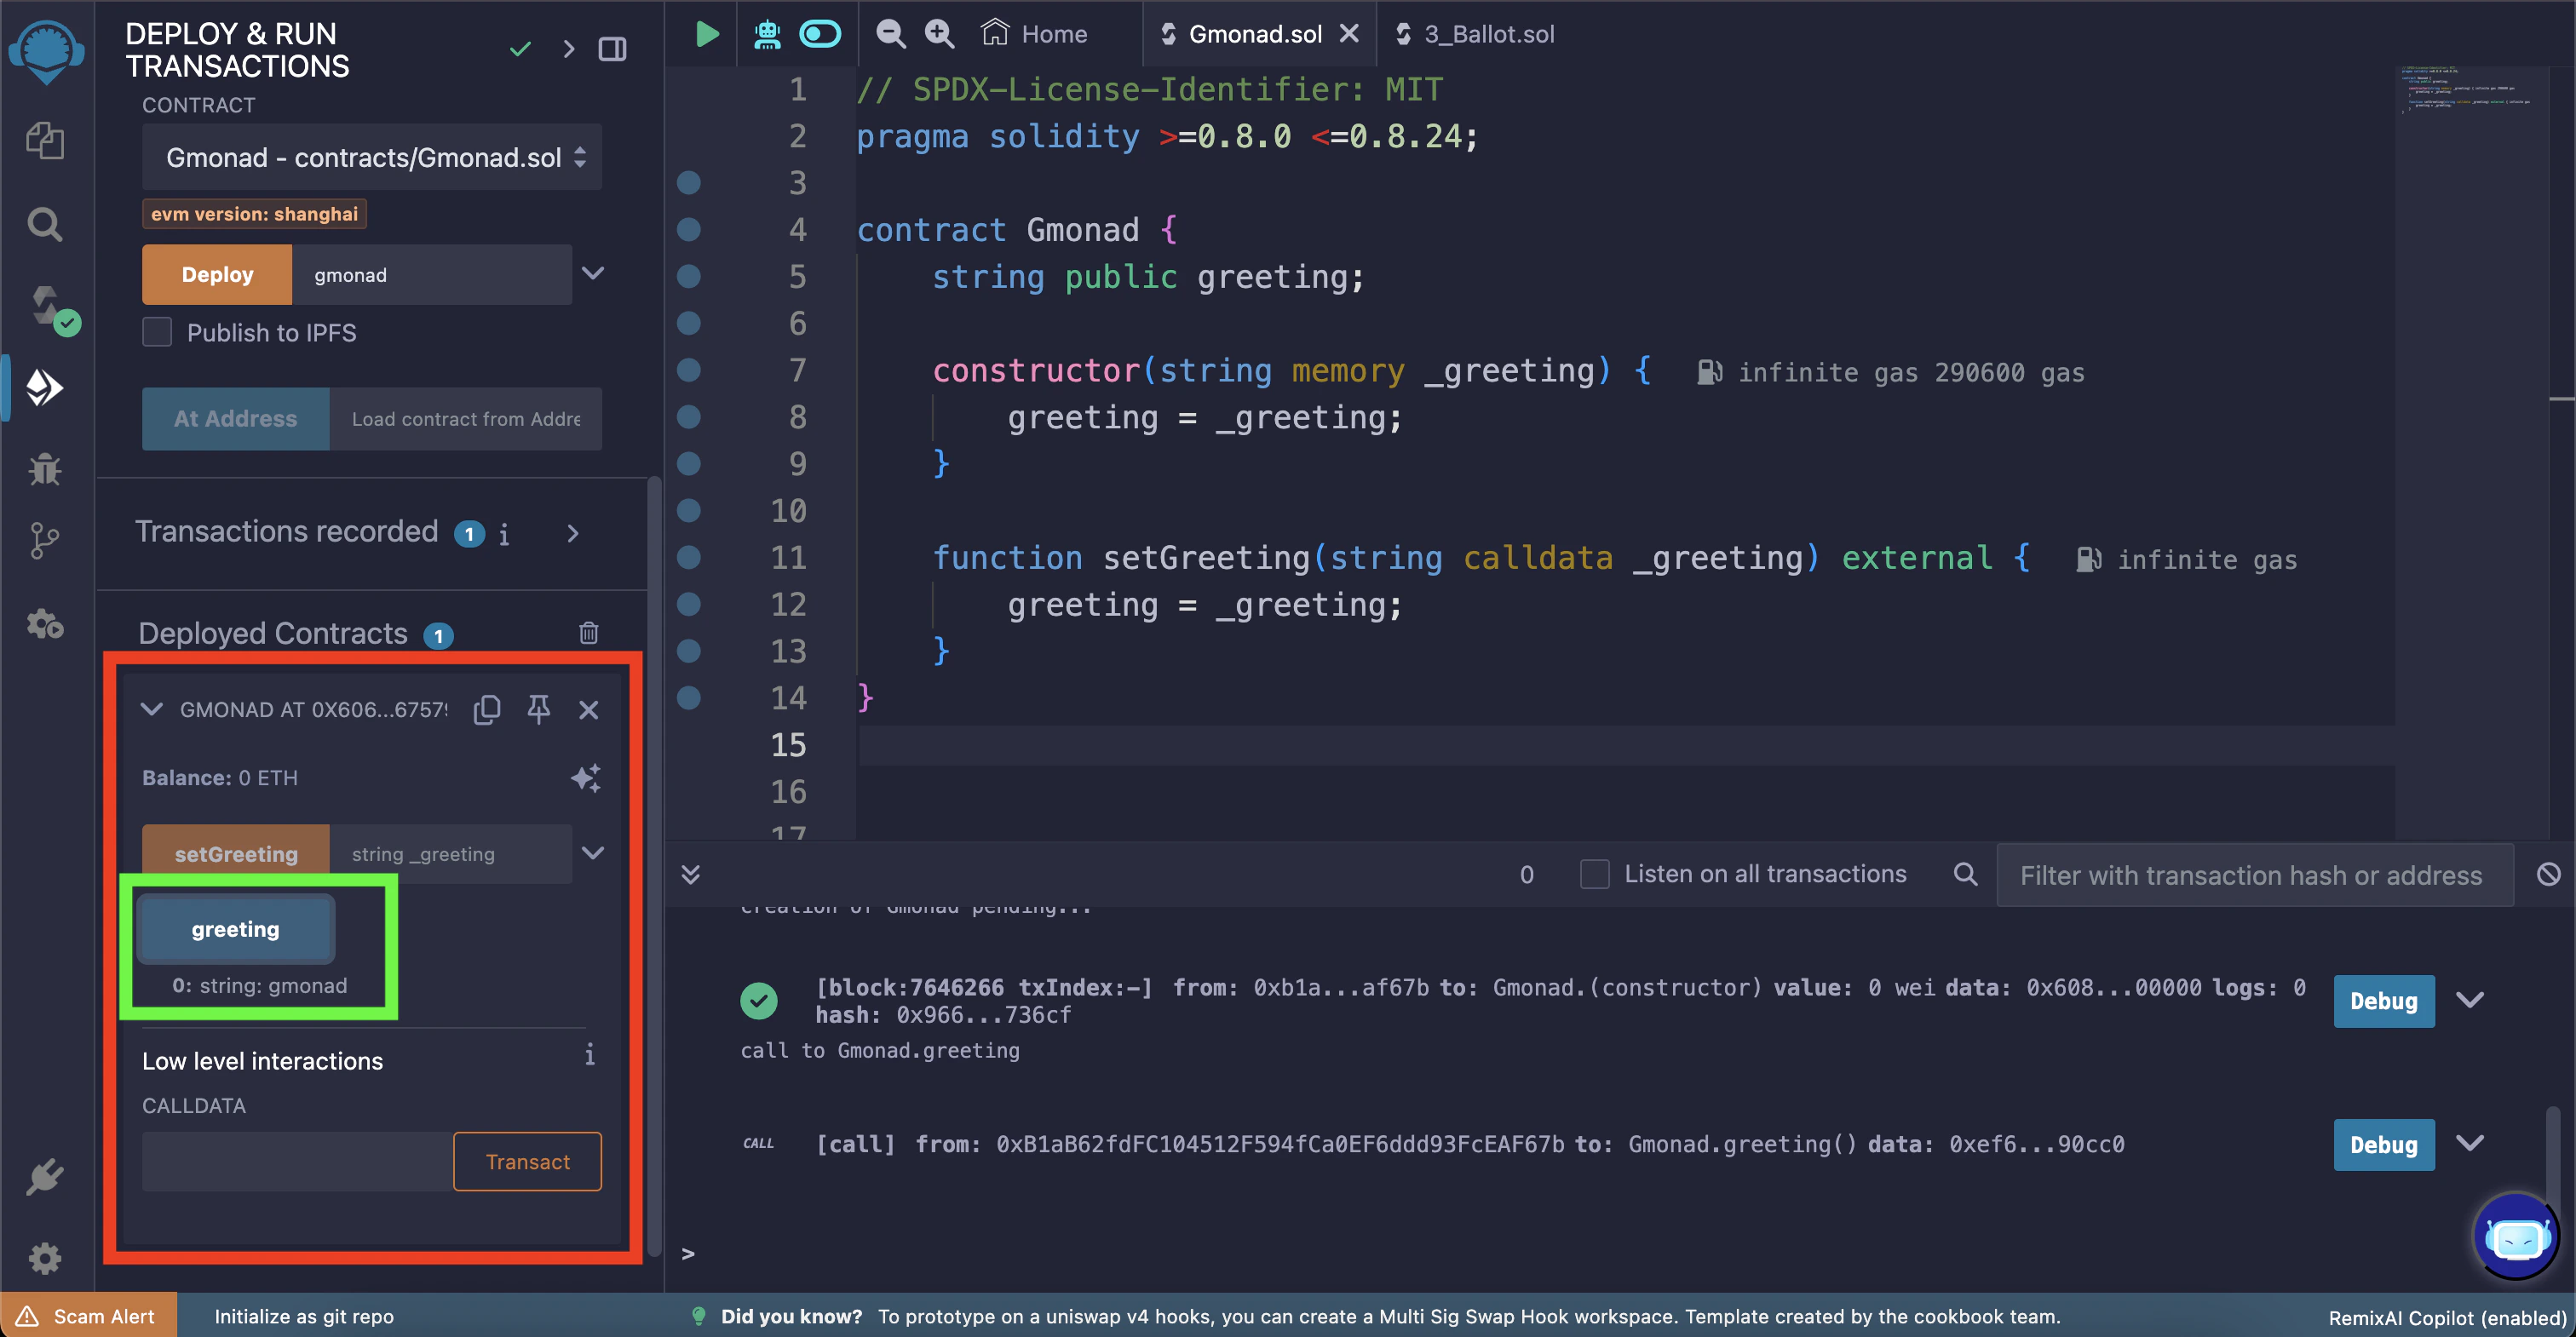
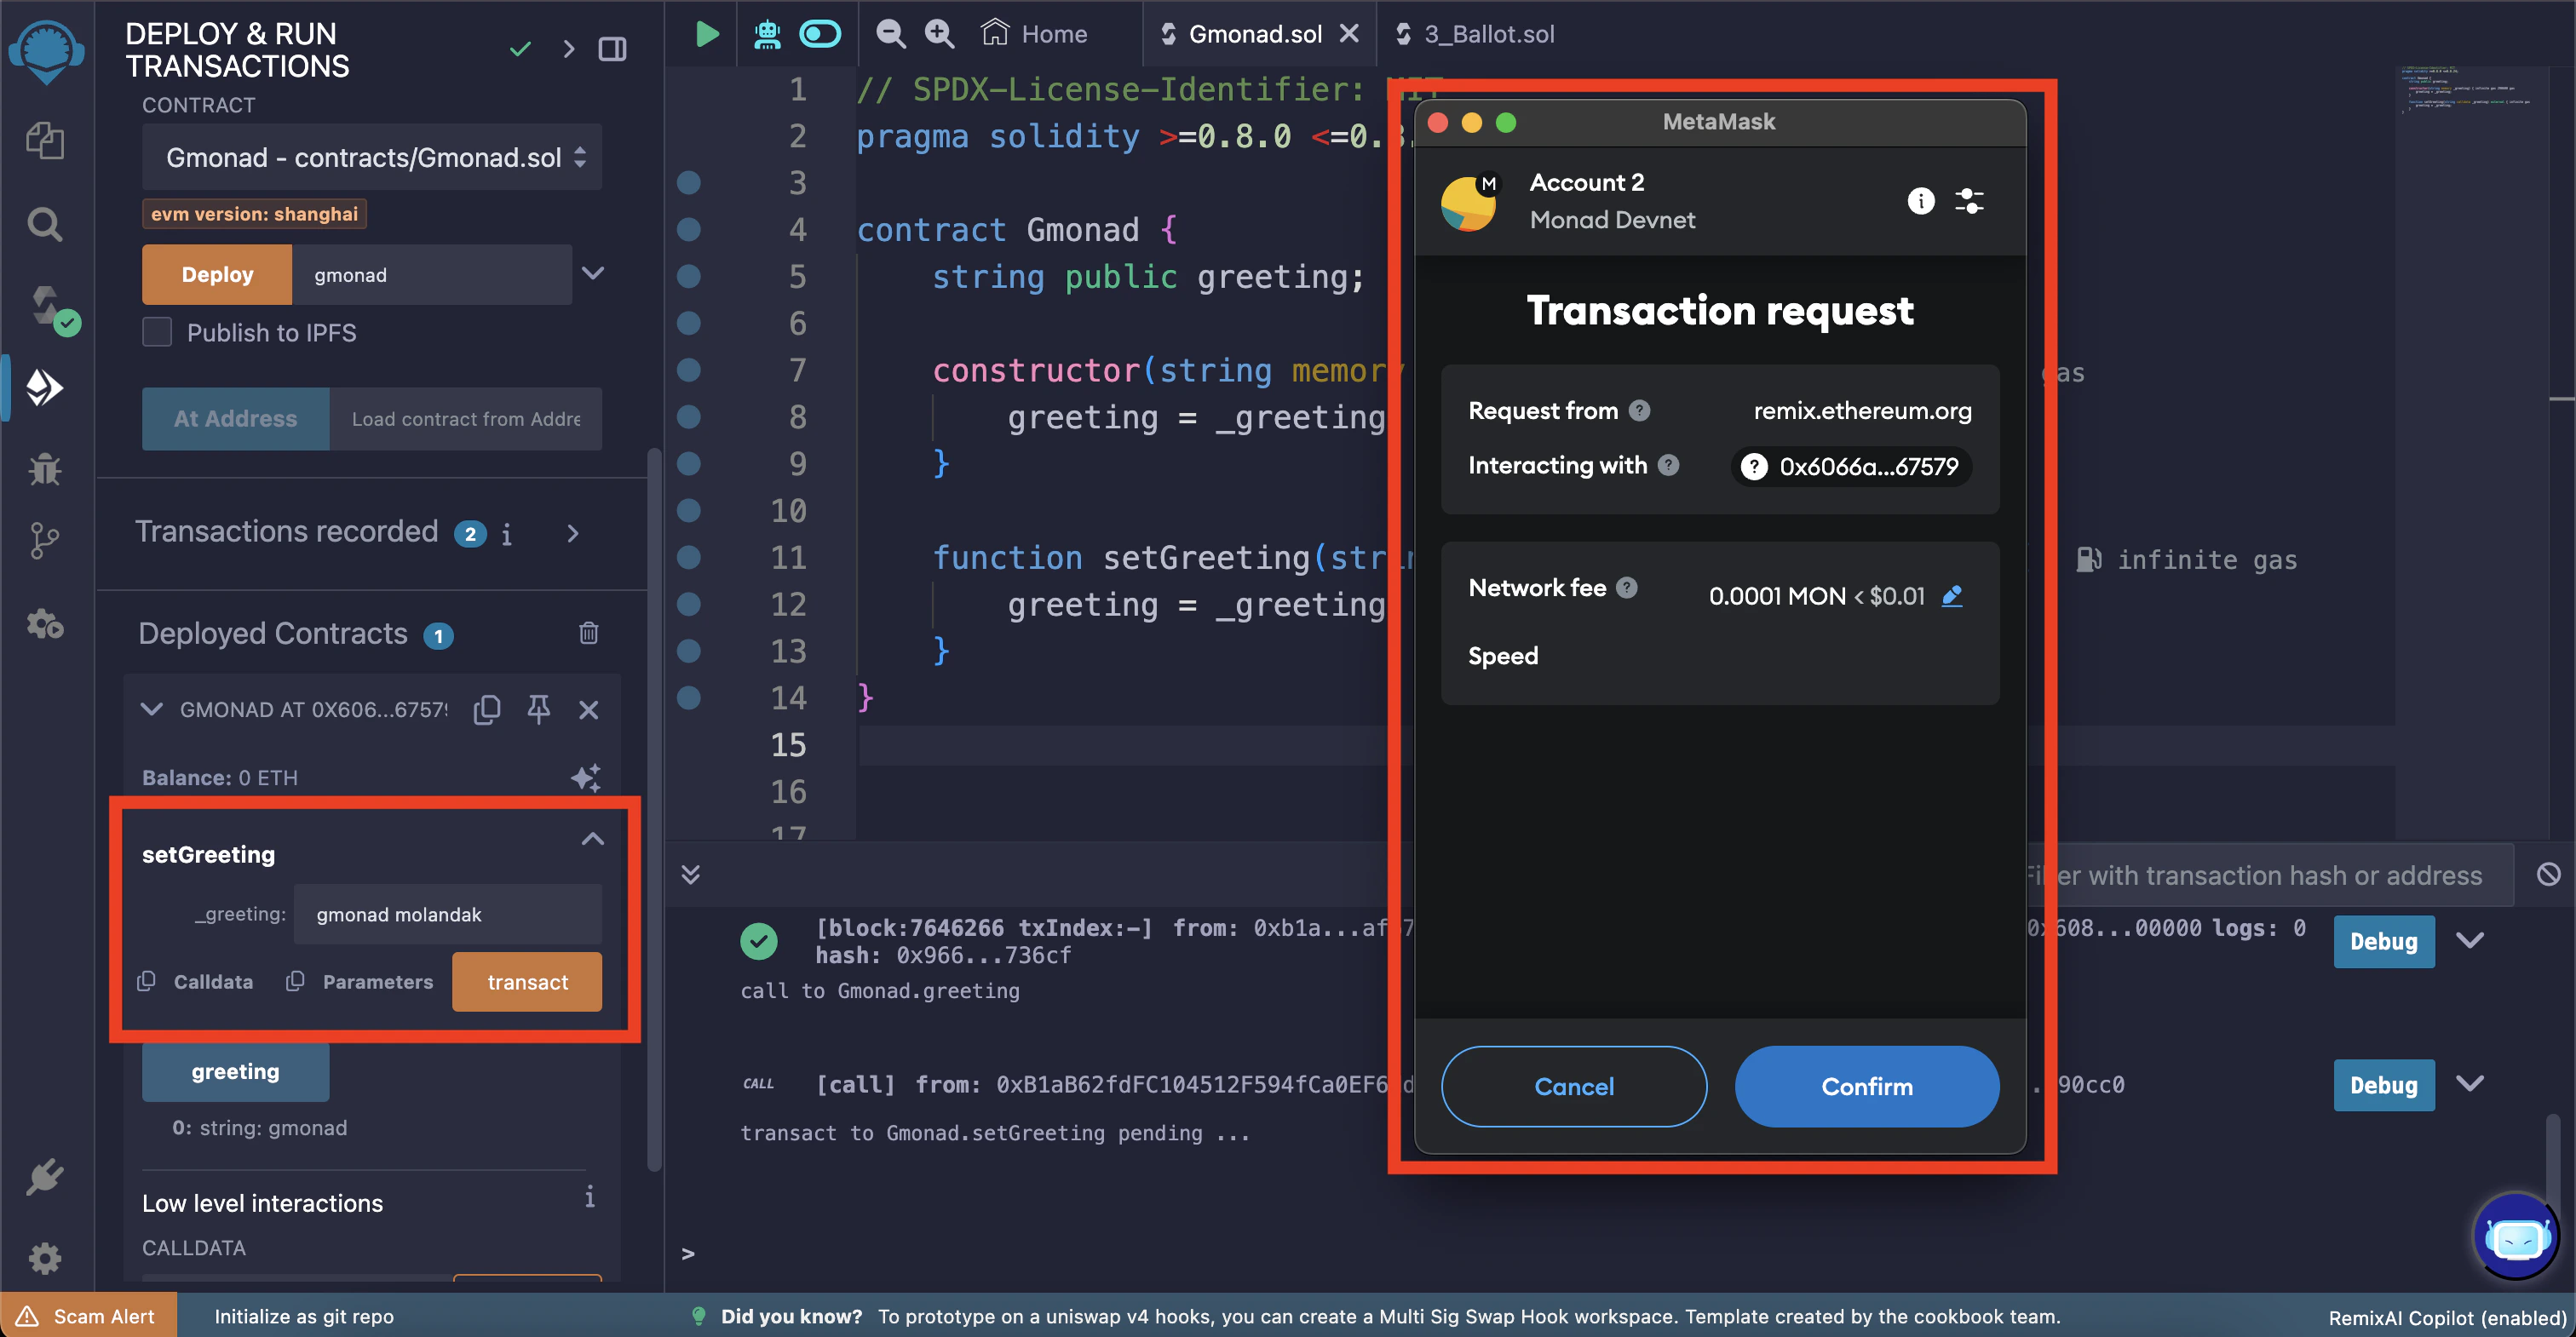
setGreeting function.
In this example, we will change the greeting message to “gmonad molandak”.
Once again, click the “transact” button to initiate the transaction.
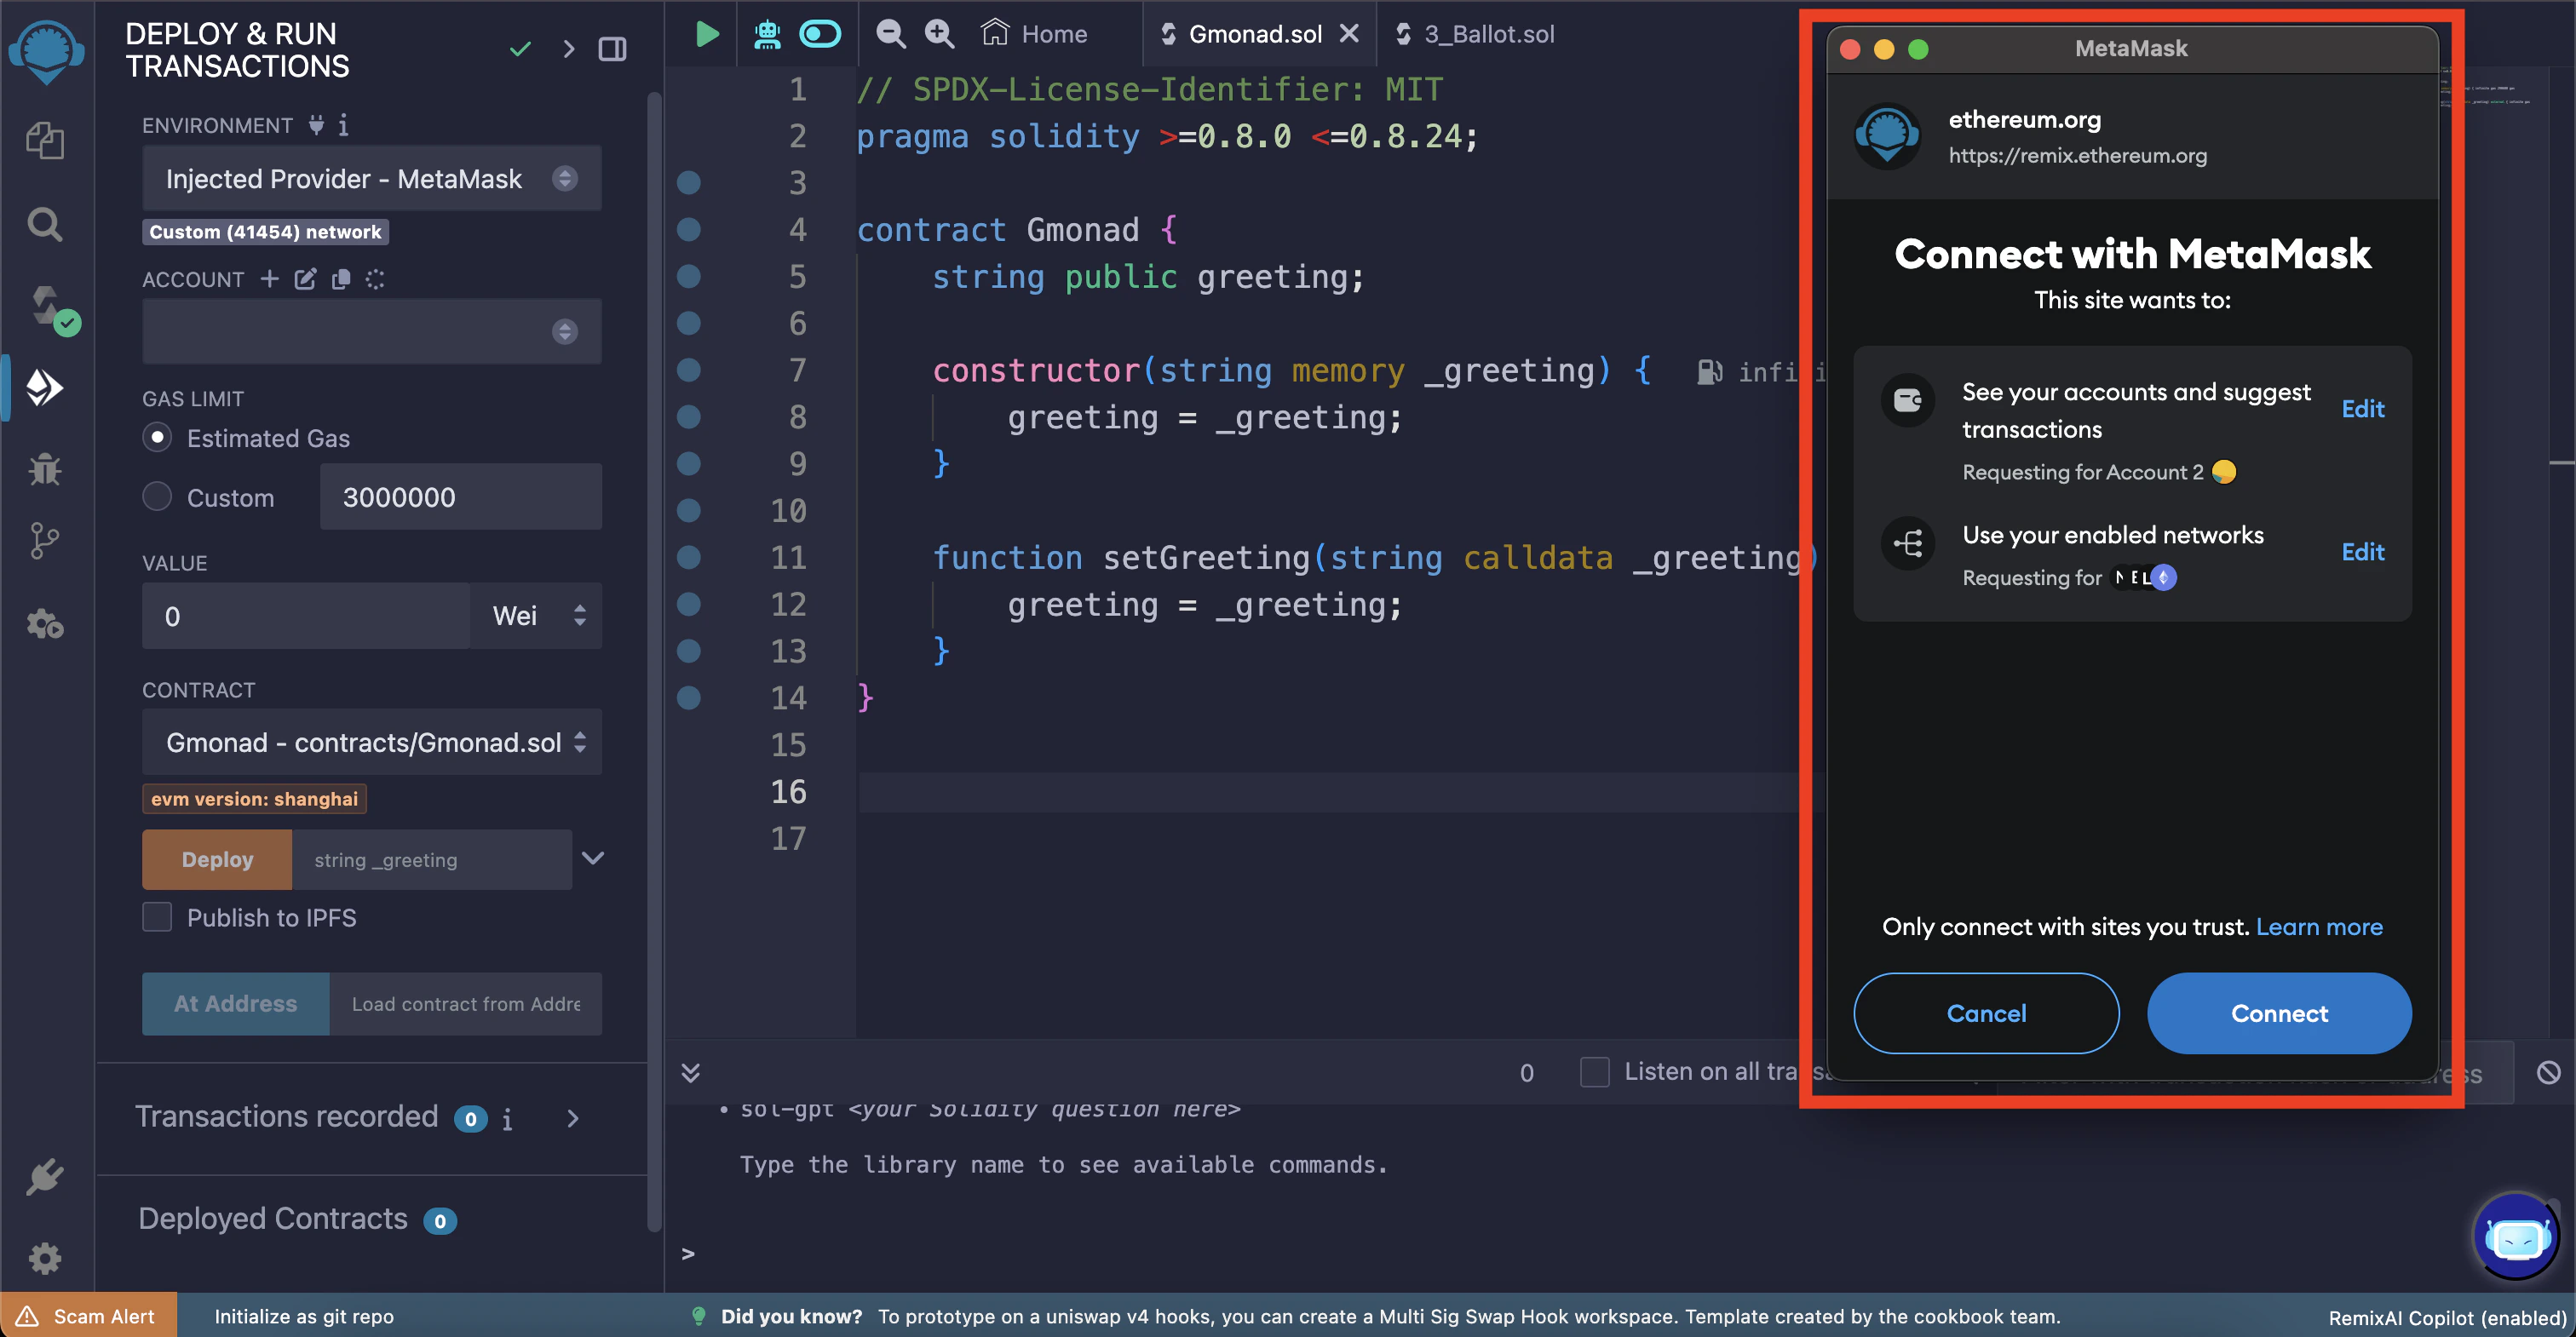
You should see a wallet popup asking for confirmation to change the greeting message. Click “Confirm”.
greeting button.