What is QuickNode Streams?
QuickNode Streams is a web3 data streaming solution supporting real-time and historical Monad data that offers:- Reliable Data Delivery - Exactly-once, guaranteed delivery, seamlessly integrating with your data lake. Streams ensures every block, receipt, or trace is delivered exactly-once in the order of dataset finality, preventing issues like corrupt or missing data
- Real-Time Data Consistency - Consistent, live data streaming
- Efficient Historical Data Handling - Configurable date ranges and destinations for streamlined historical data management
- Easy Integration - Simple setup through a user-friendly interface
- Transparent User Experience - Clear logging, metrics, and usage tracking
Setup Guide
1. Initial setup
- Sign up for QuickNode and log into your dashboard.
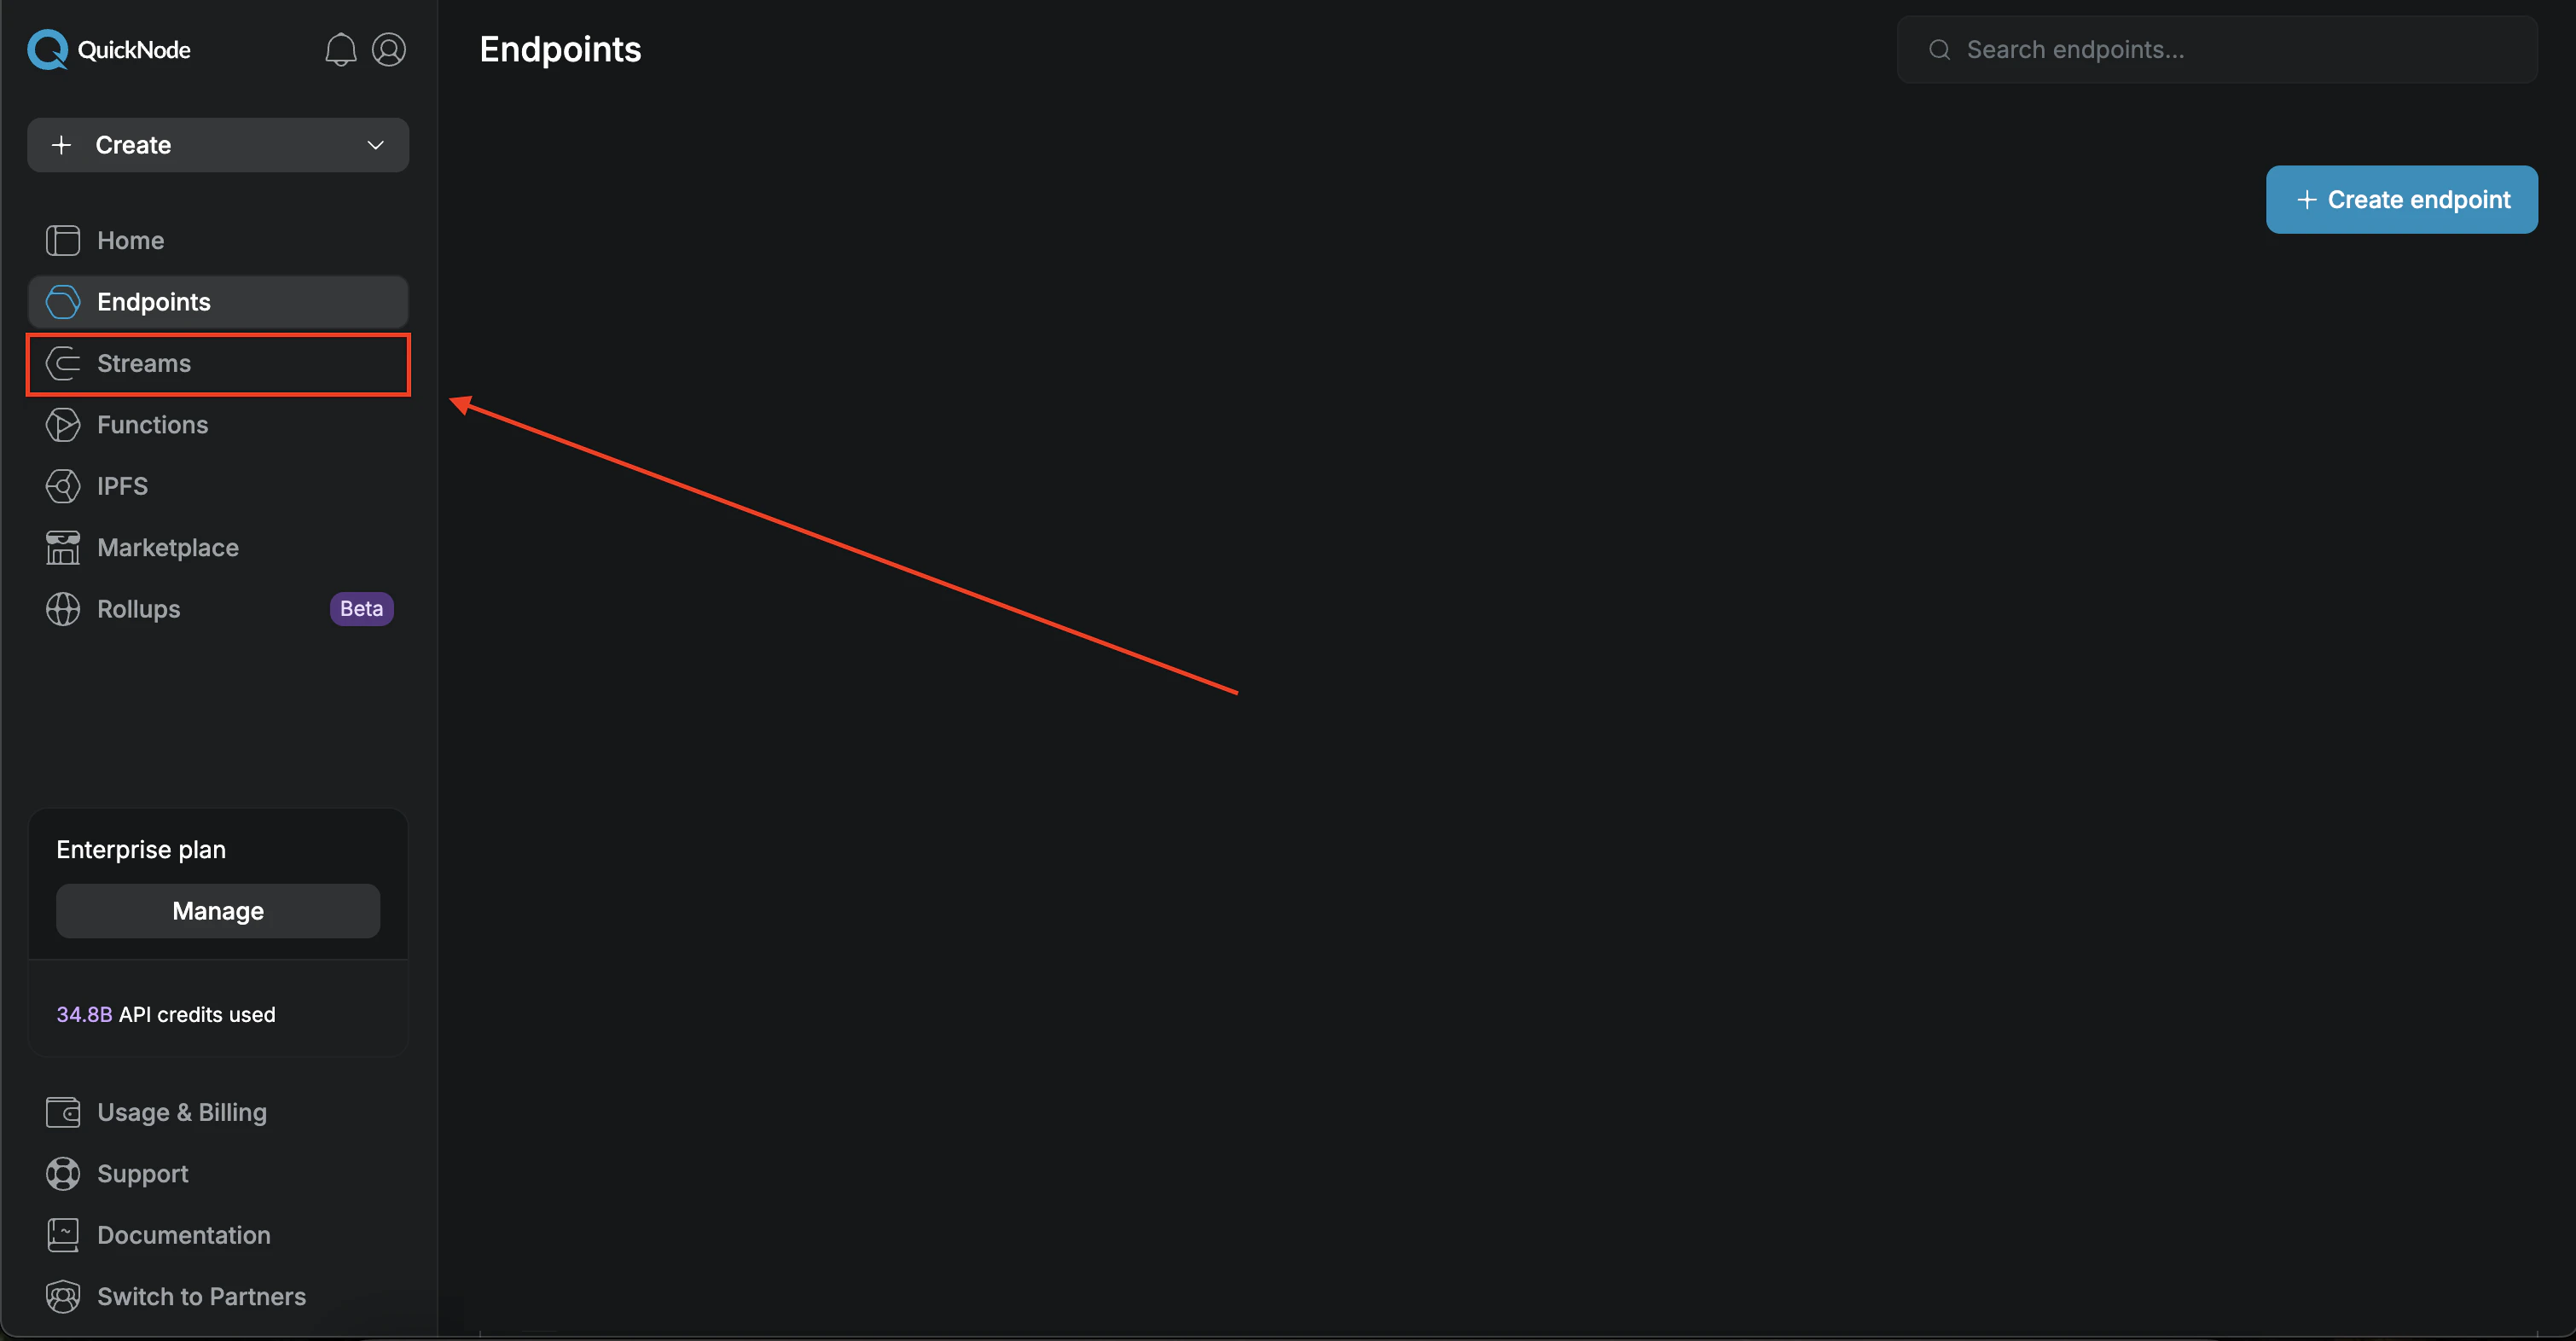
- Click on “Streams” in the left sidebar.
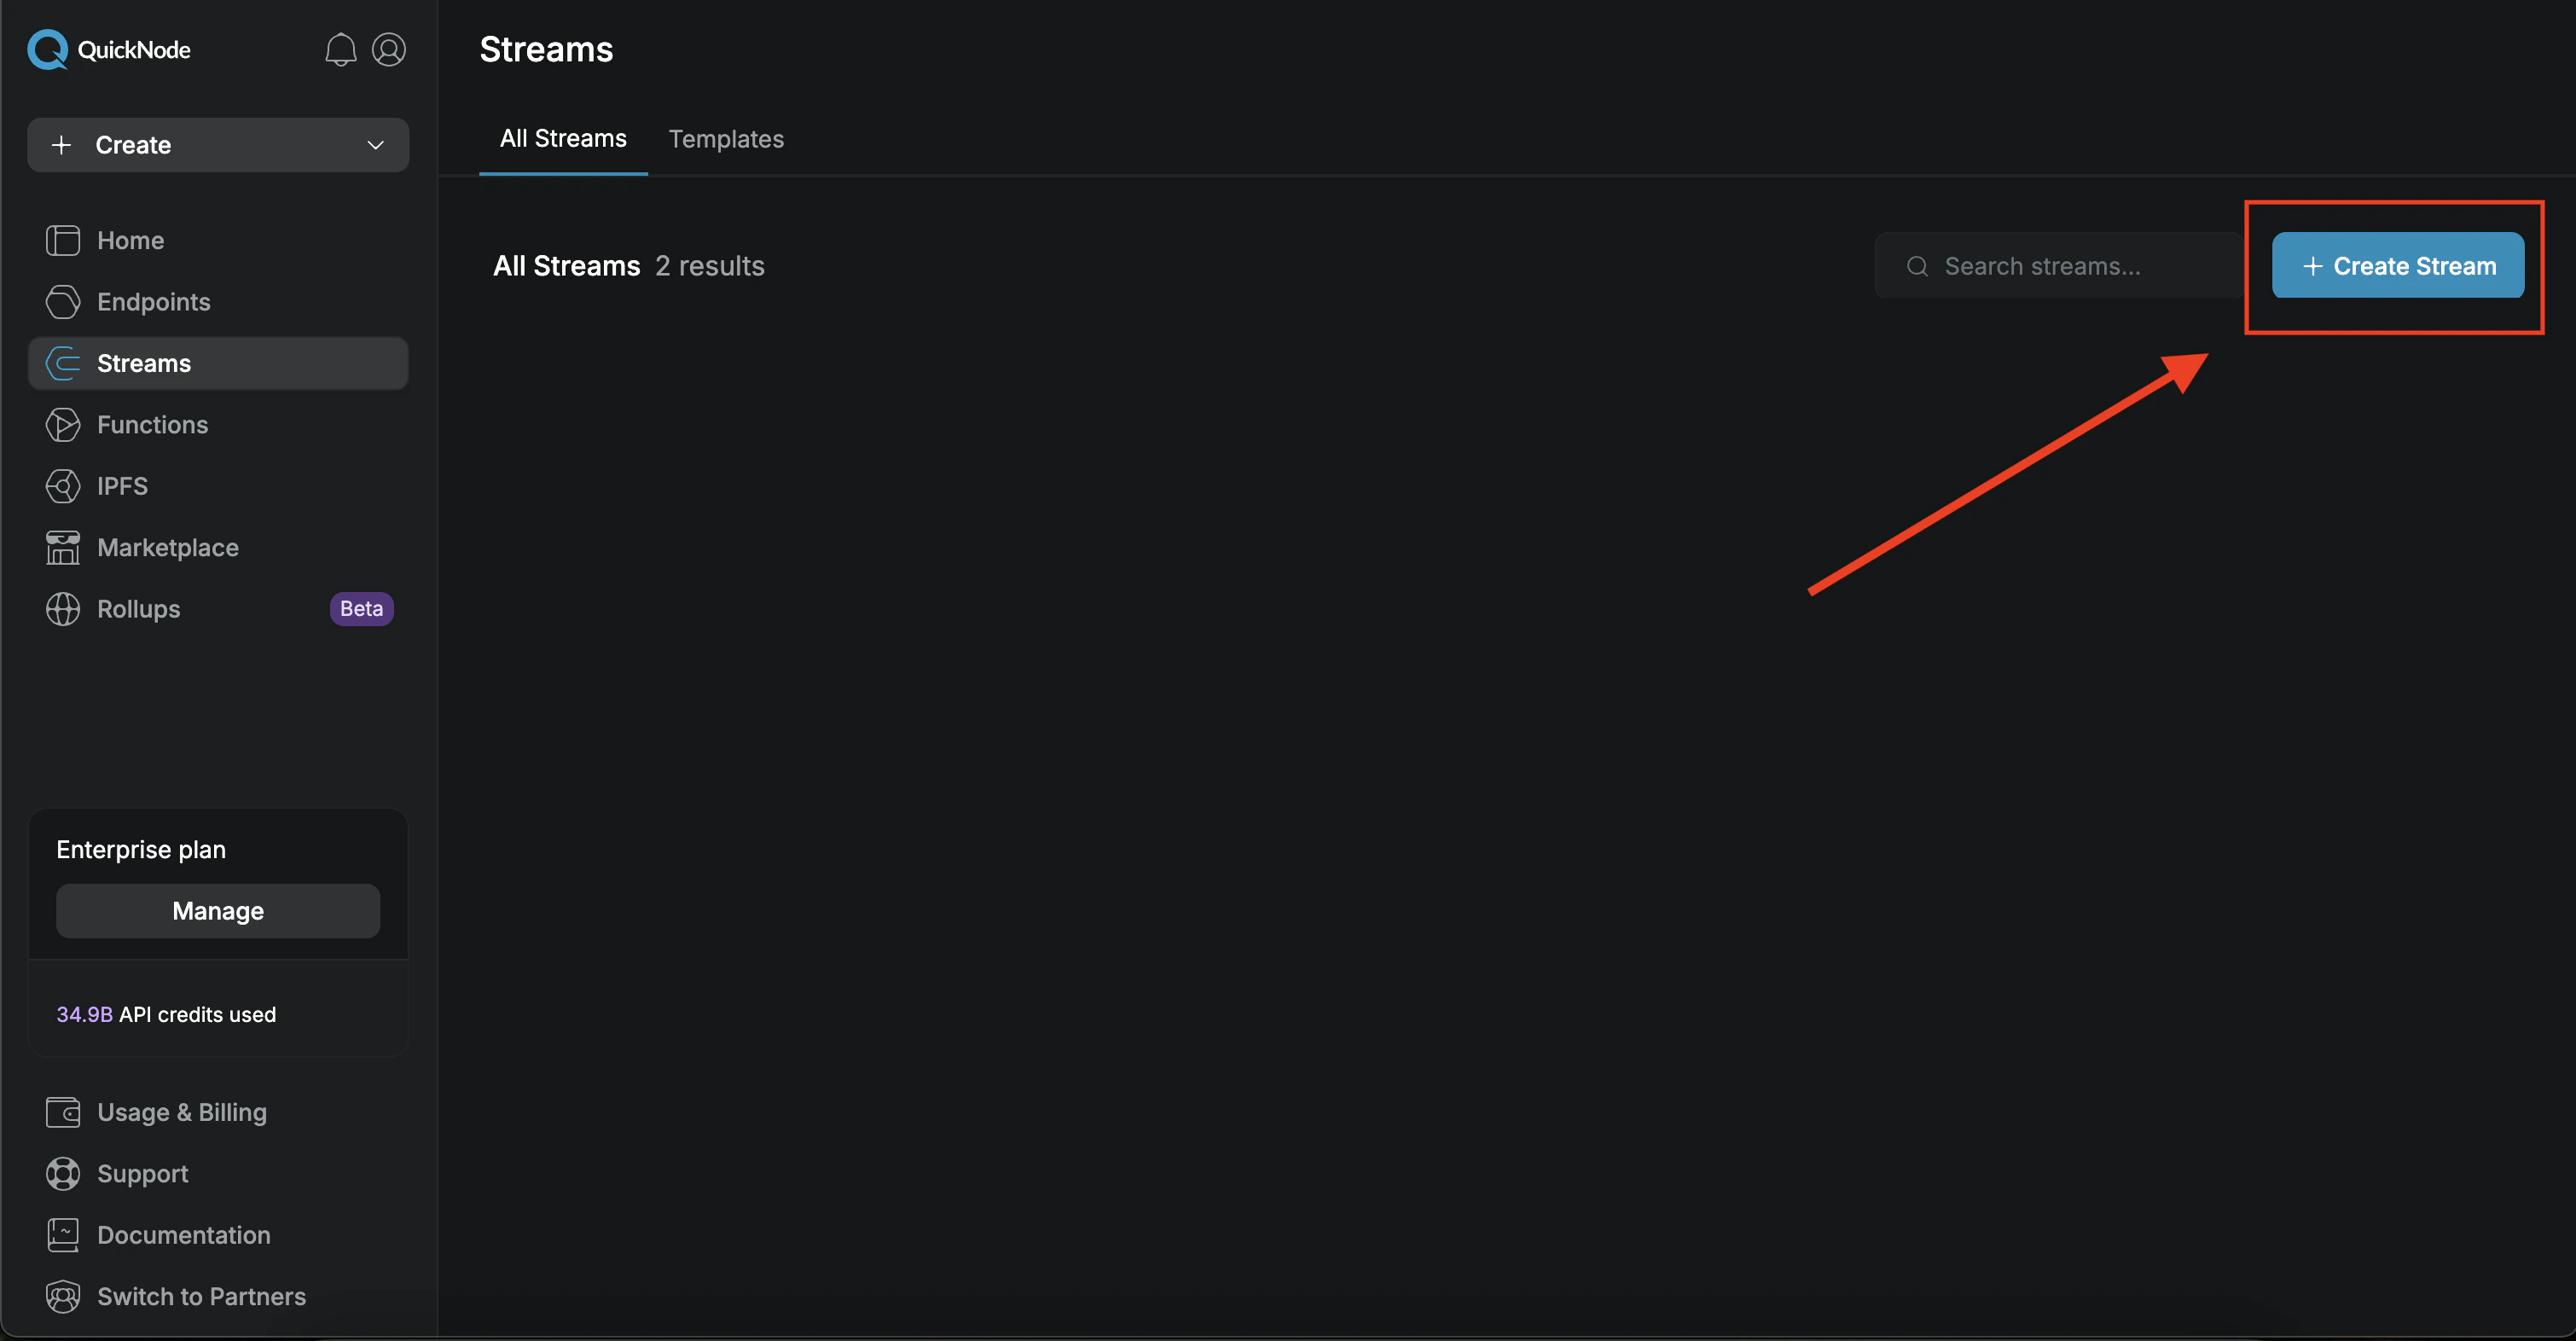
- Click on “Create Stream”.
2. Configure Stream range
-
Give your stream a name. In this example we will name it
monad-quicknode-stream. -
In the “Network” section, select
Monadfrom the dropdown. - In the “Stream Start” section you can choose to start the stream from the latest block or from a specific block number.
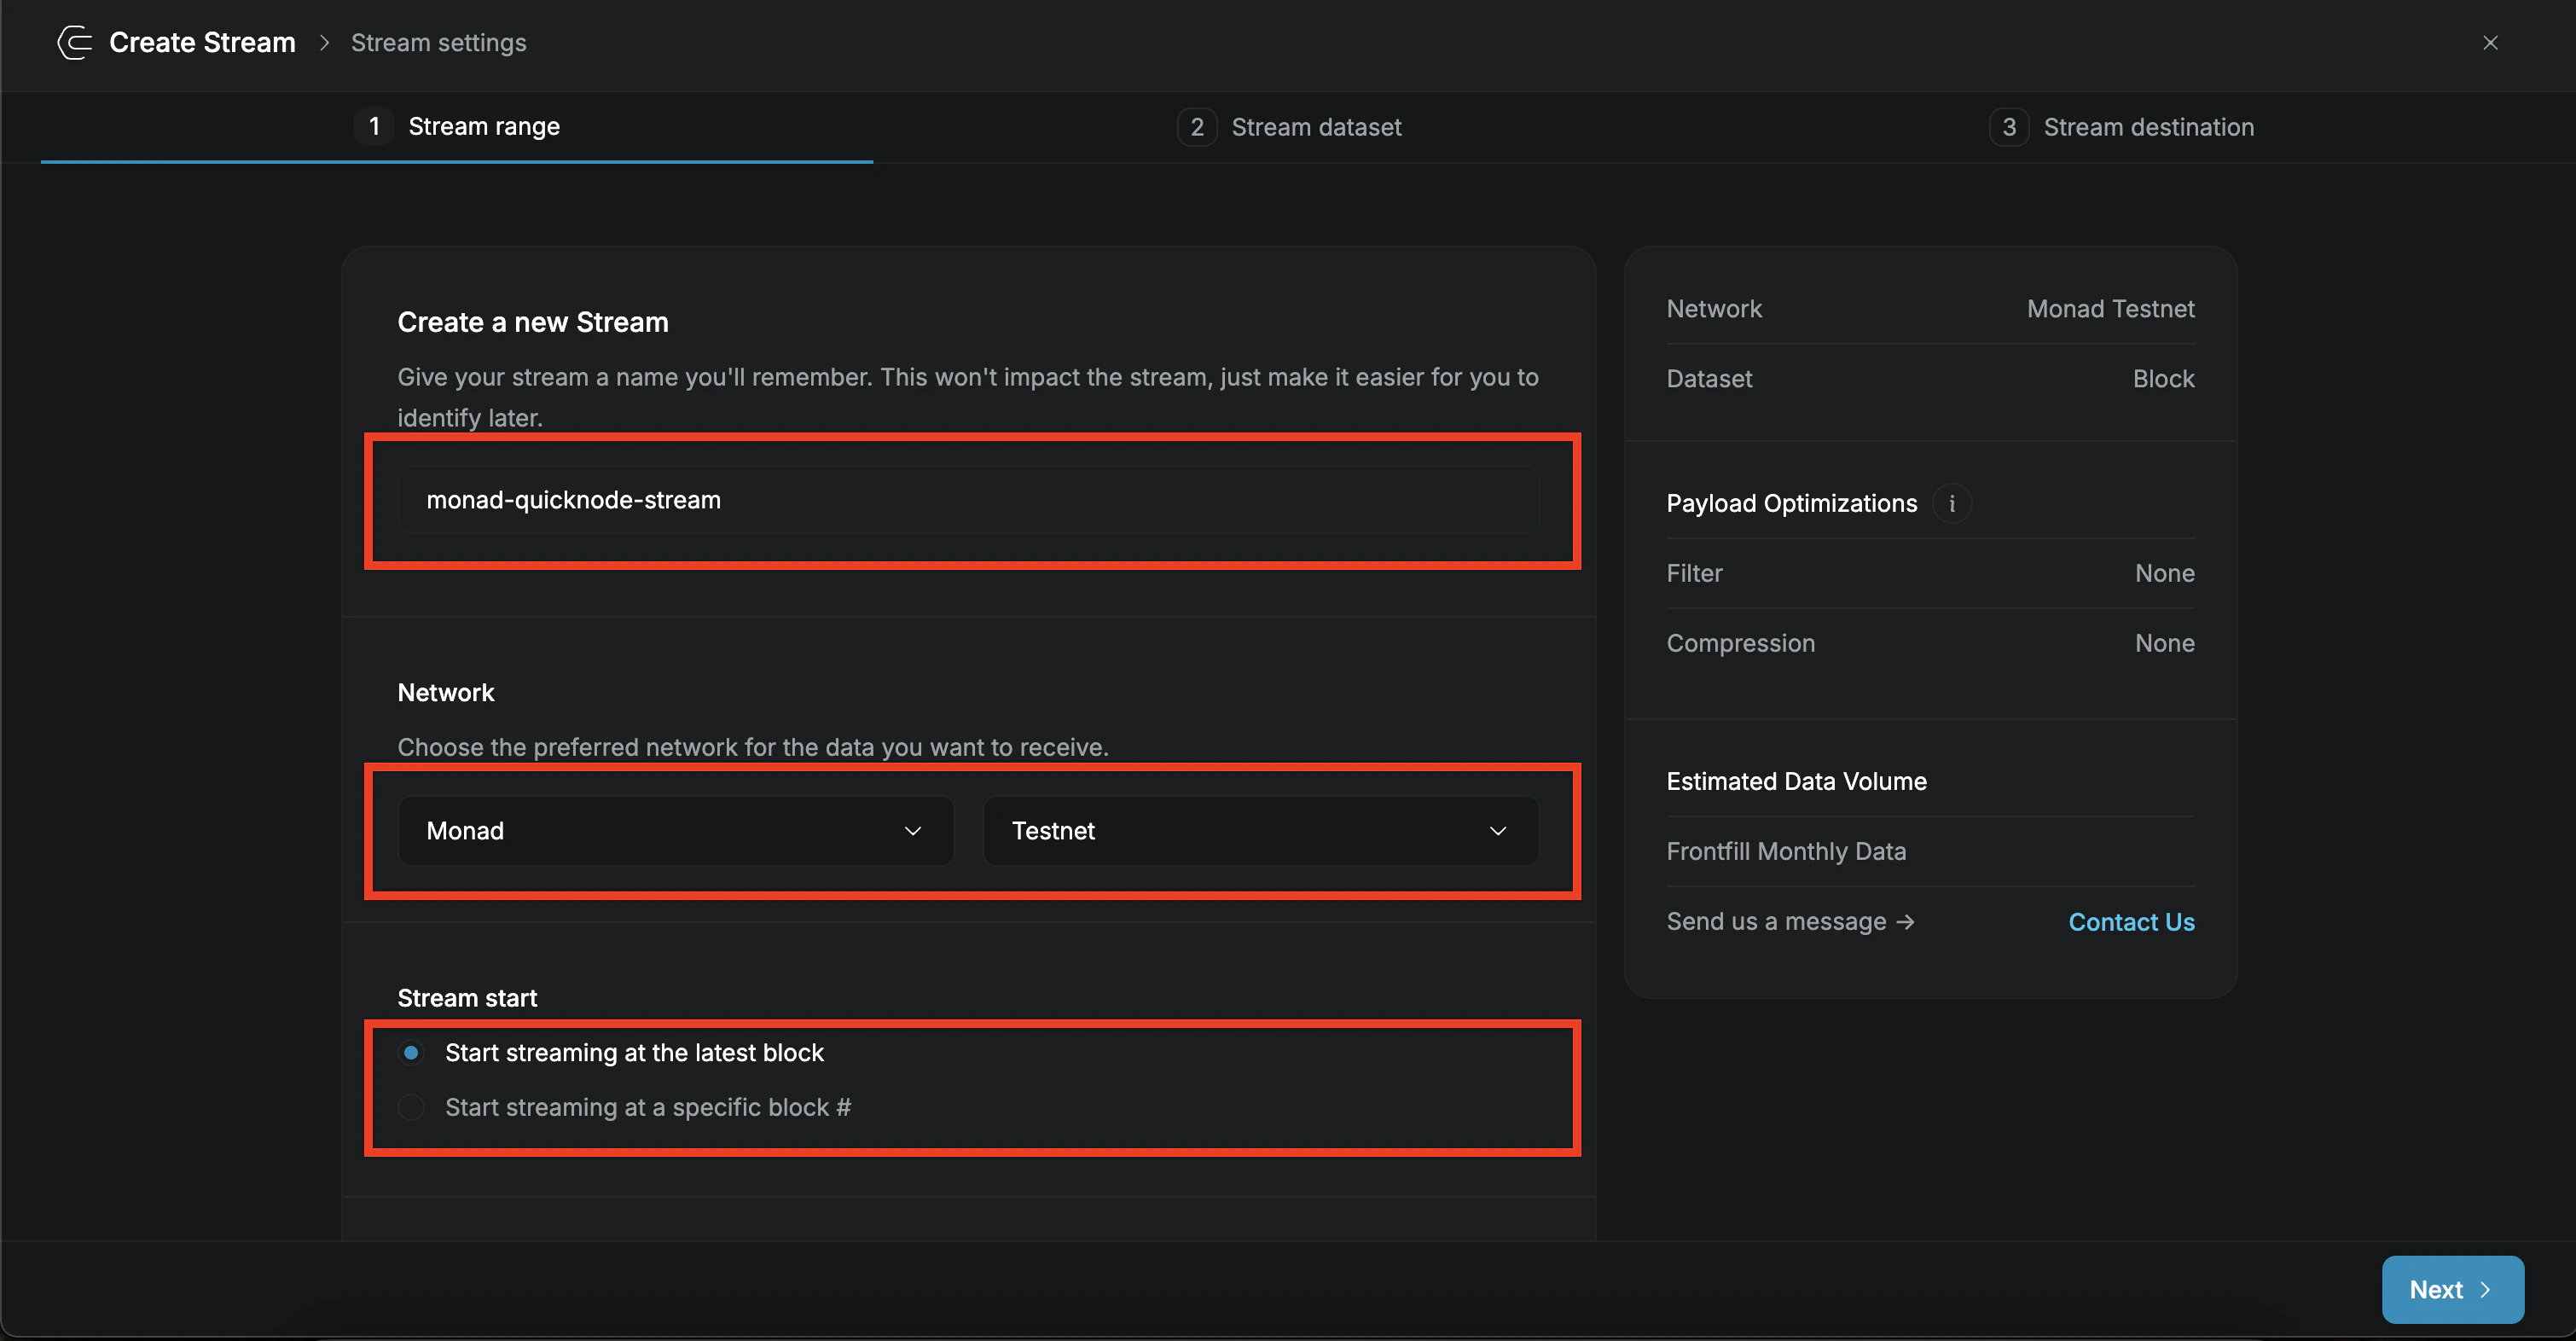
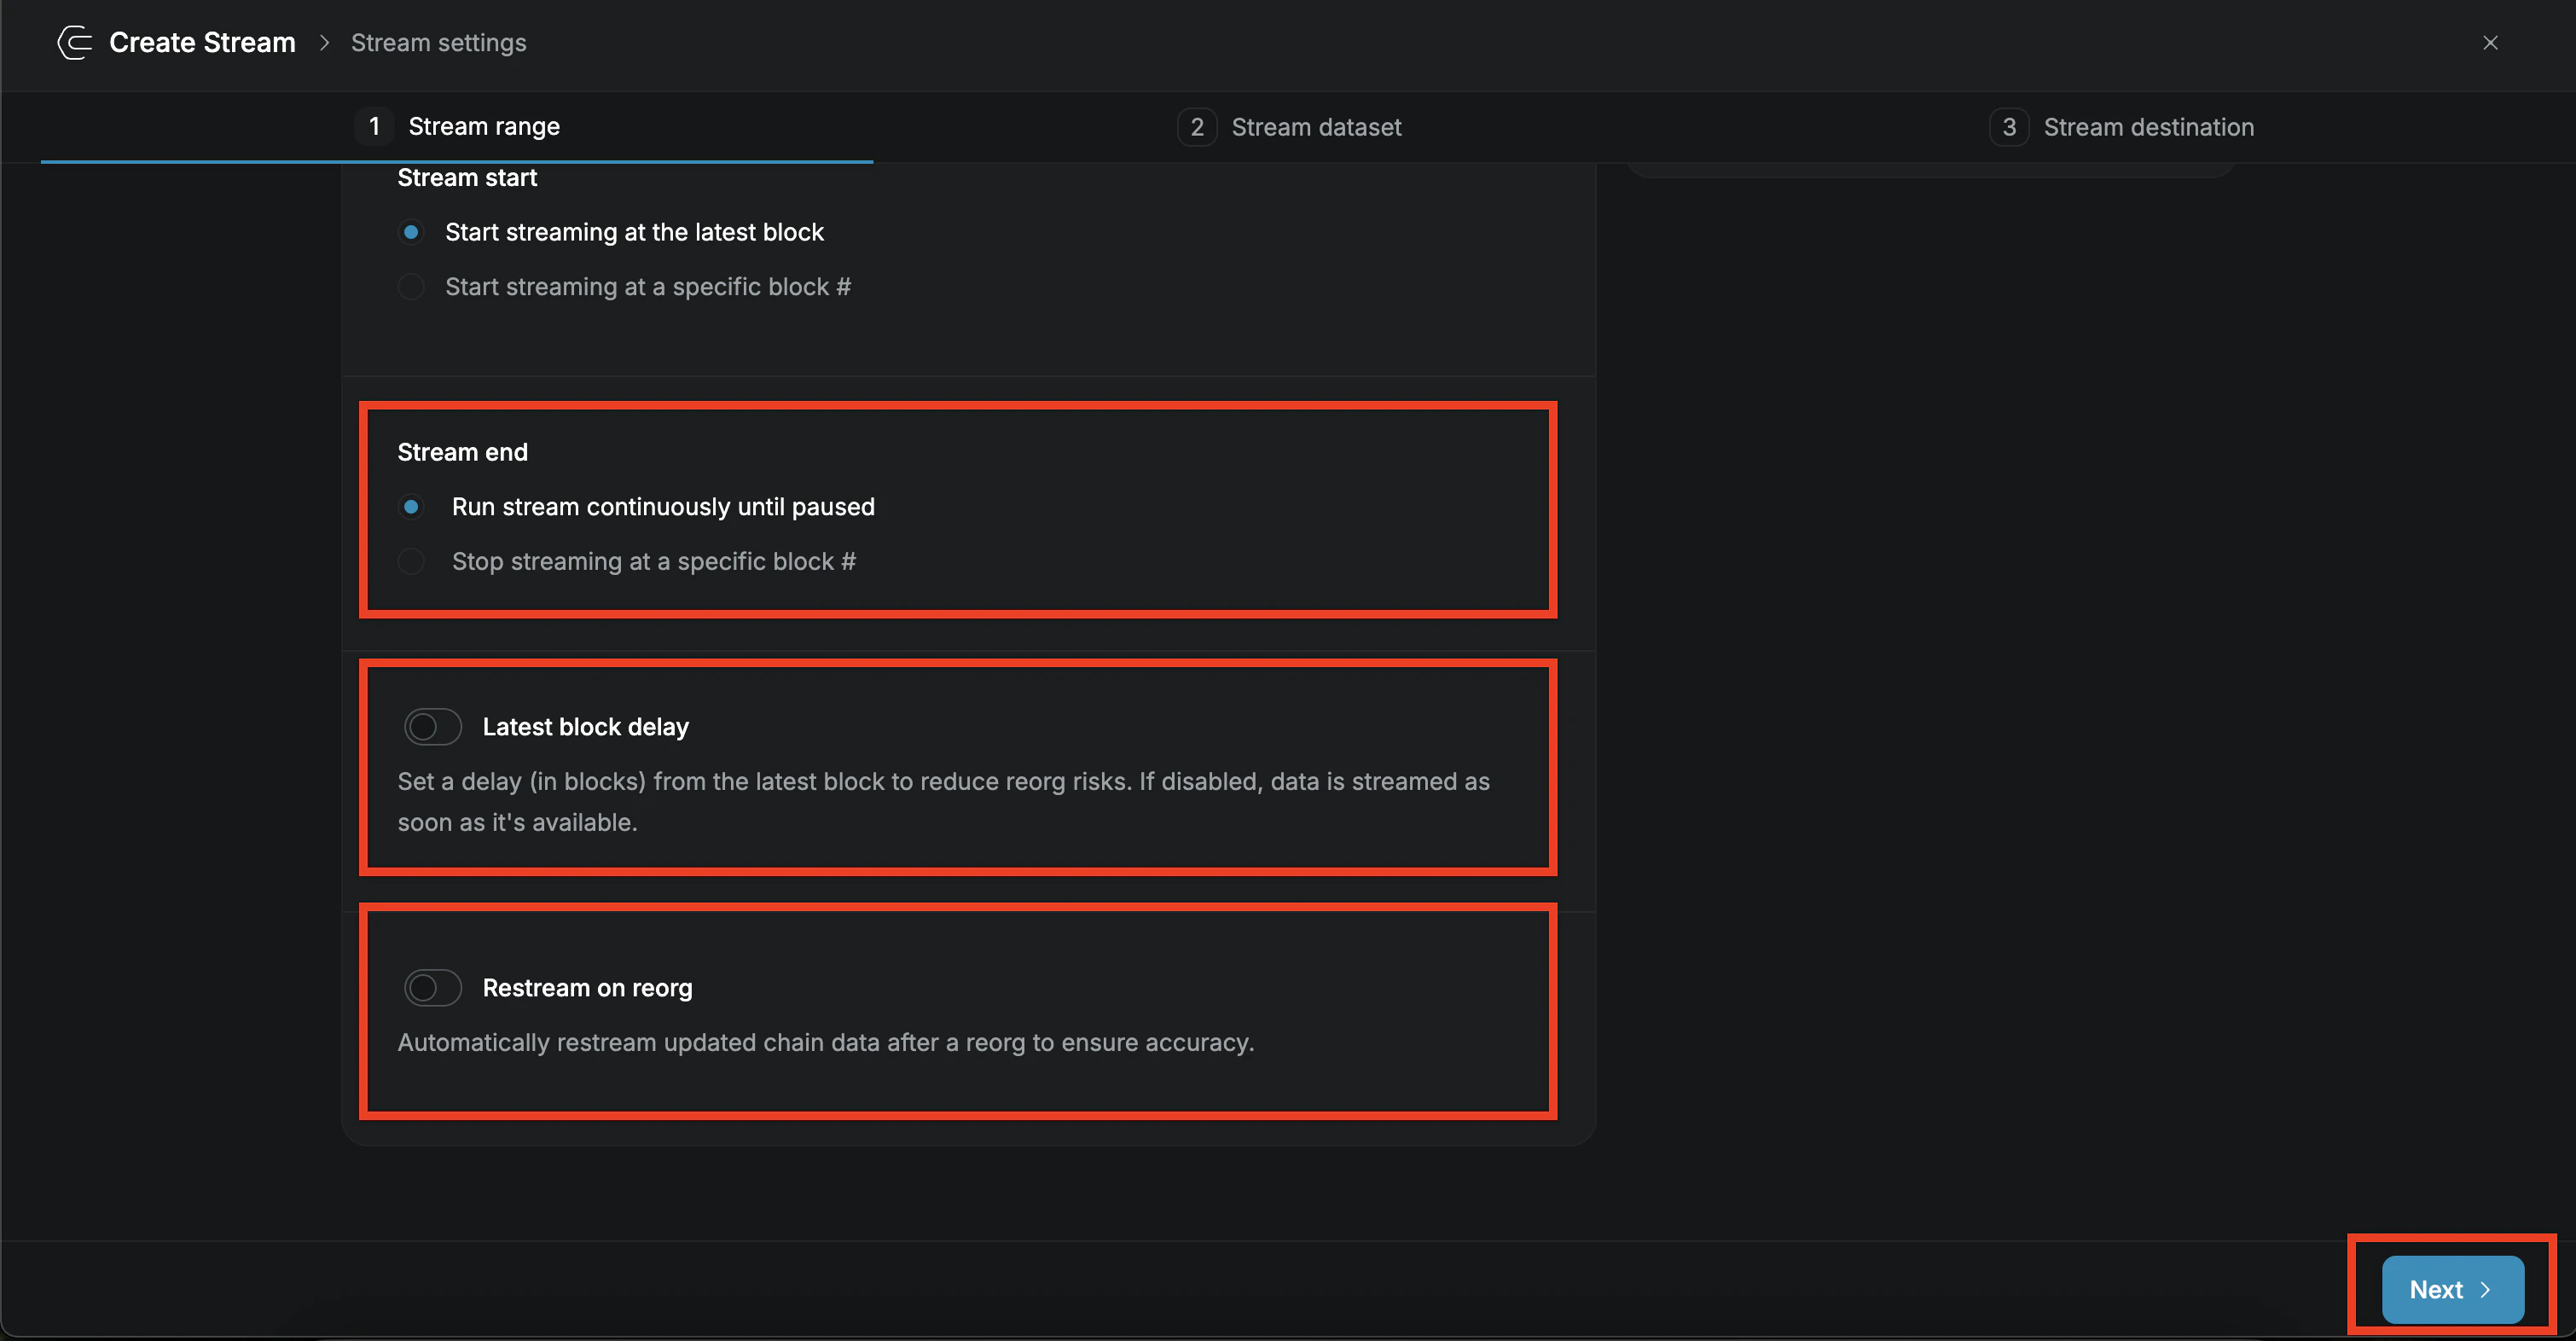
- In the “Stream End” section you can choose to end the stream until manually paused or at a specific block number.
-
In the “Latest block delay” section, you can set a block number as a delay in receiving data. For this guide we will receive data as soon as it is available.
For example: If the block delay is3, you will receive data only when there is new data available for3blocks including latest block, this helps in case there is a reorg. - In the “Restream on reorg” section you can decide if you would like to get updated data restreamed in case of a reorg. For this guide we will keep this off.
- Once done click “Next”.
3. Set up dataset
- In the “Dataset” dropdown you can select the dataset of your choice according to the use case. For this guide we will select
Block with Receiptssince we want to filter logs with events emitted by WMON contract.
- Optional: Enable “Batch messages” to receive multiple blocks in a single message. This can be useful when the stream is not starting from the latest block.
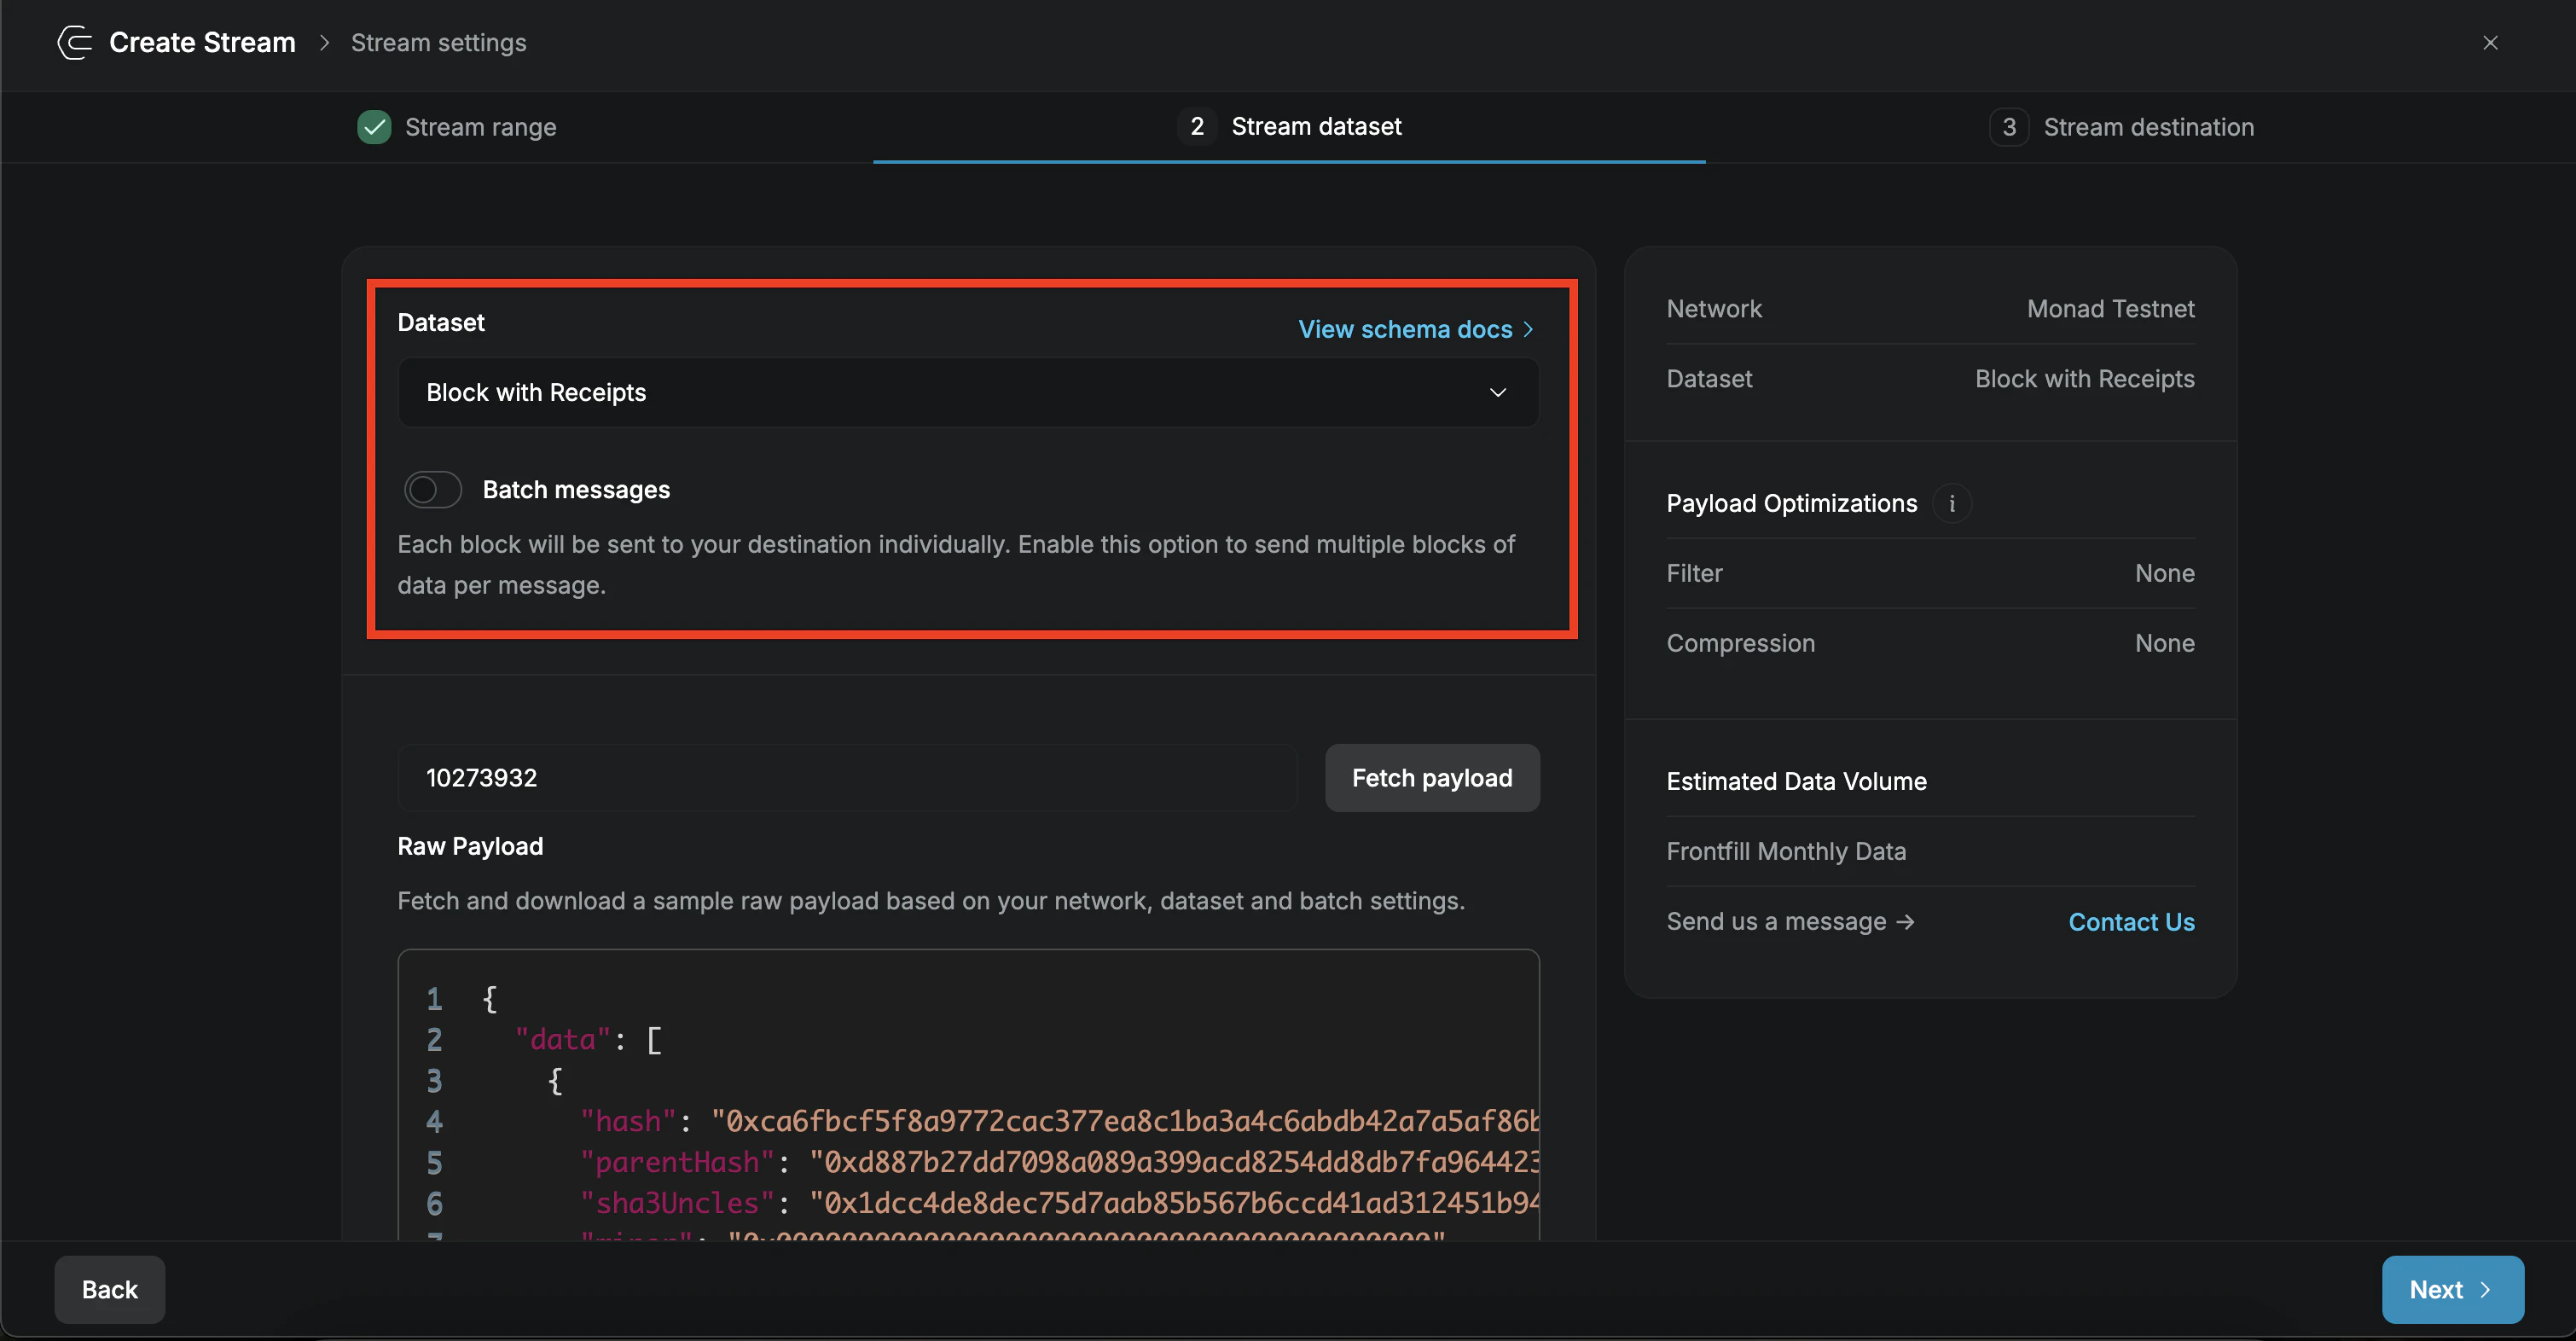
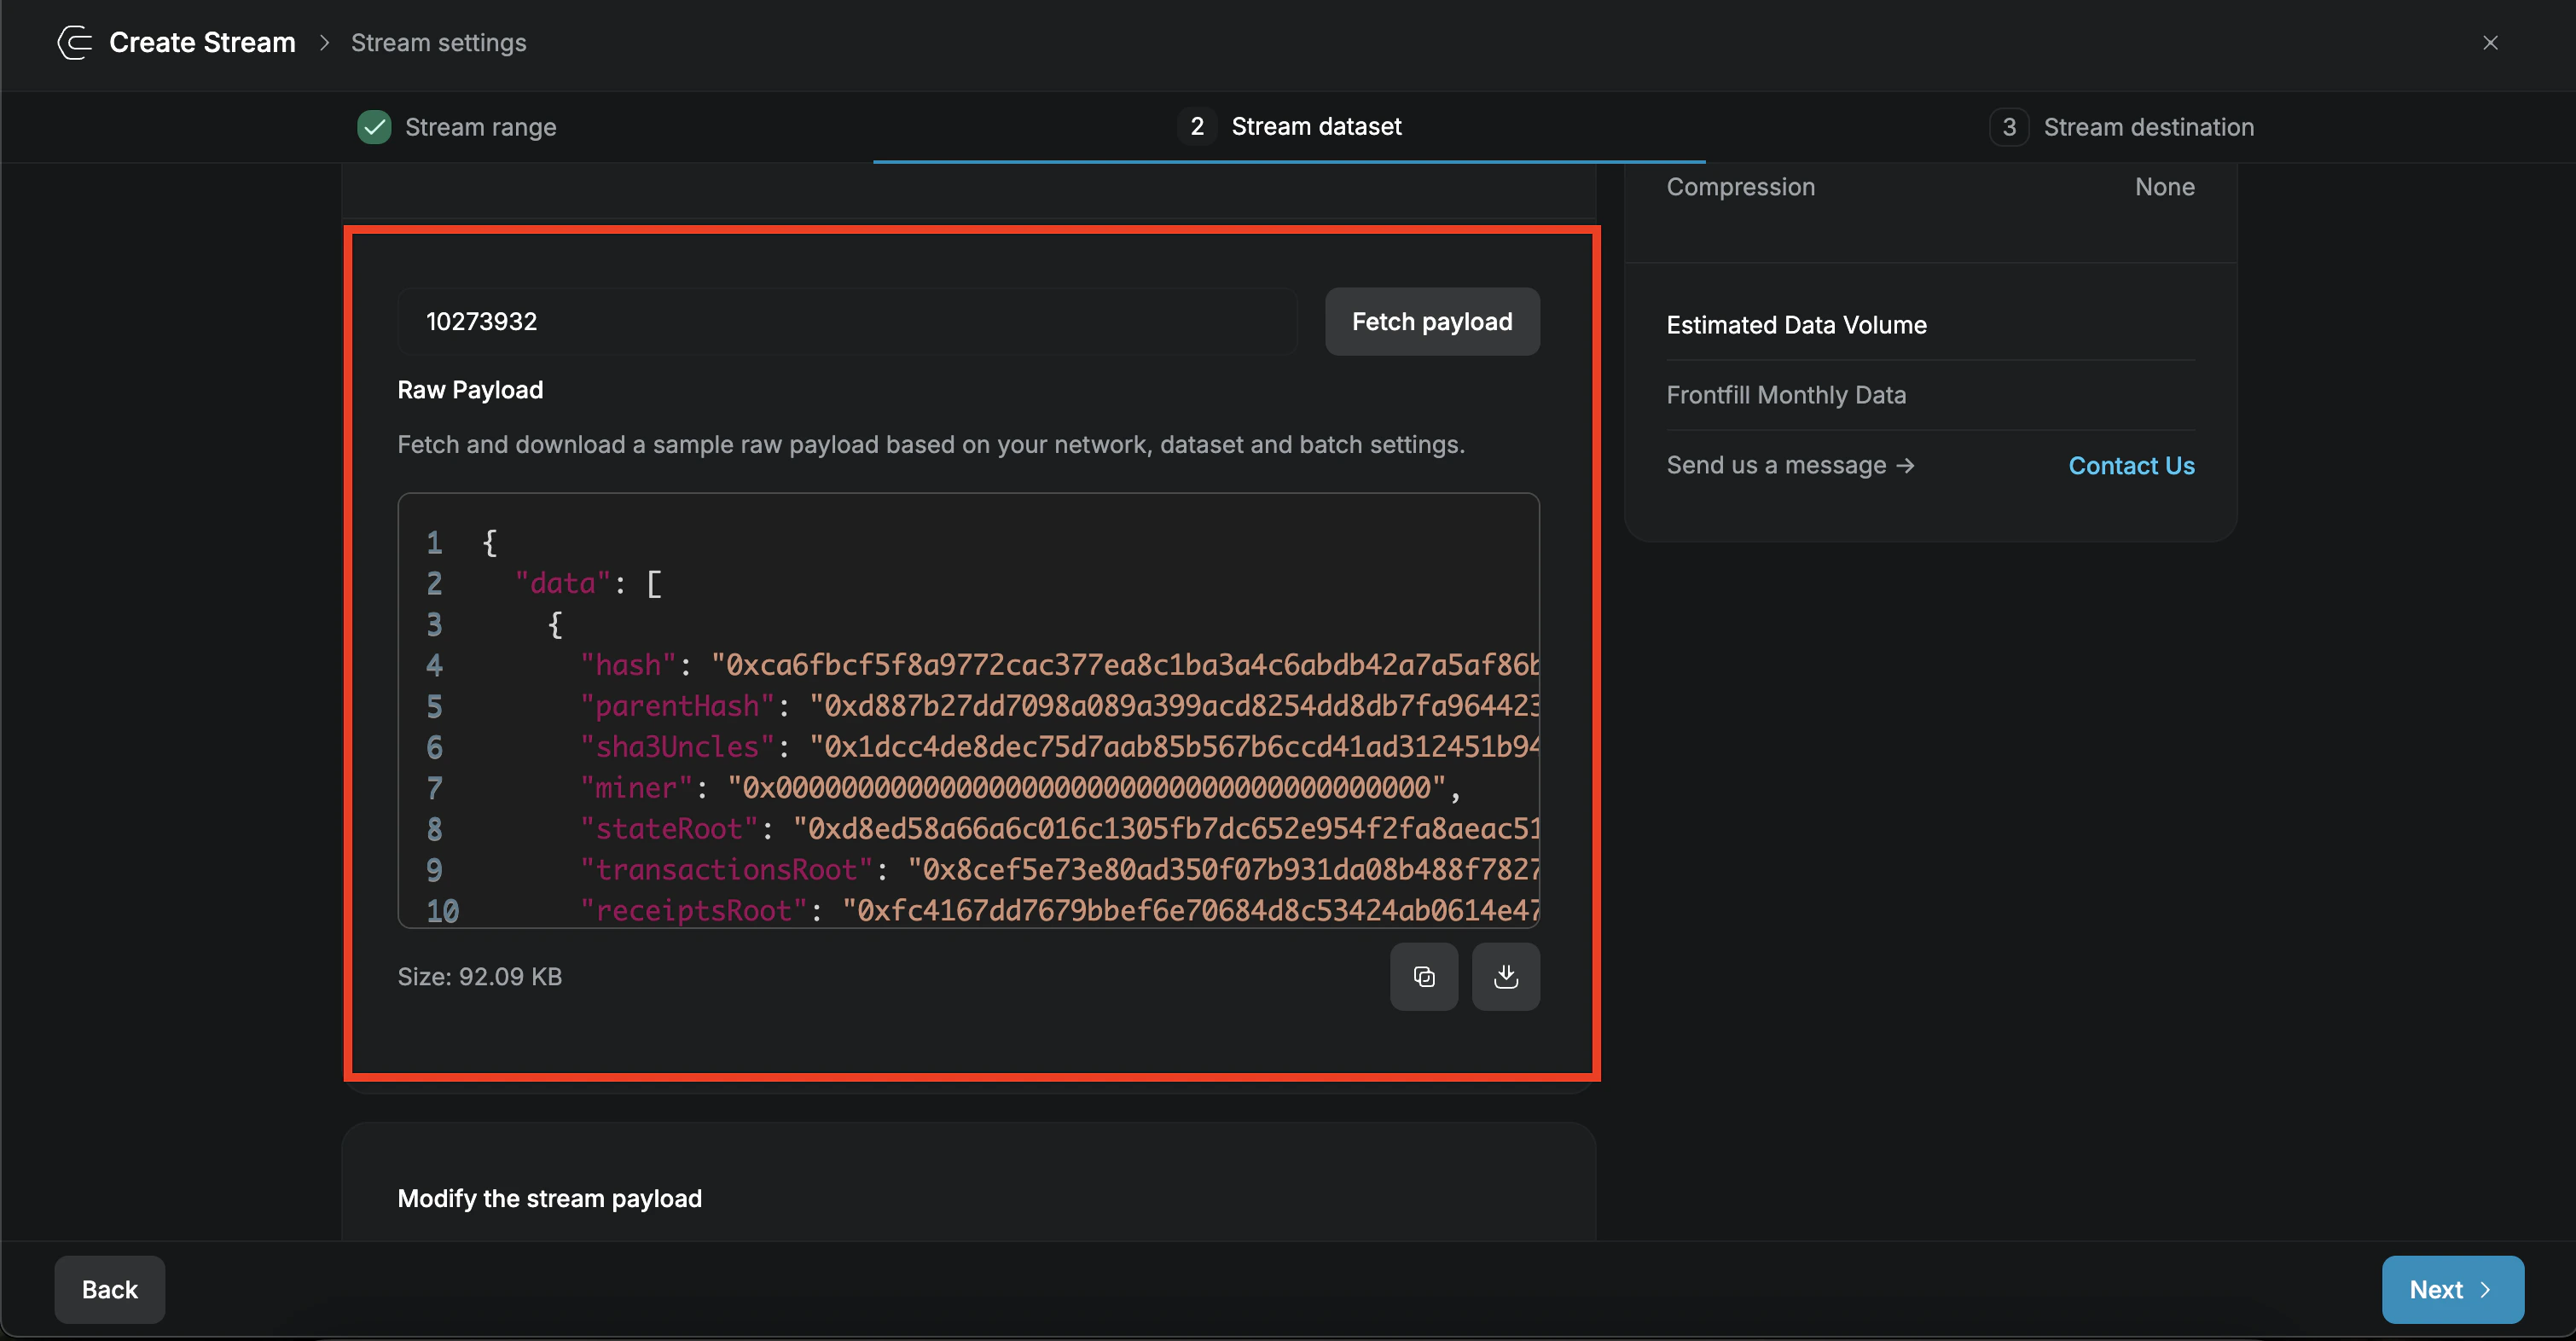
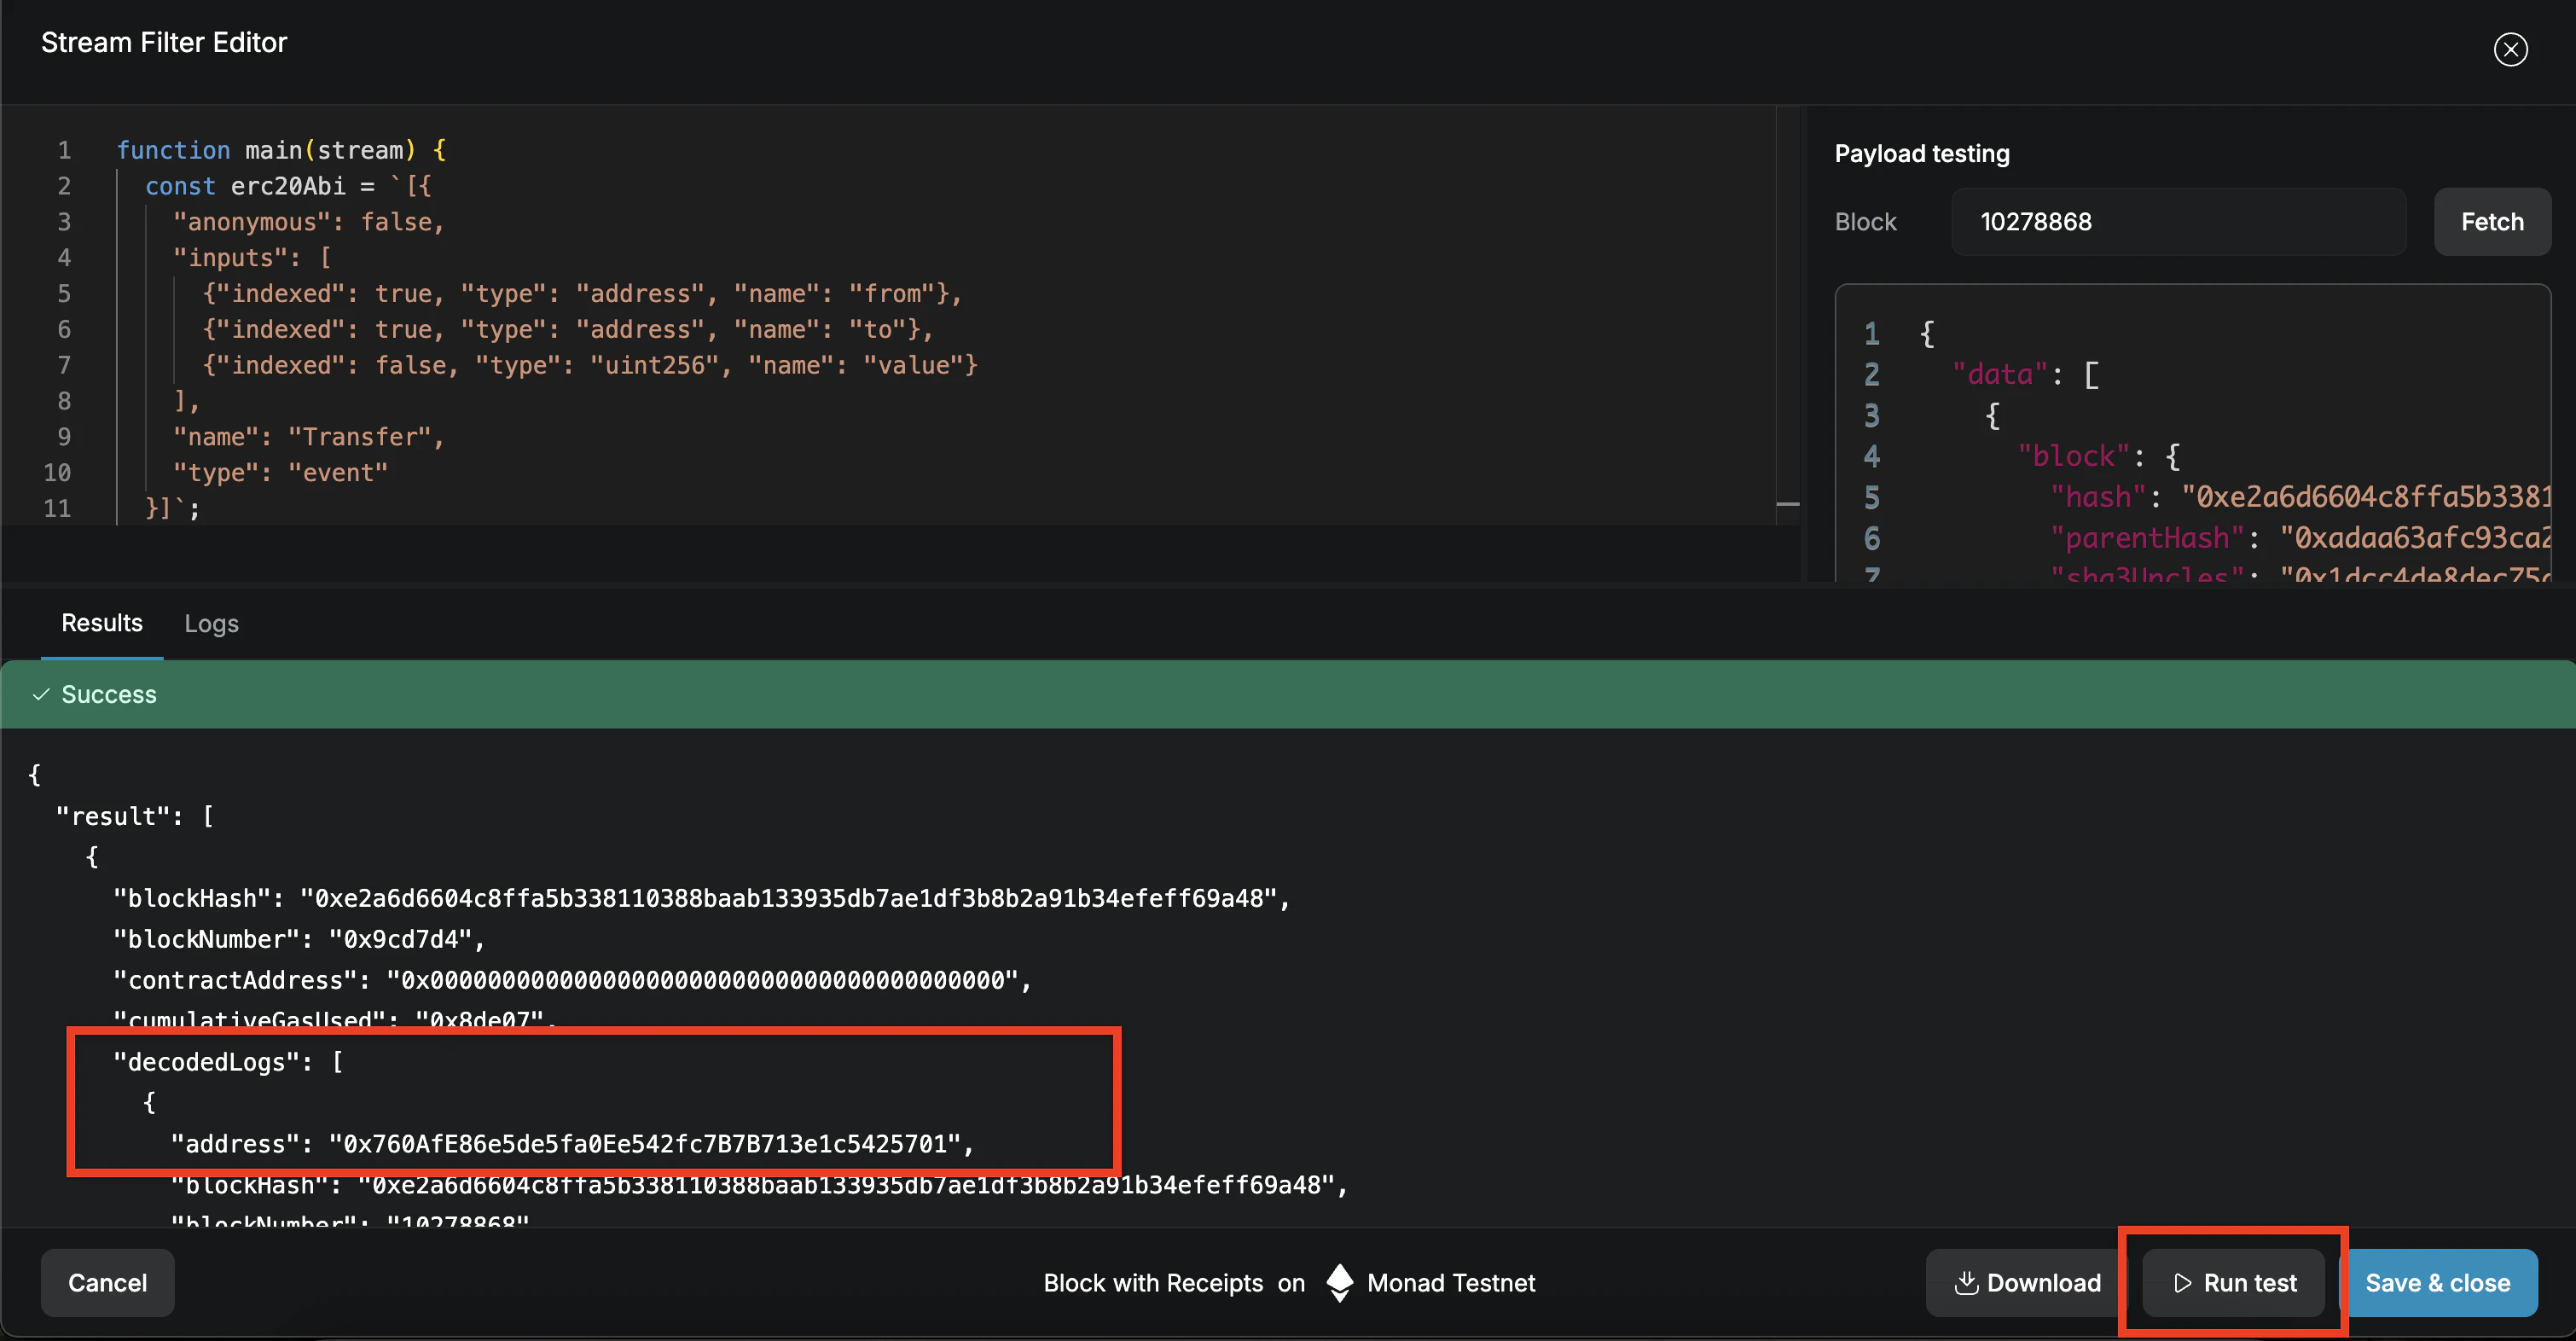
- Feel free to test it out by entering a block number and clicking “Fetch payload”.
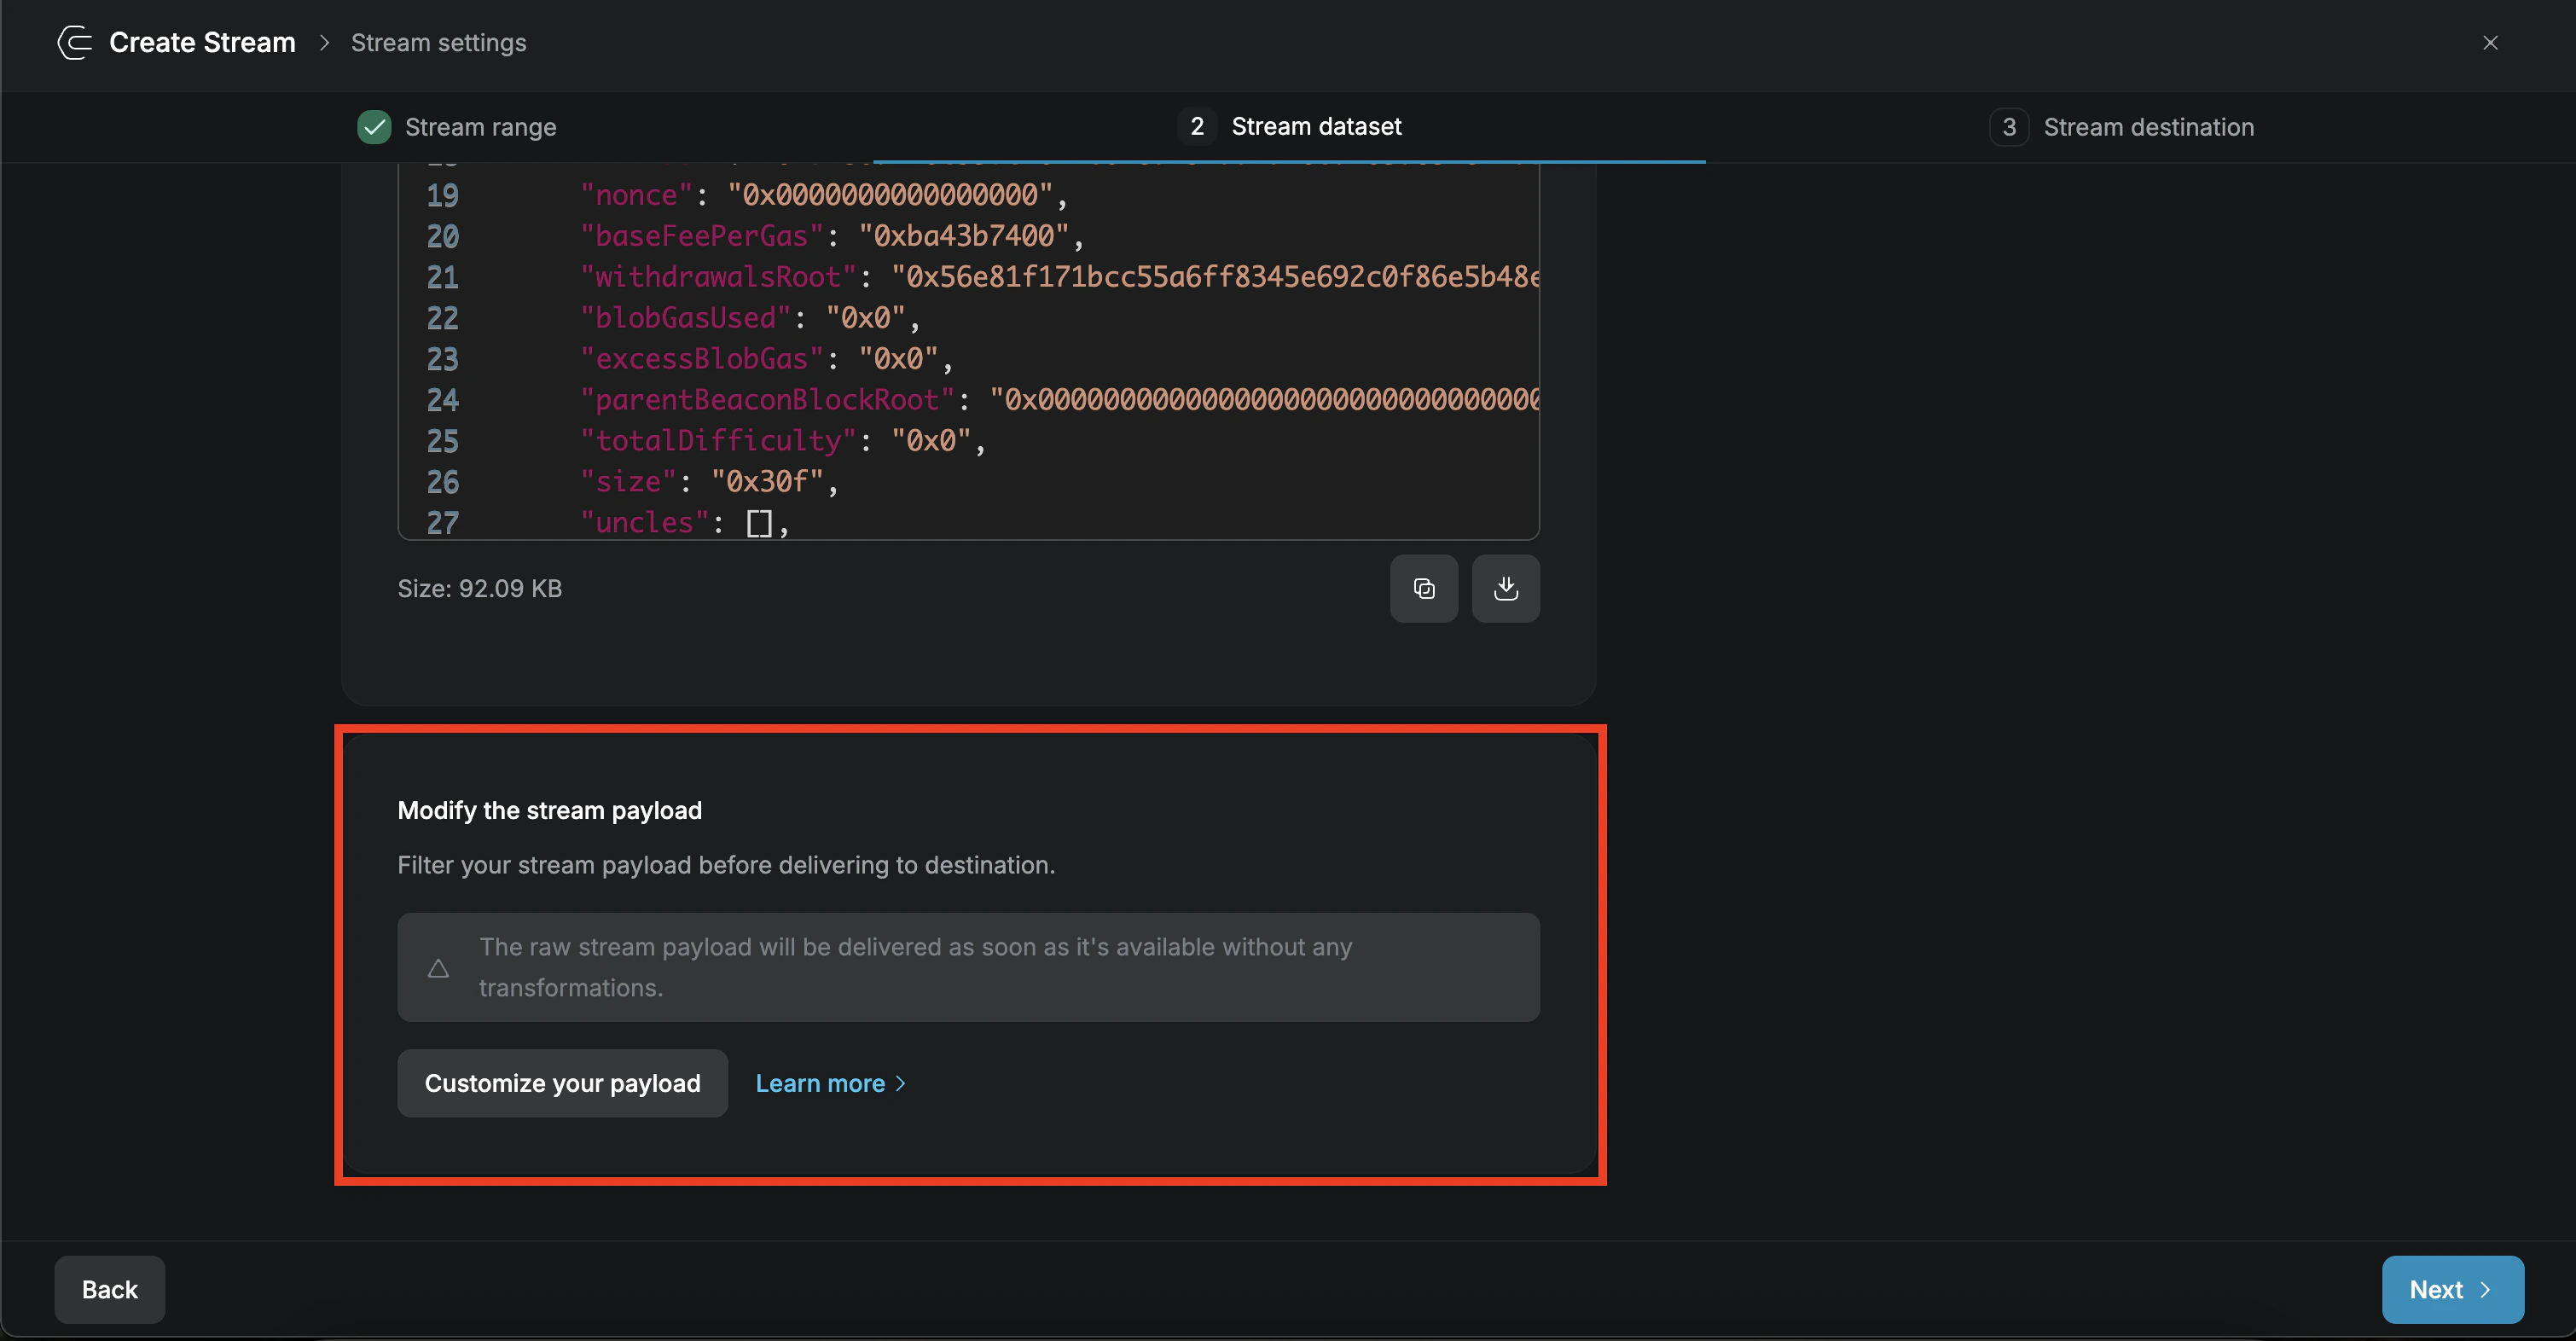
4. Create WMON Transfer filter
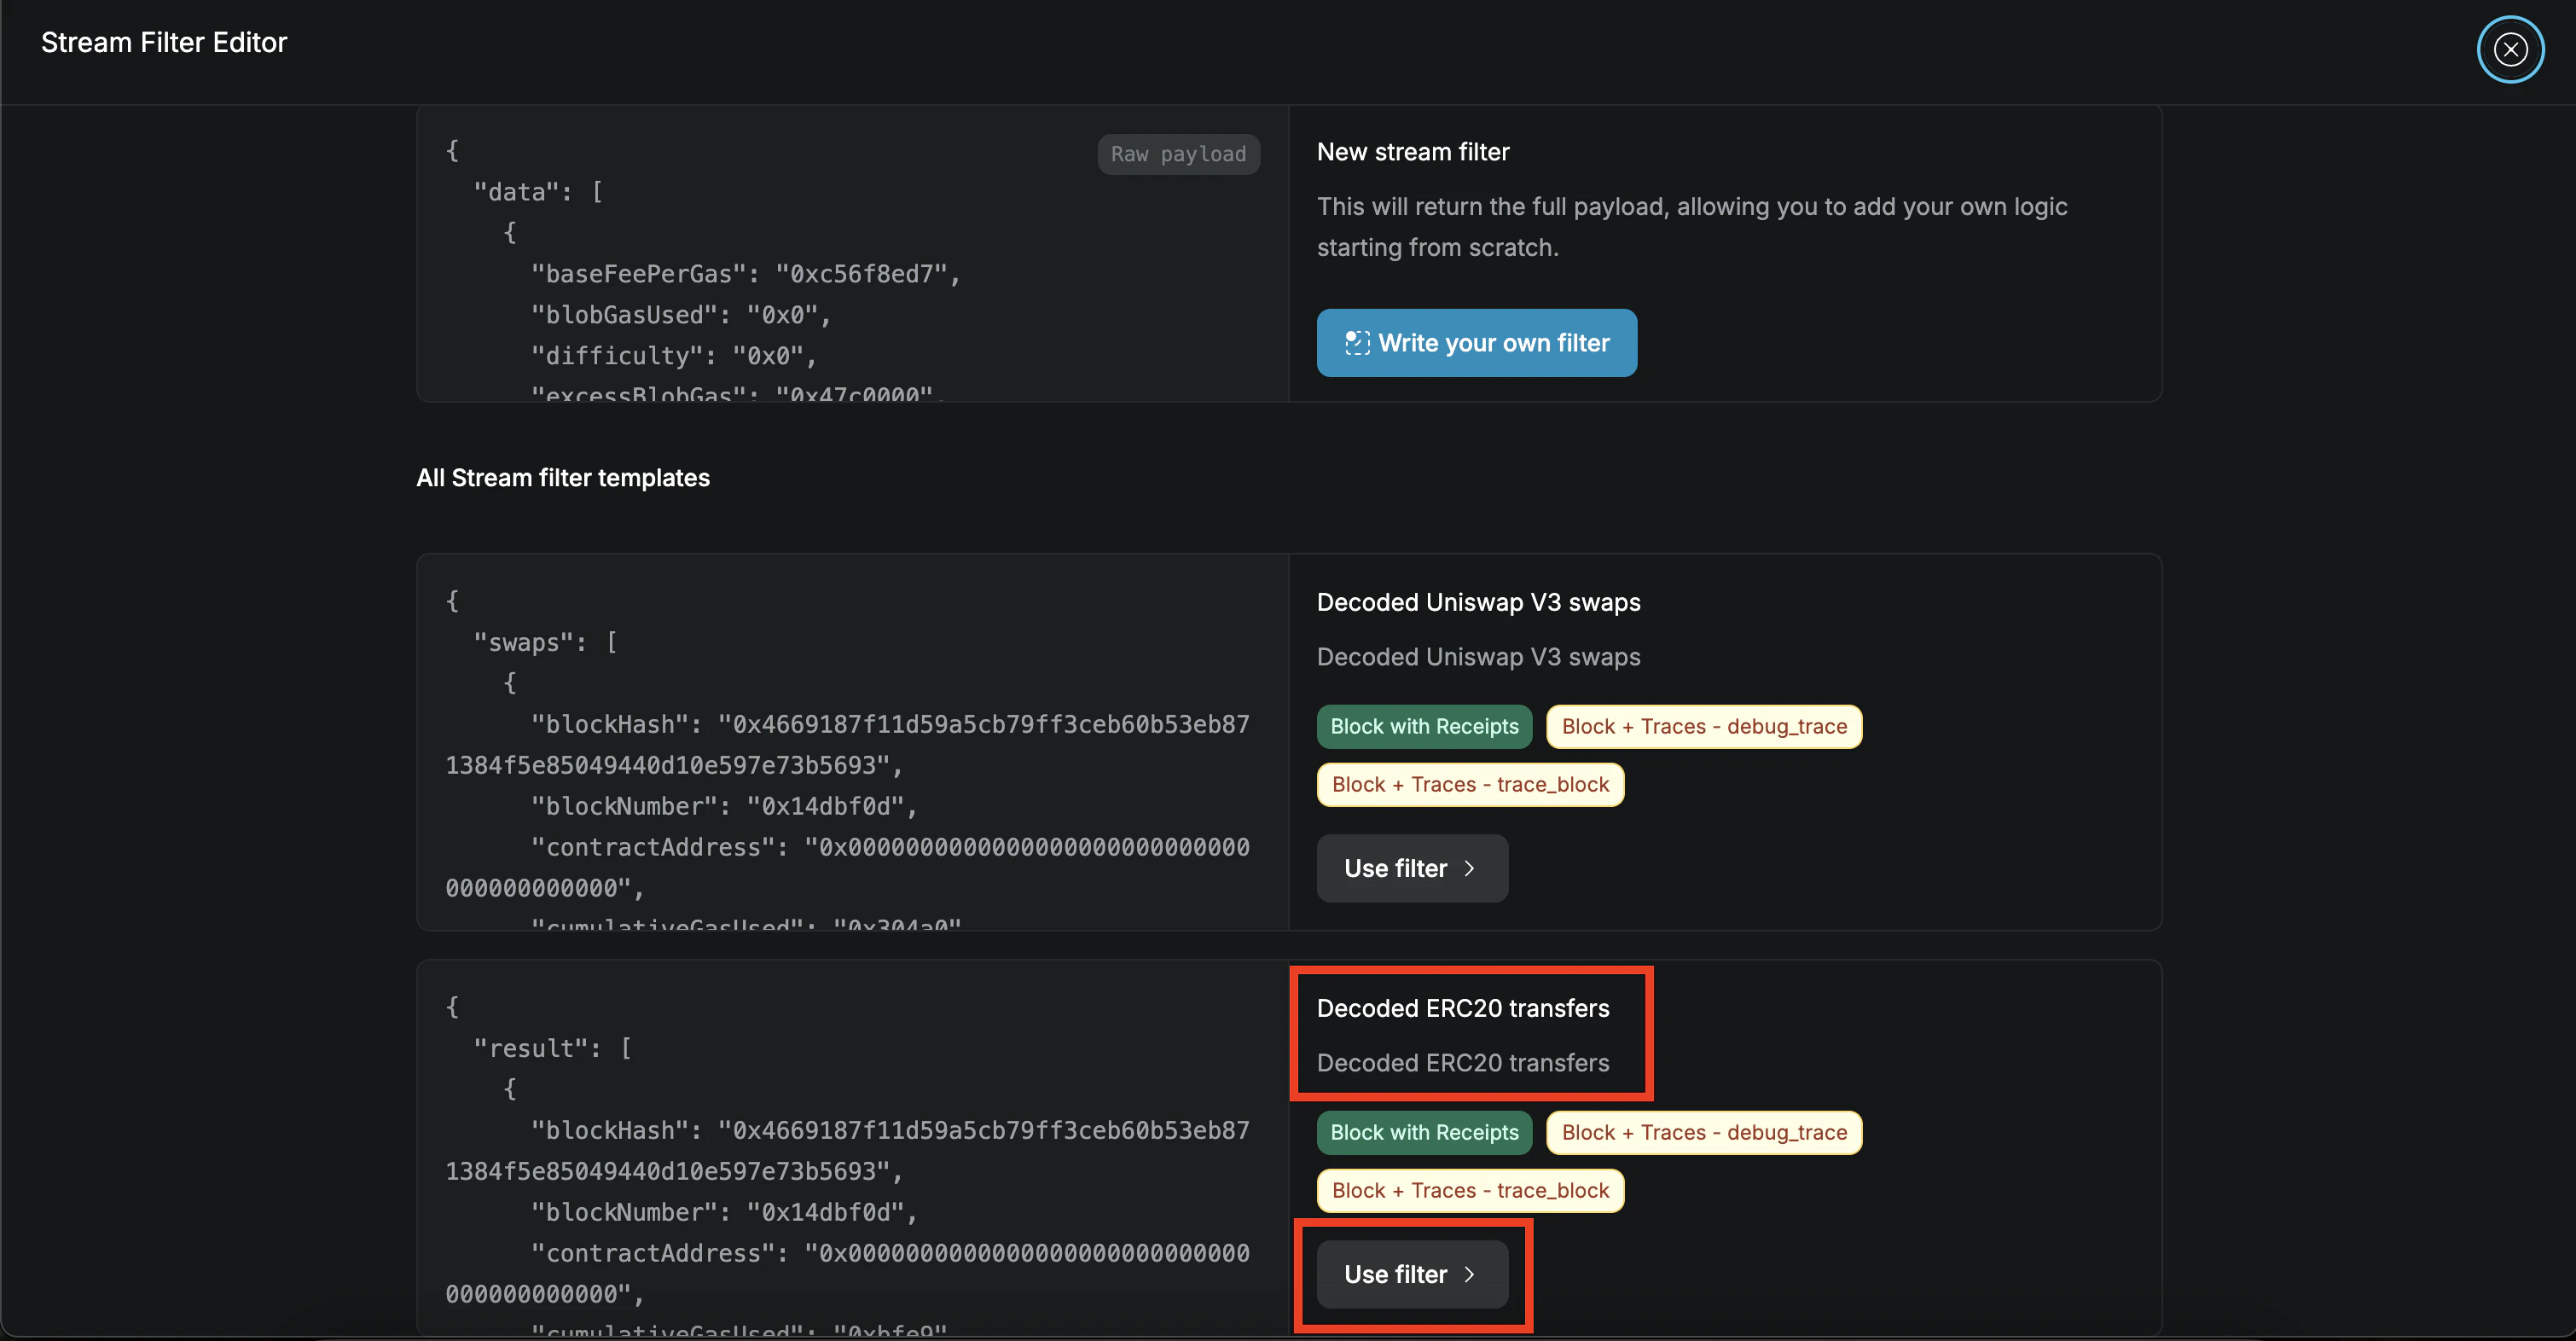
- In the “Modify the stream payload” section, you can define filters by clicking “Customize your payload”. For this guide, we will filter to only retrieve receipts involving WMON transfers.
- QuickNode has a set of filter templates. Select the Decoded ERC20 transfers template:
- The editor will appear:
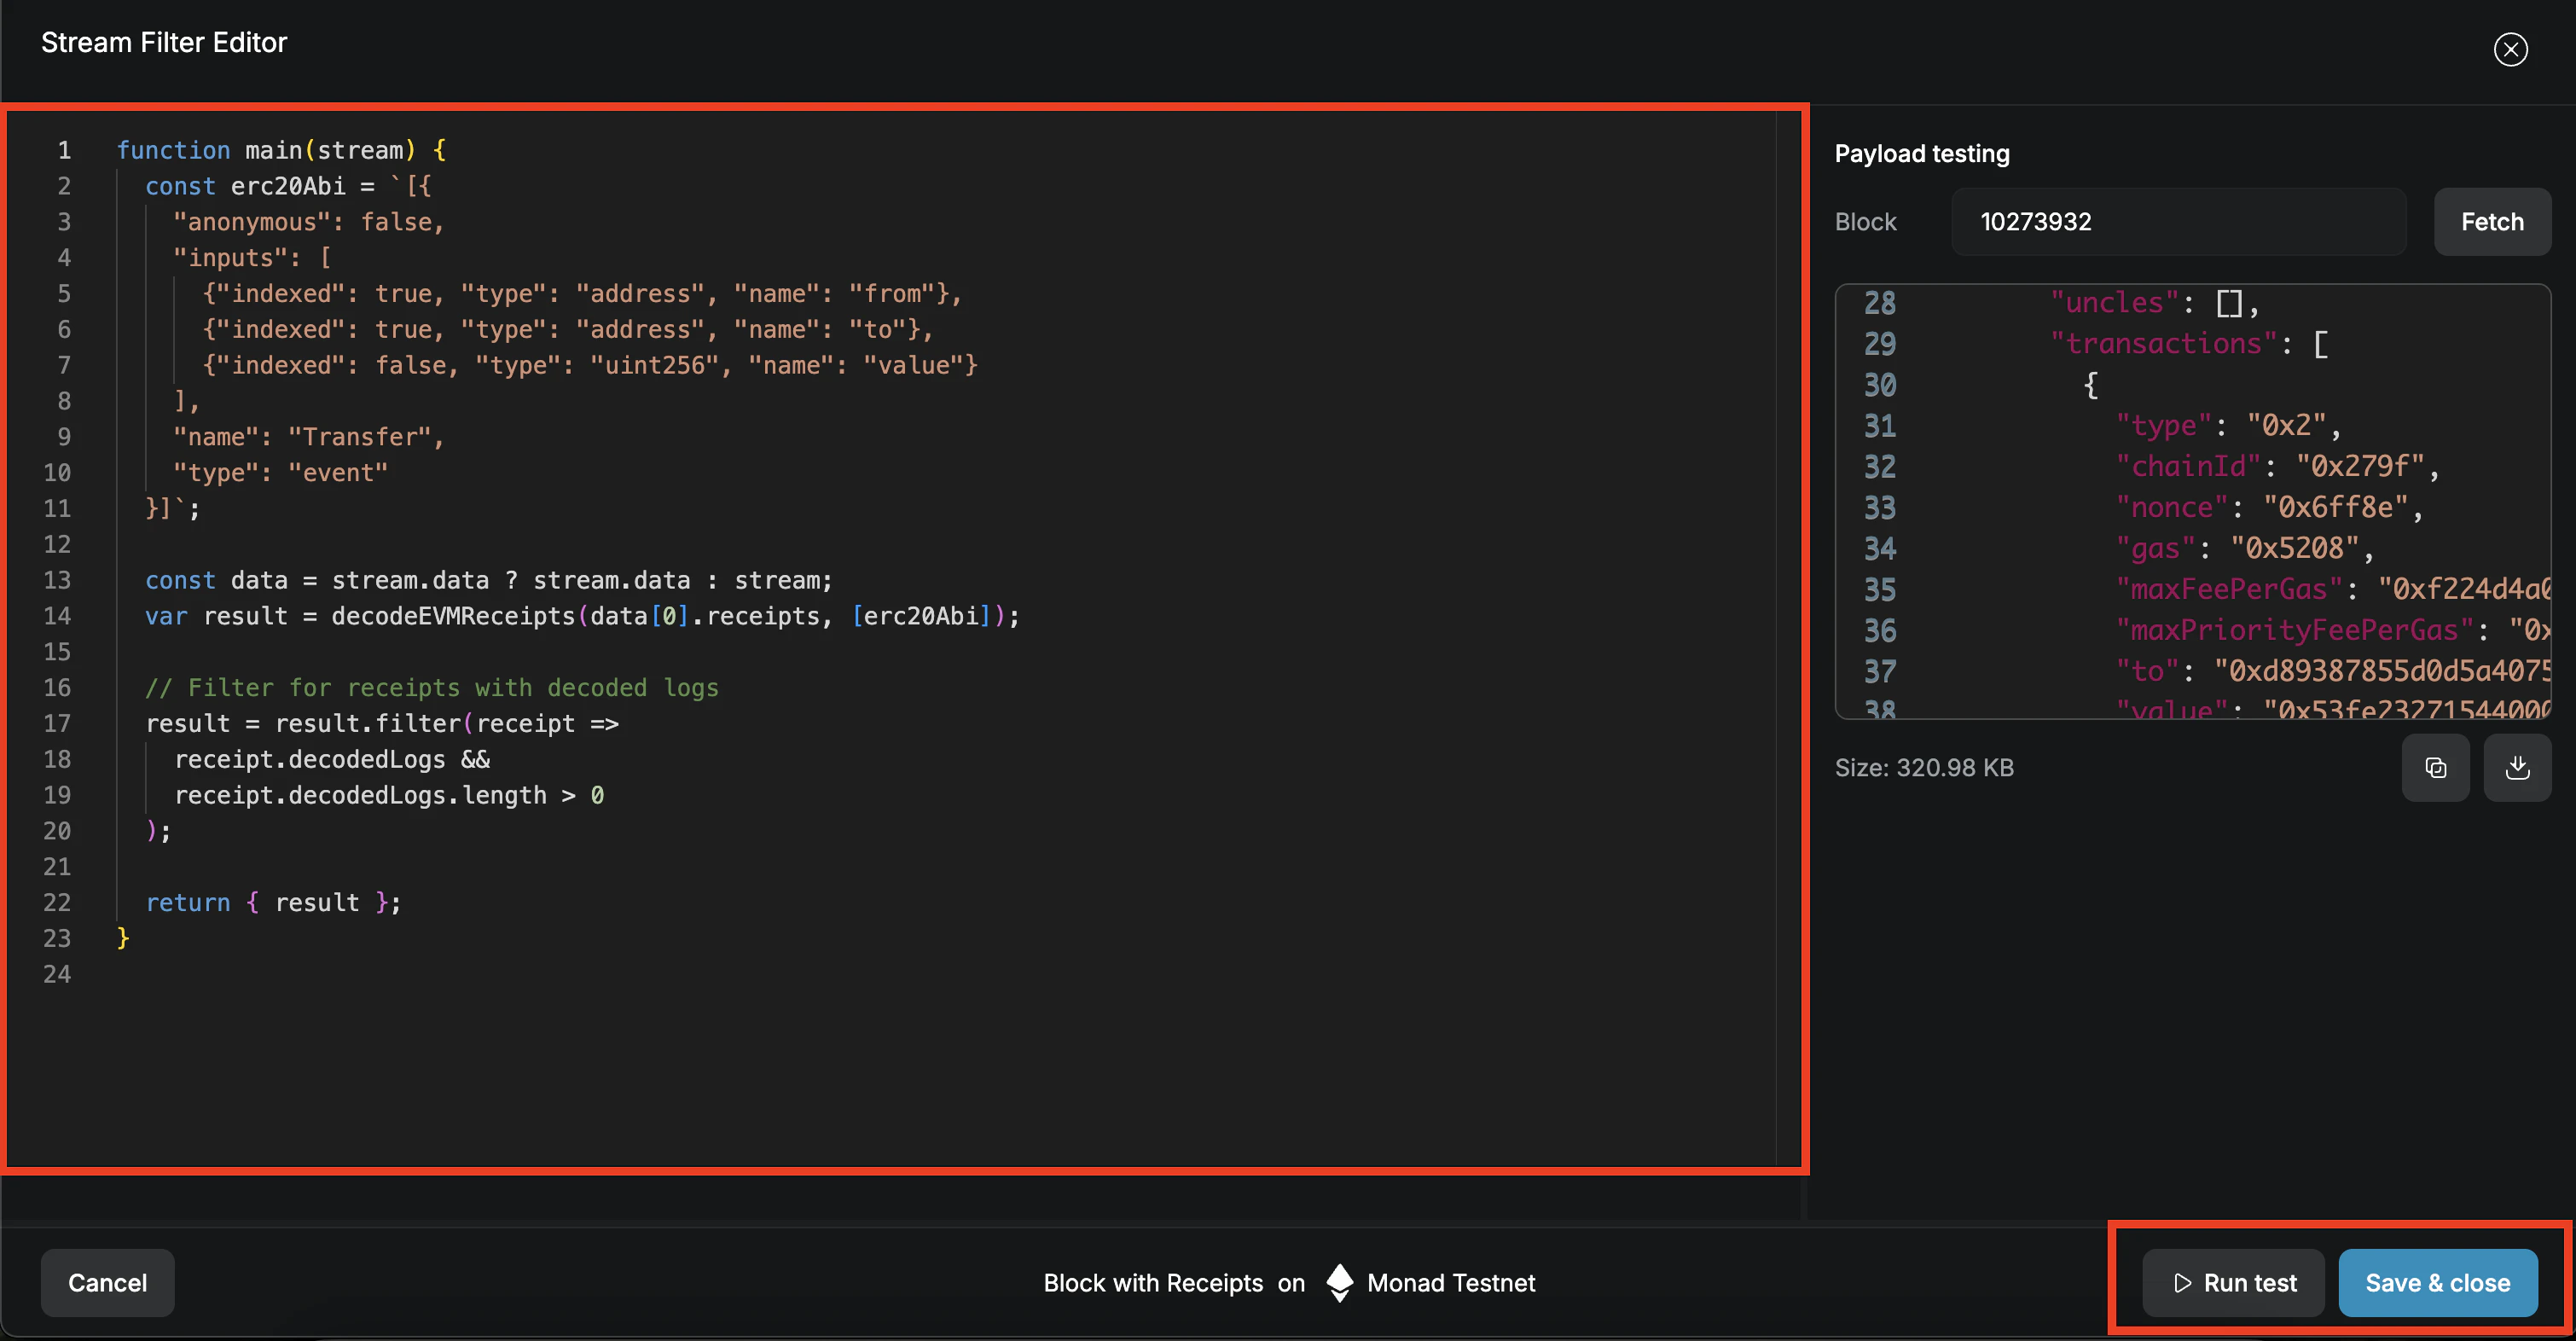
- Test the filter with “Run test”
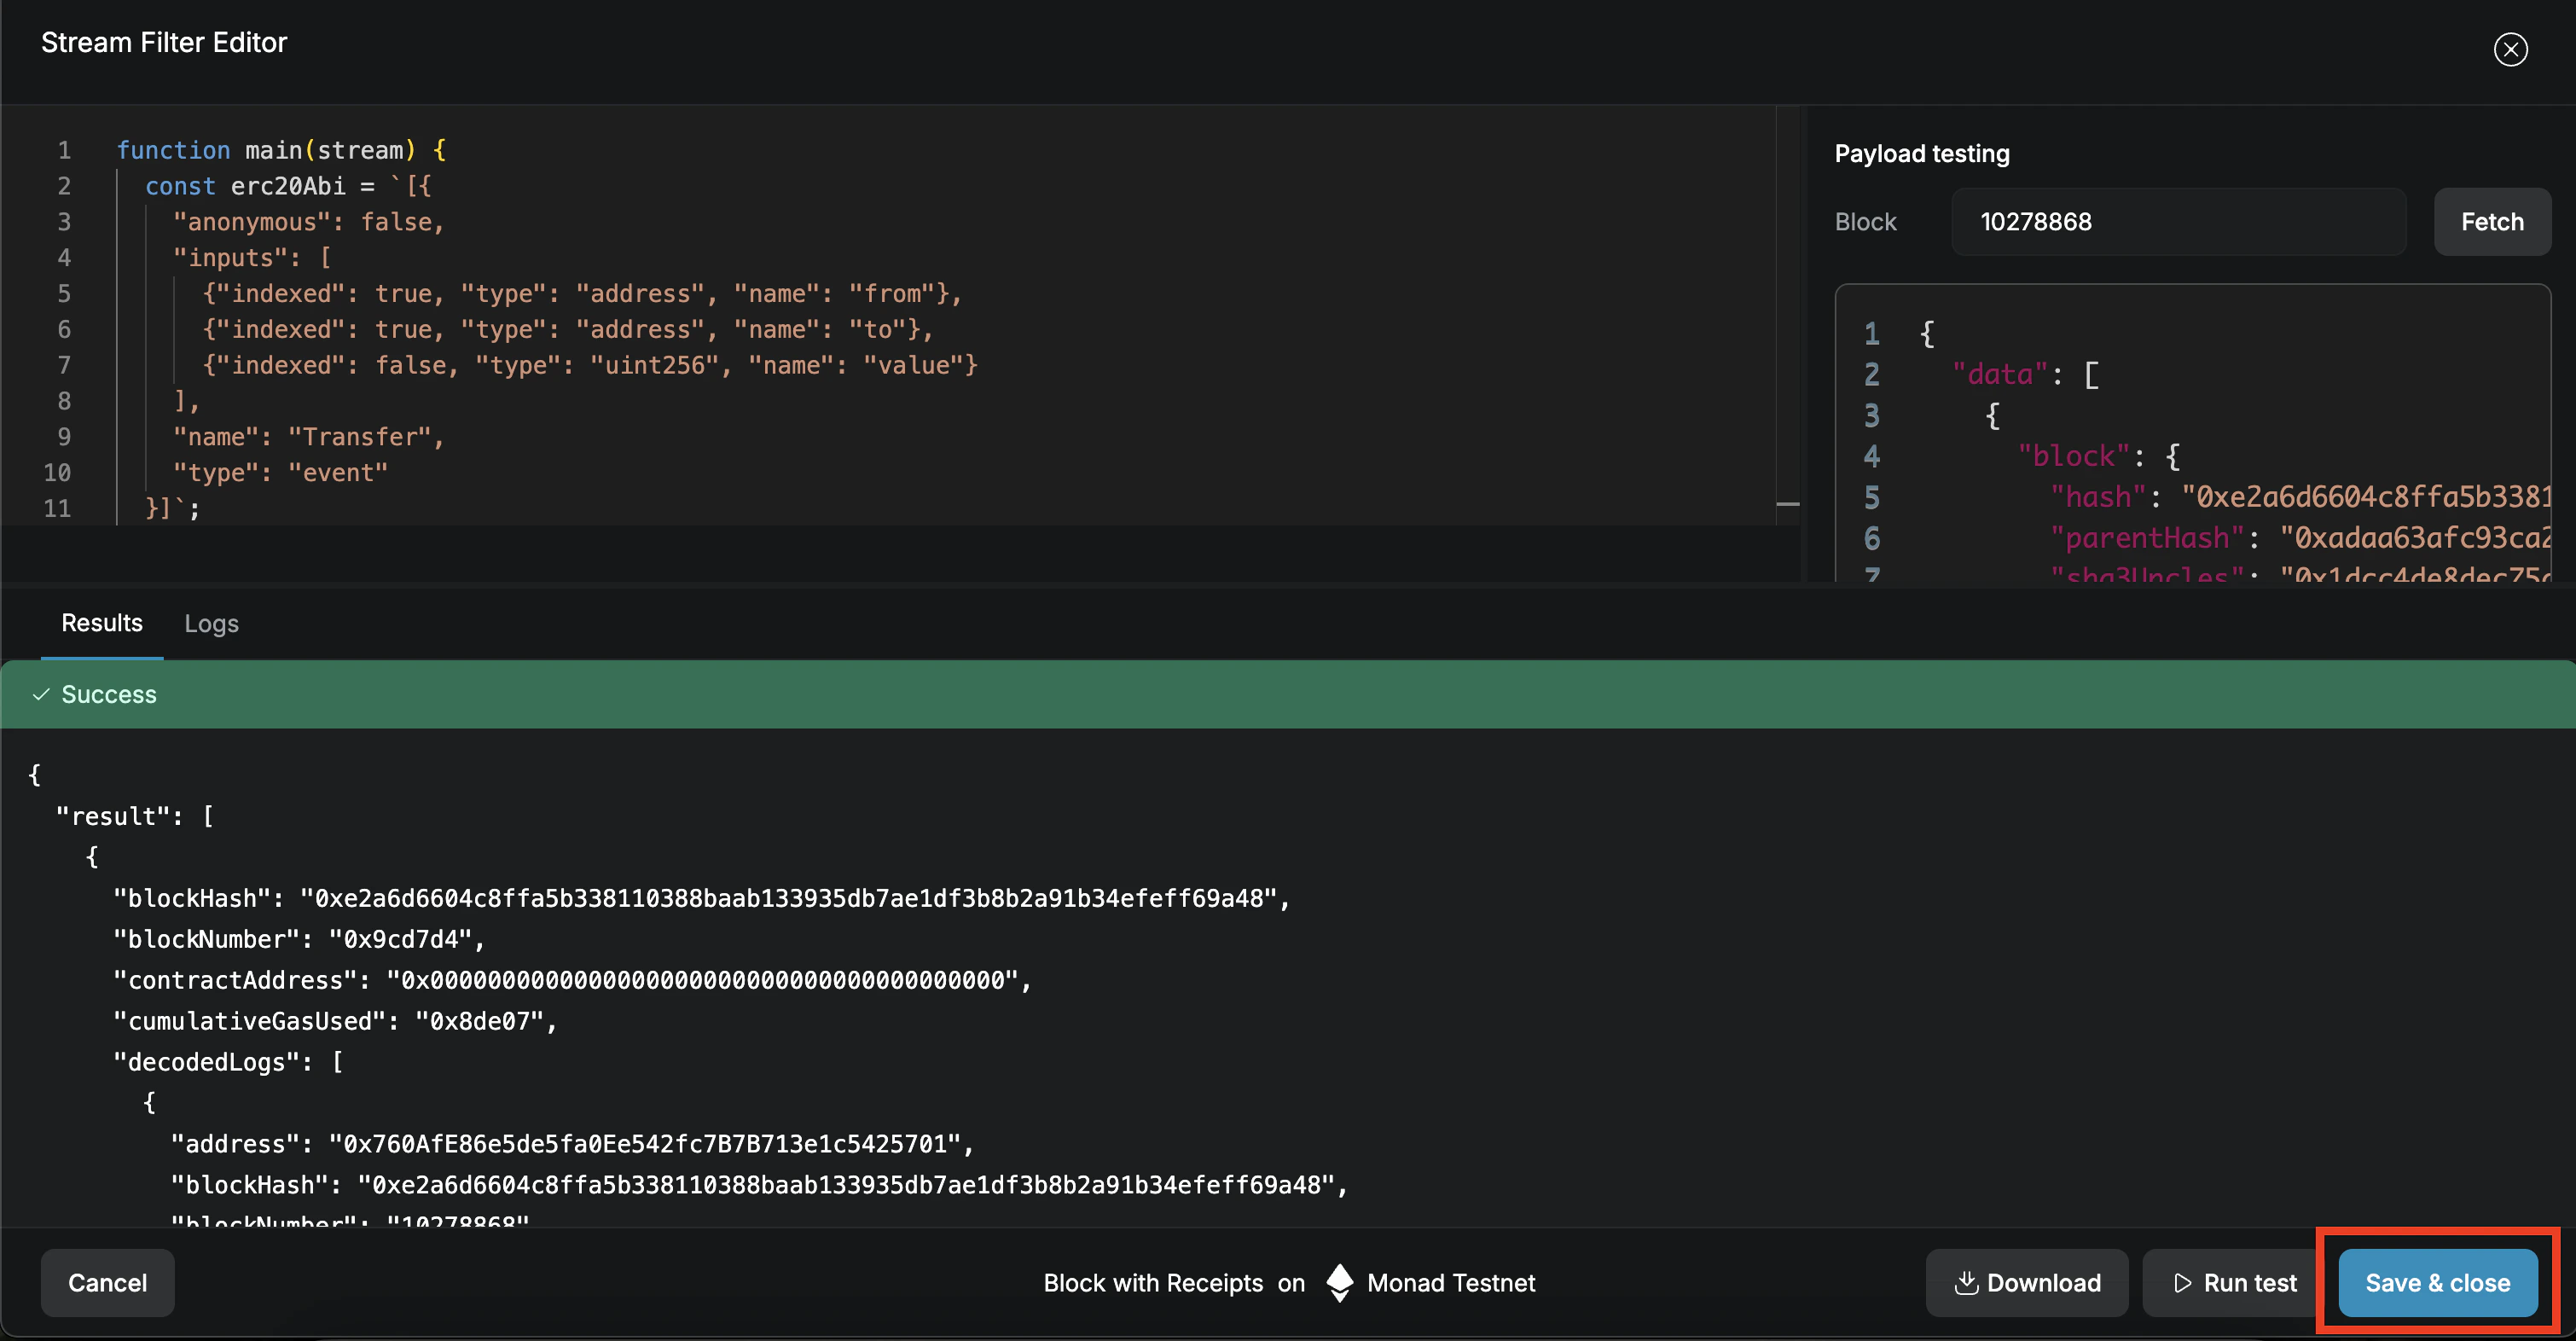
- “Save & close” to save the filter.
- Click “Next”
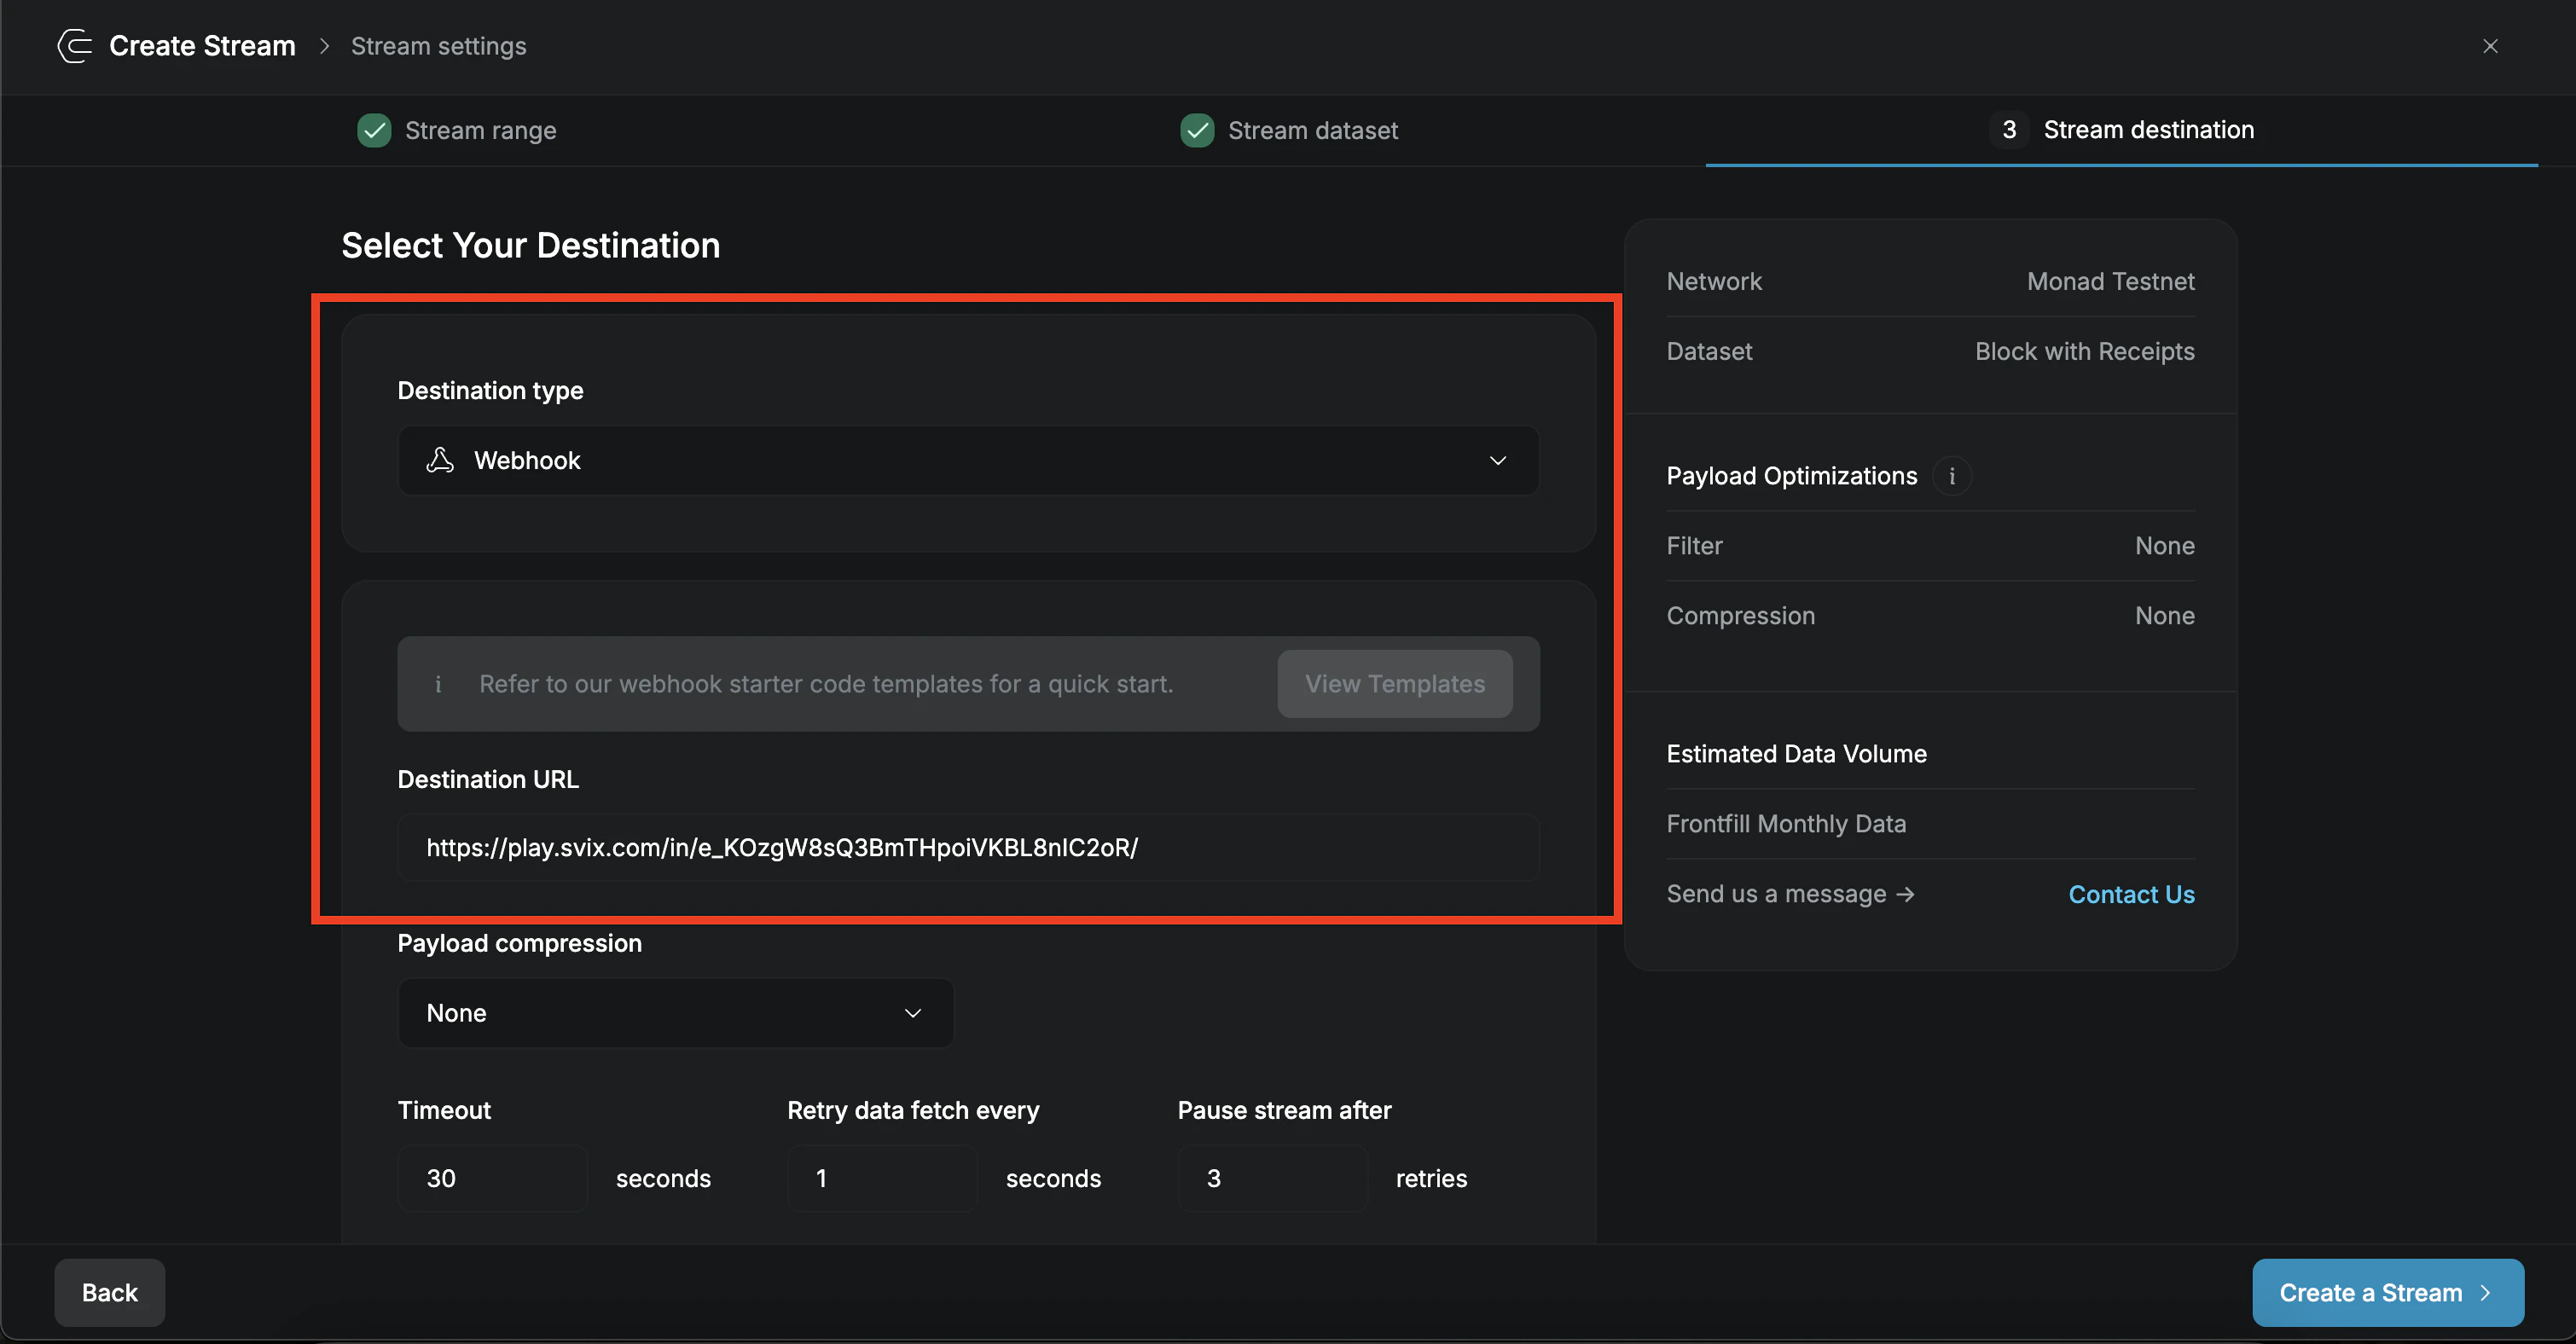
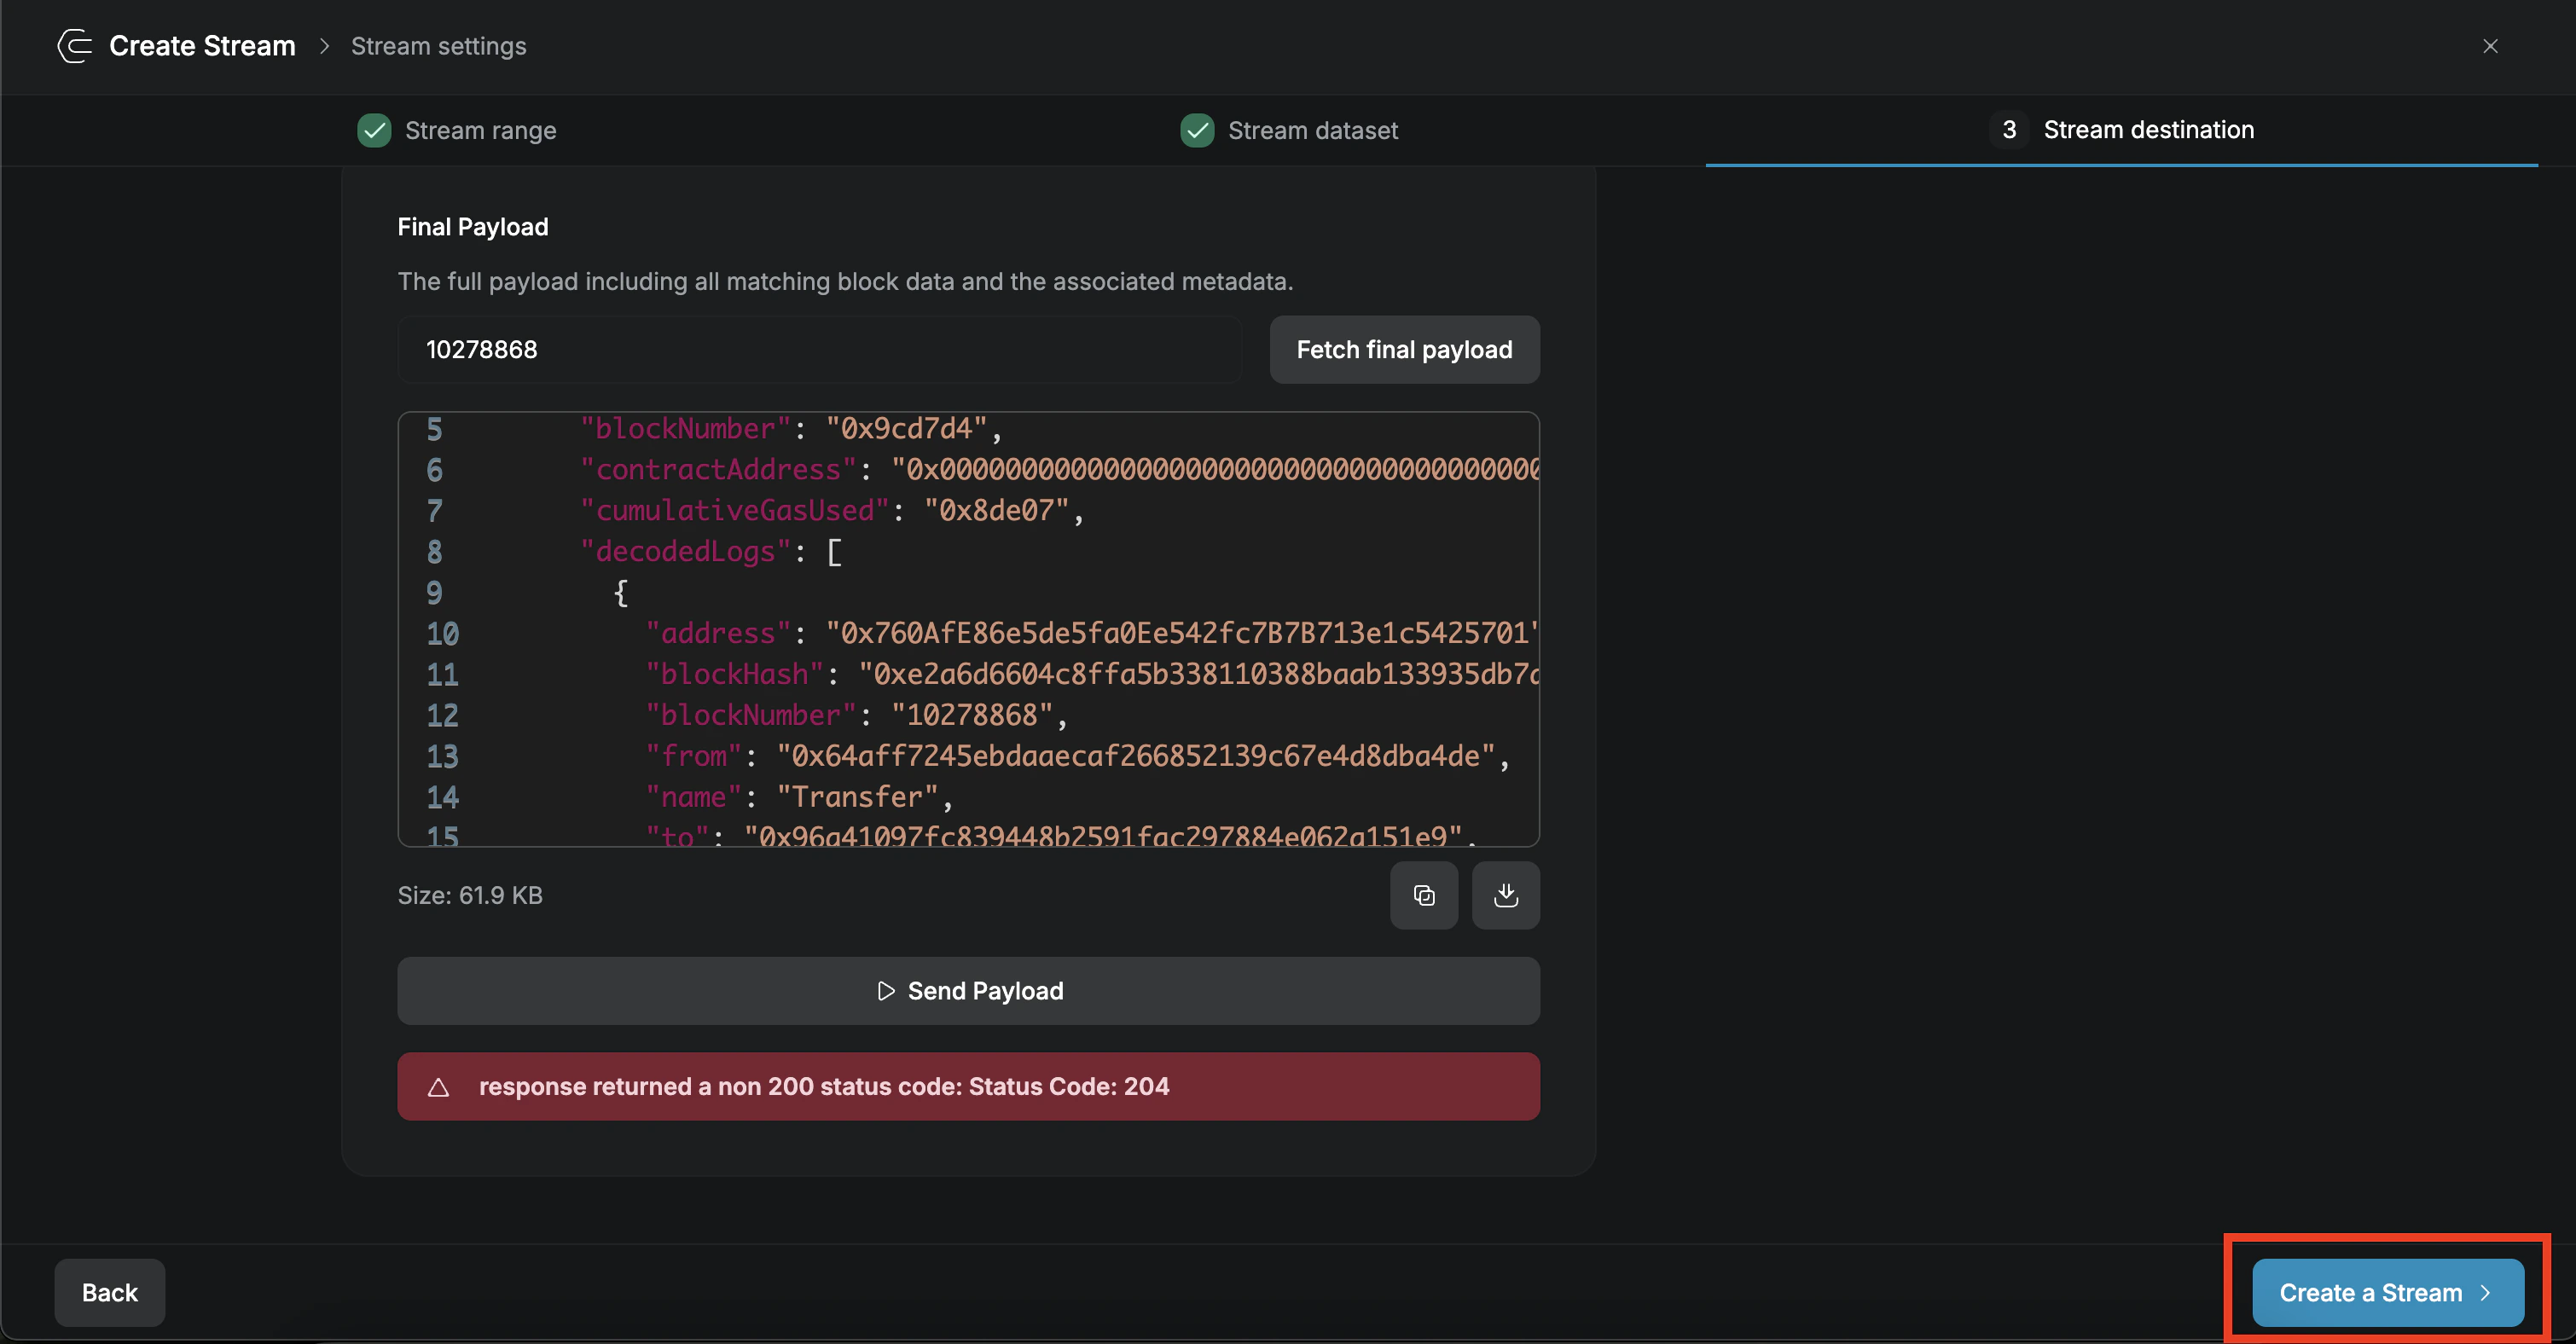
5. Set up Stream destination
For this guide we will keep the stream destination simple and useWebhook as the “Destination Type”.
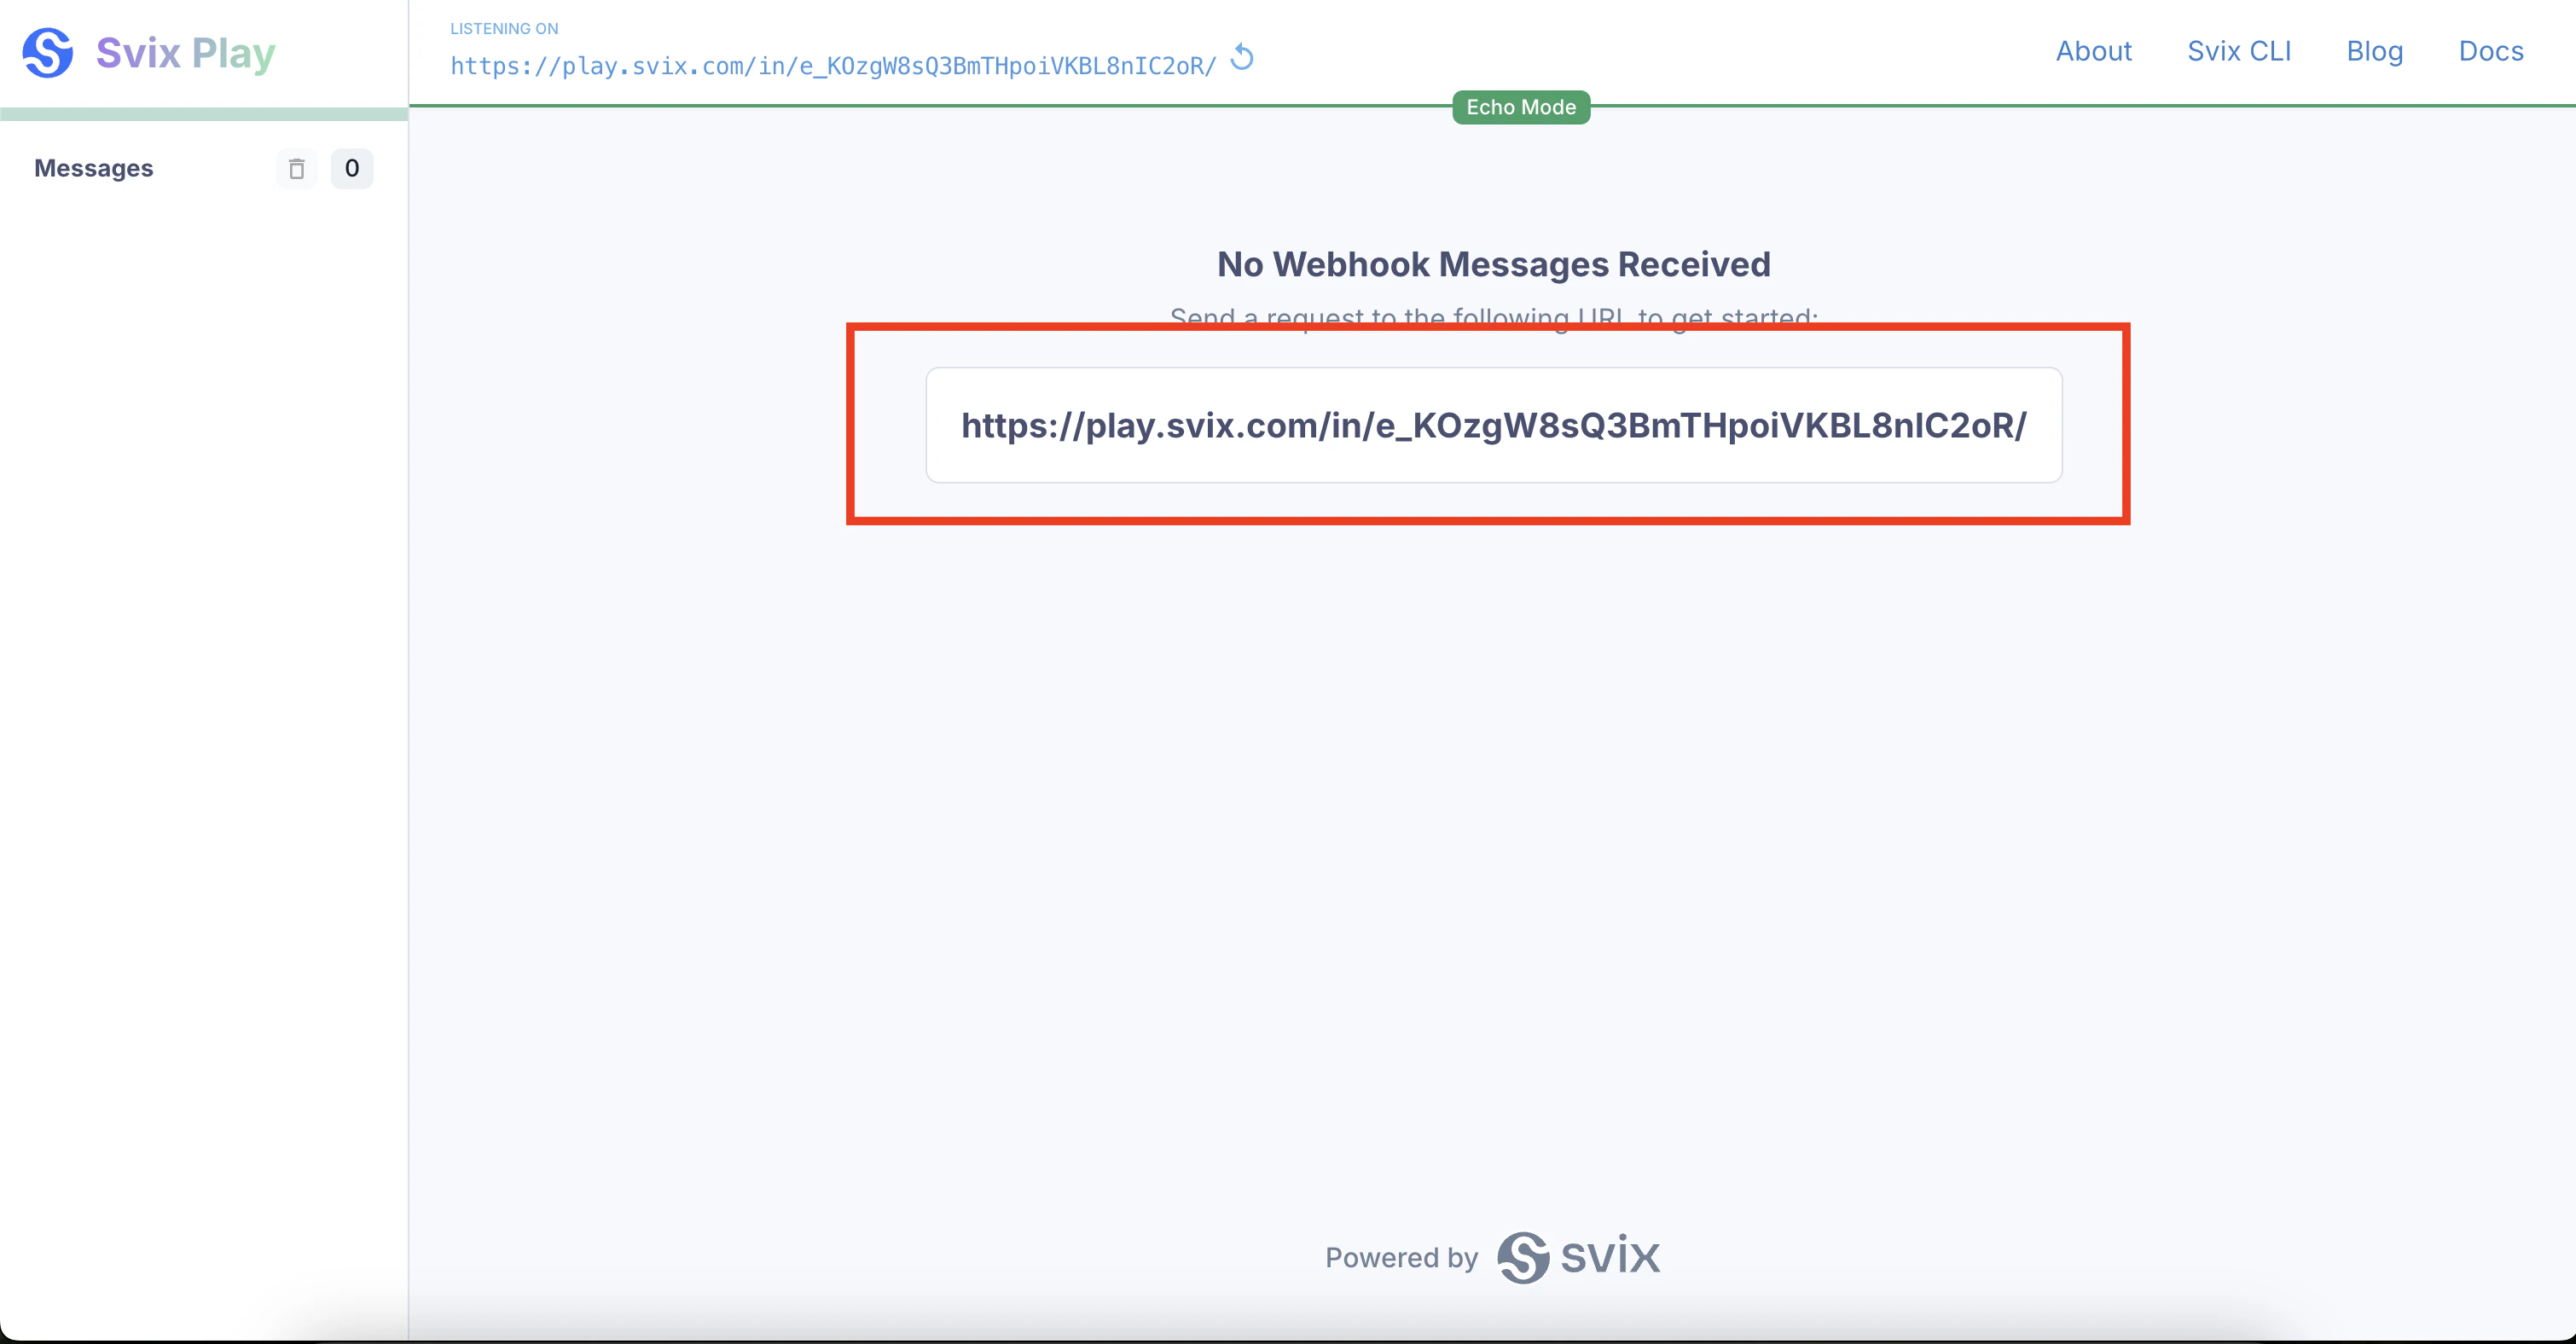
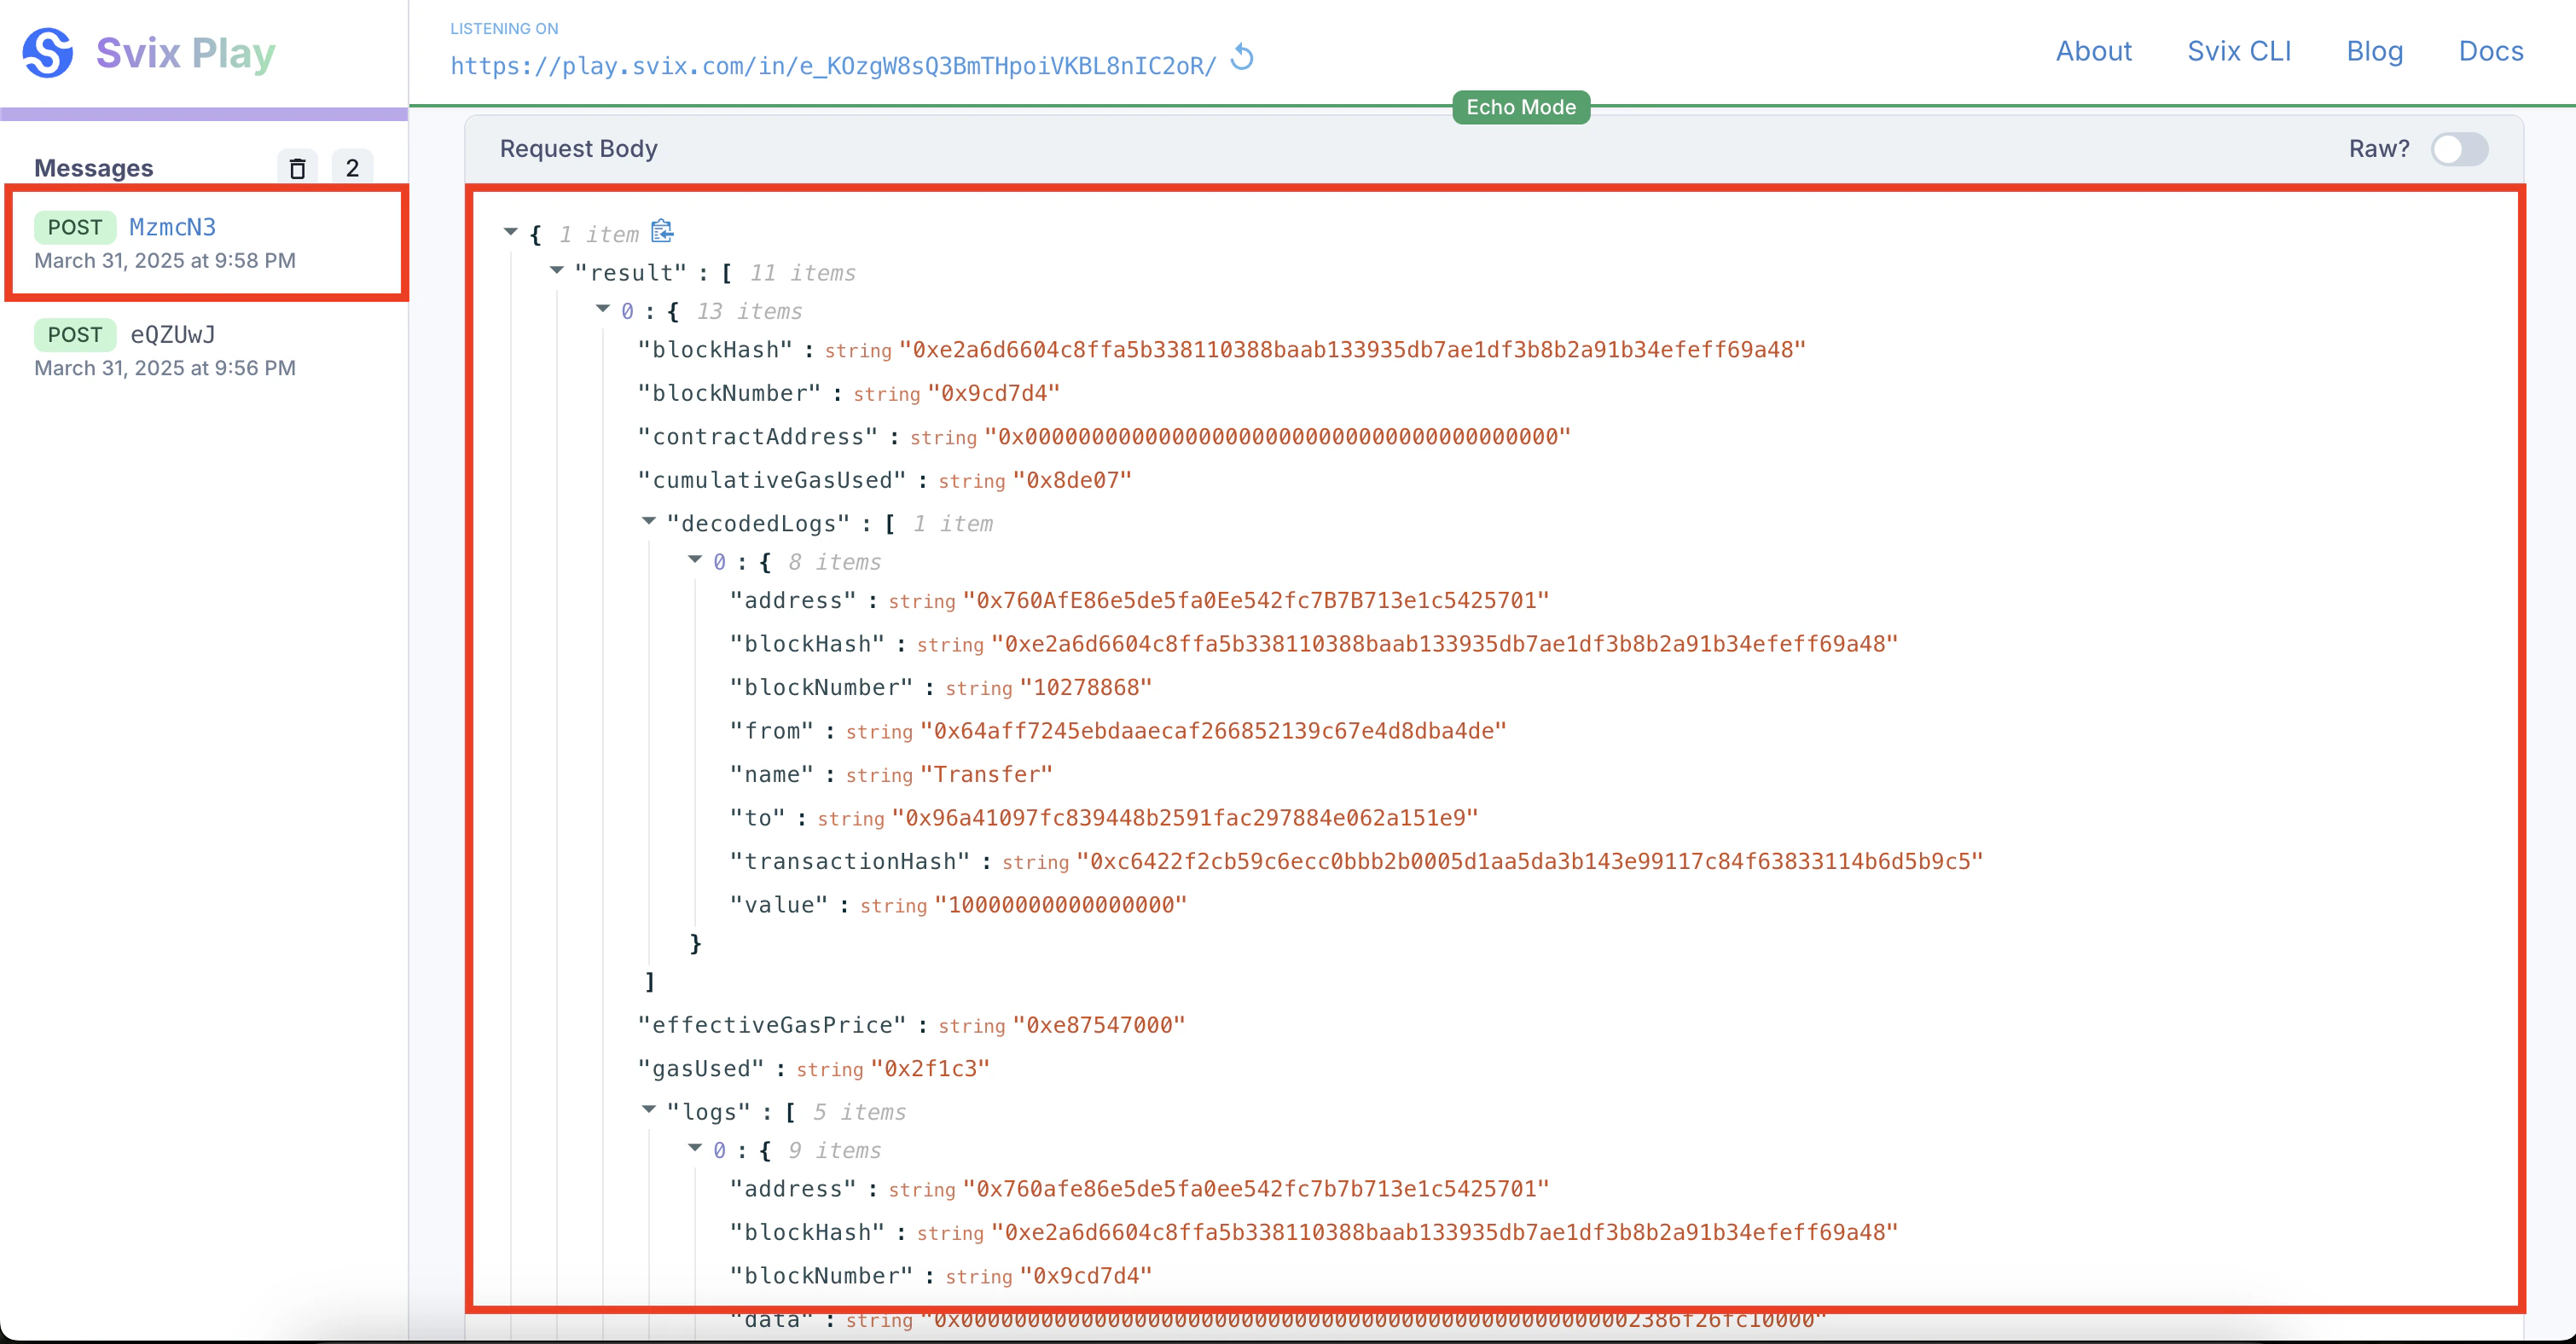
- Let’s use a site like Svix Play to quickly get a webhook and test the stream.
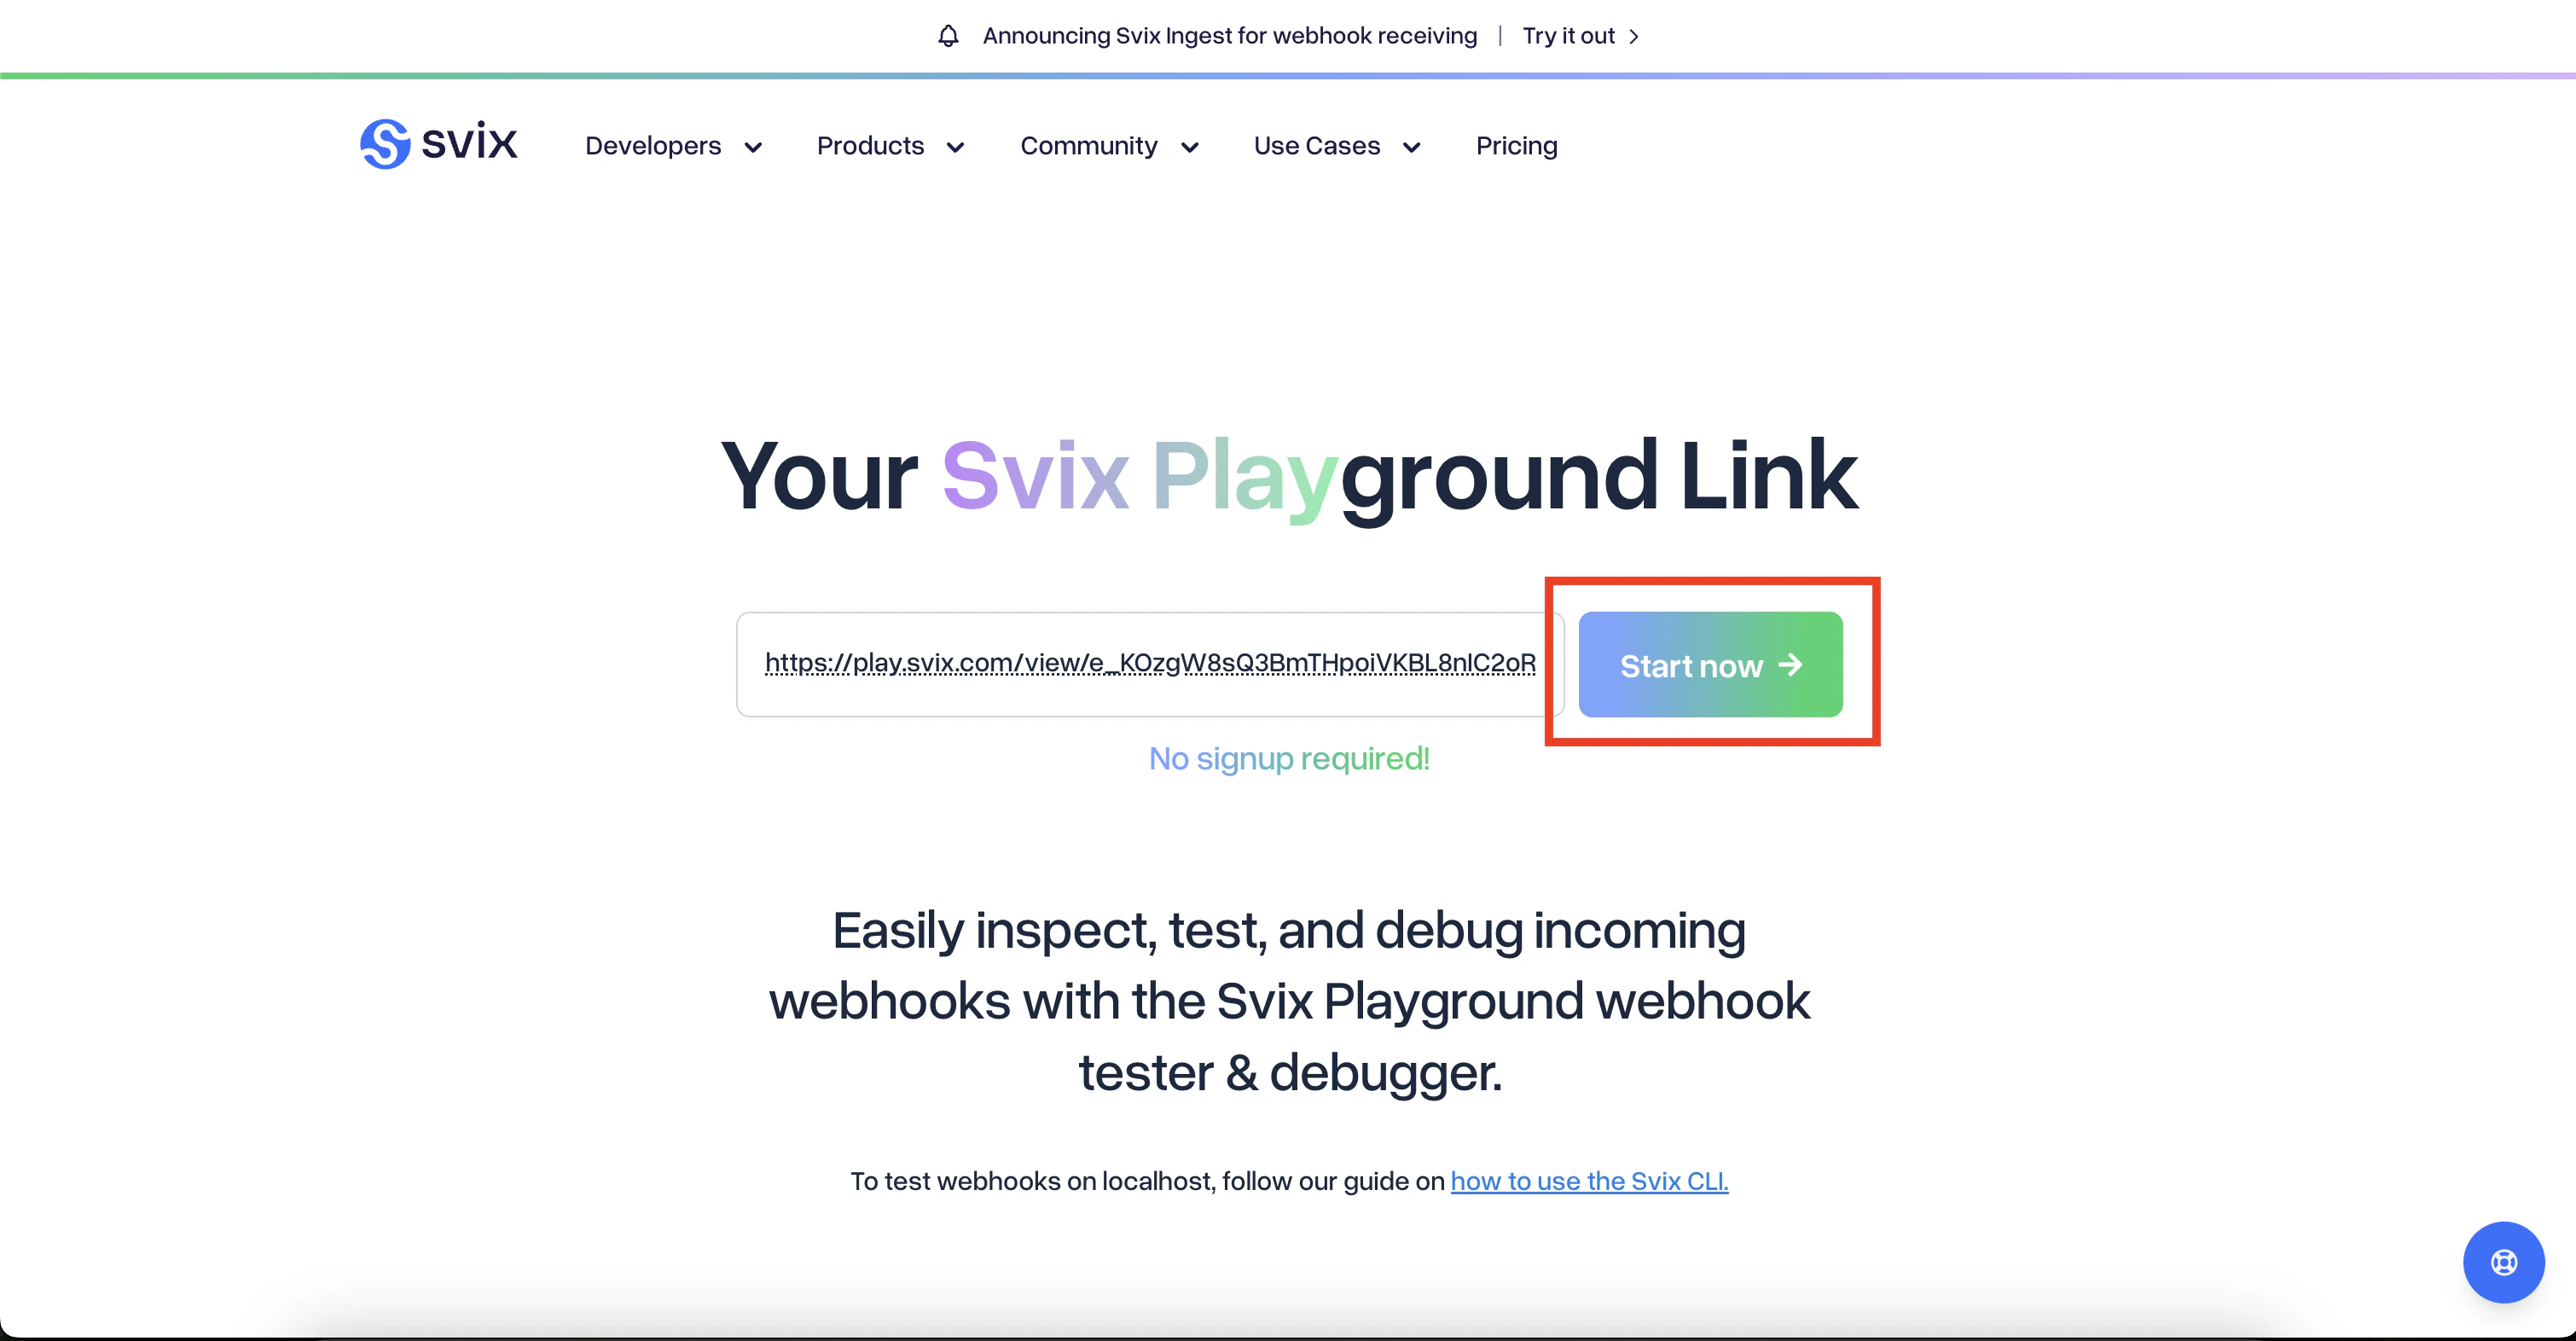
- Copy the webhook url from Svix Play:
- In QuickNode:
- Select
Webhookas destination type - Paste your webhook URL
- We can keep the rest of the settings as default
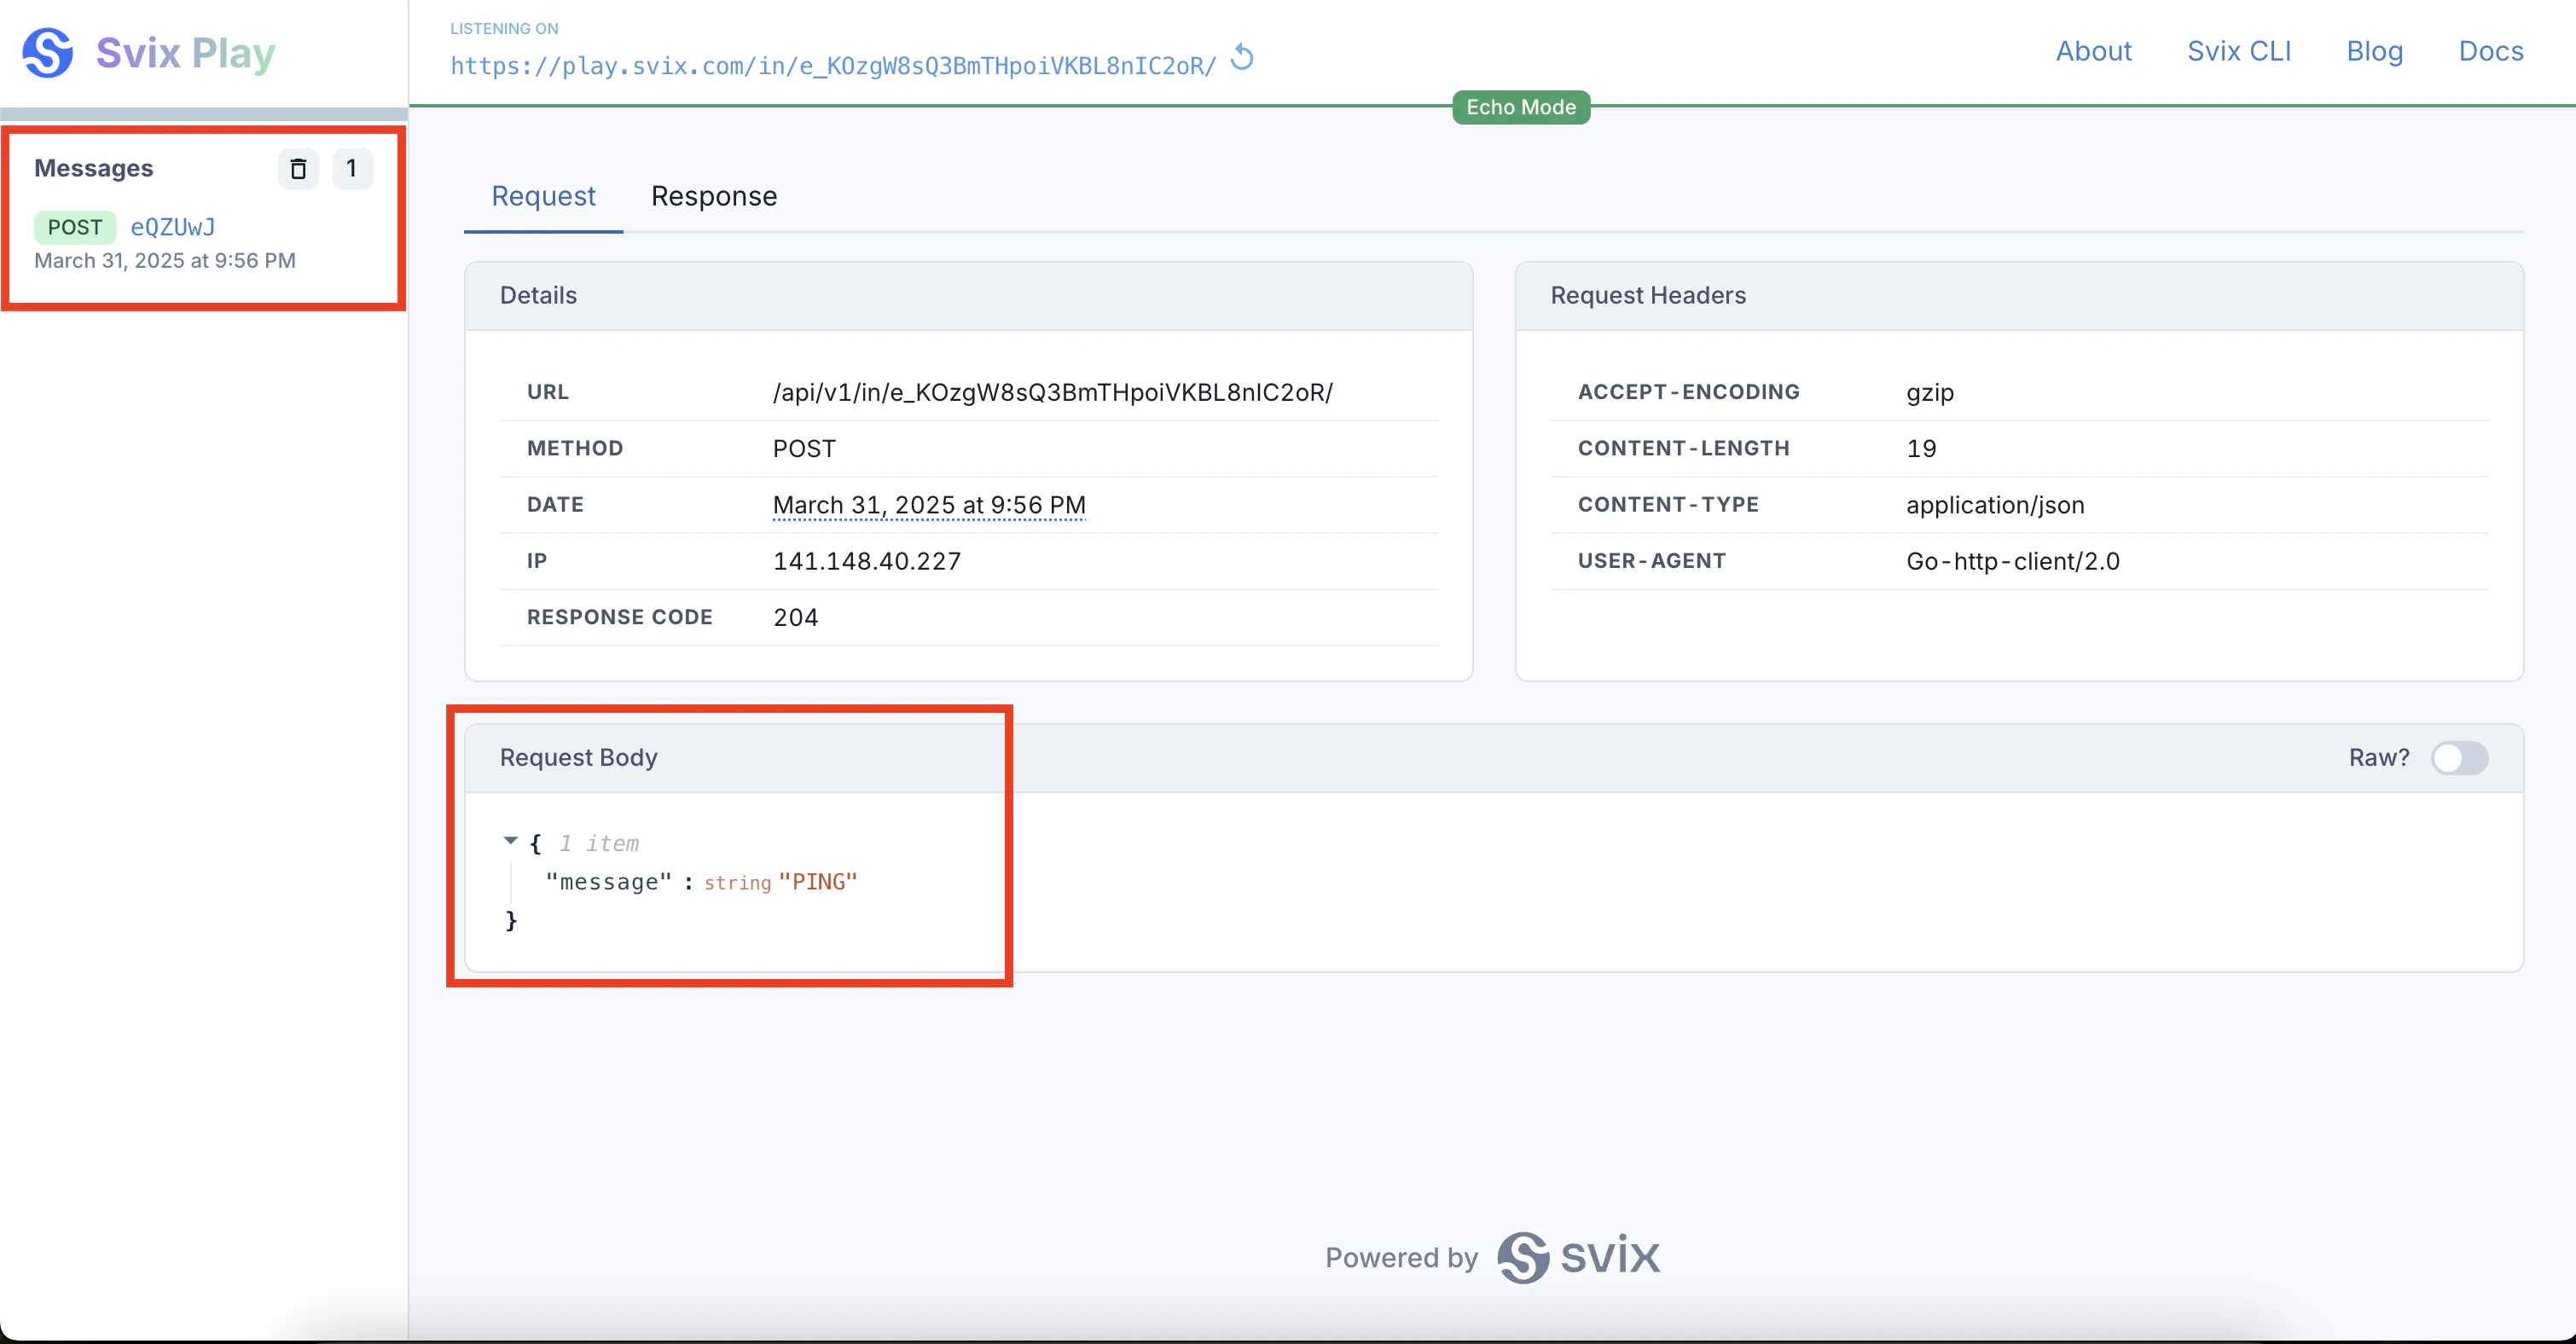
- Click on “Check Connection” to test the webhook url. Check if you received the “PING” message in the Svix Play dashboard.
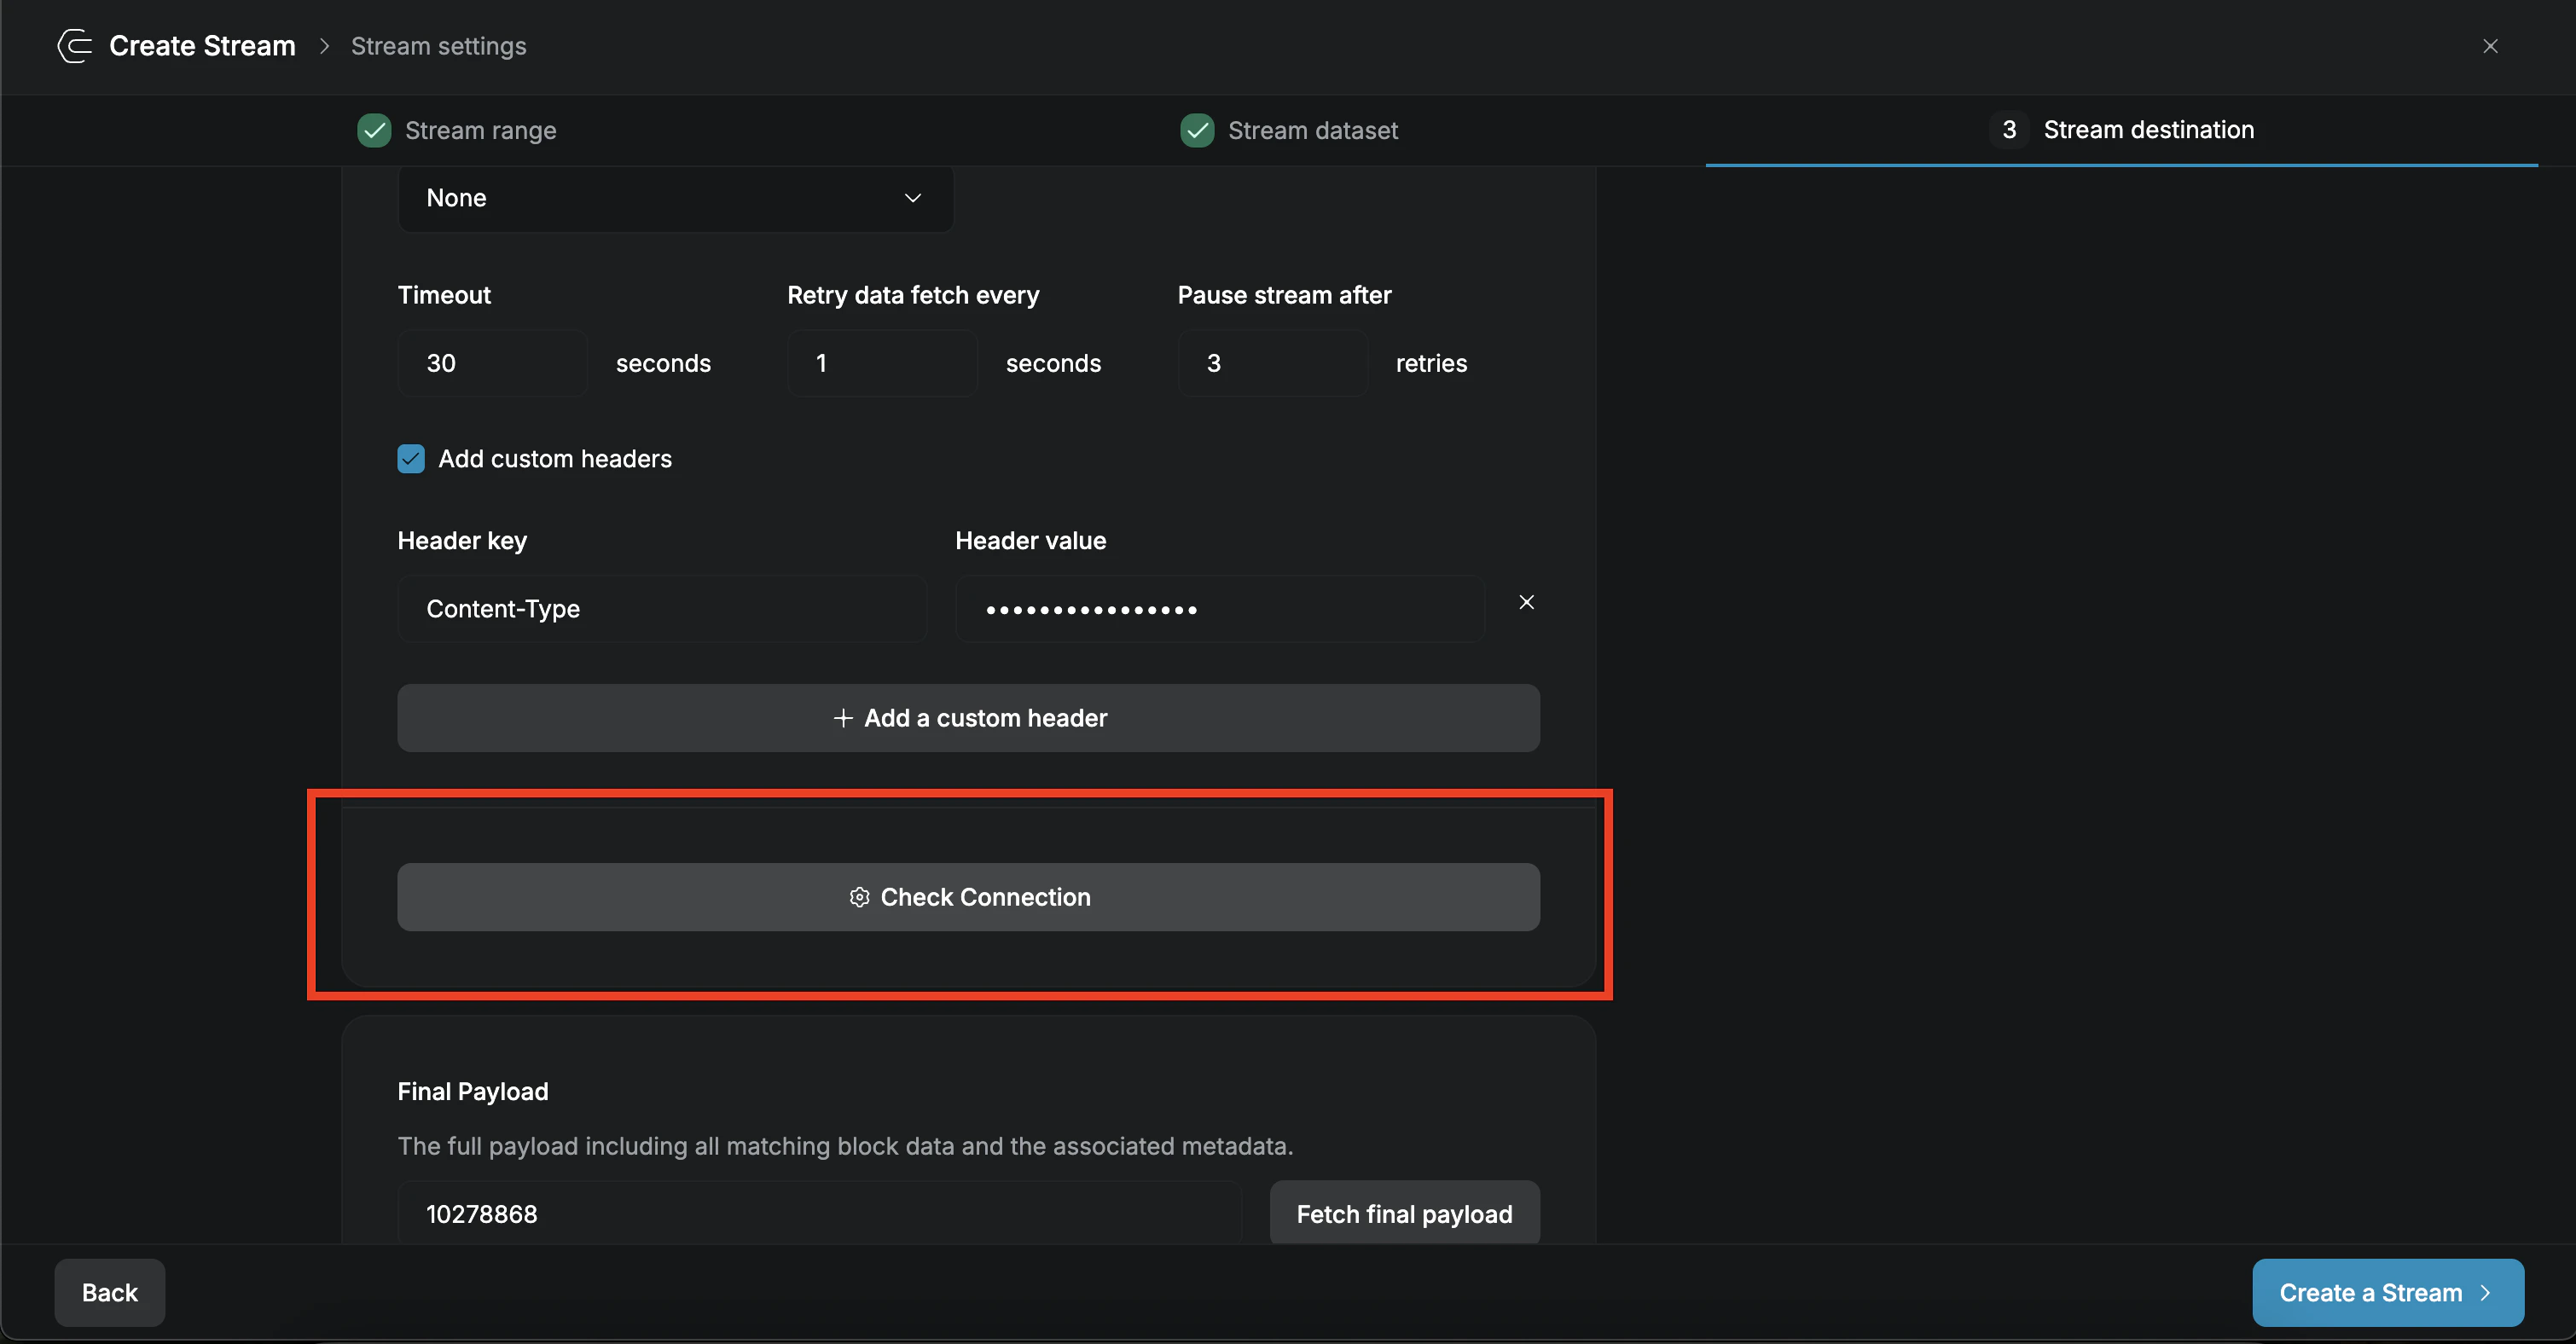
- Click “Send Payload” to send a test payload to the webhook.

- Finally click “Create a Stream” to create the stream.
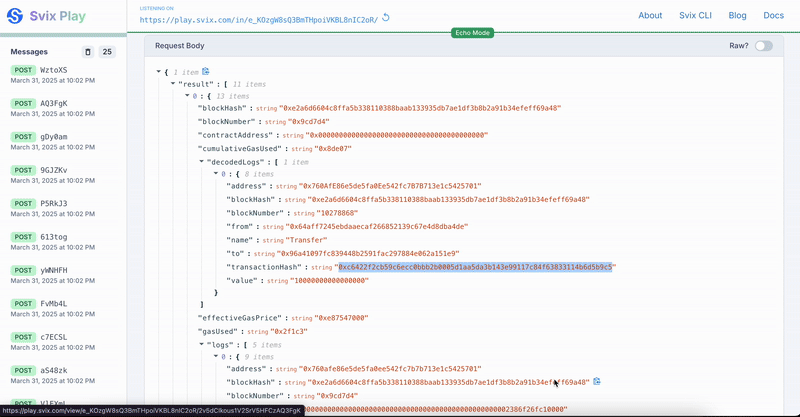
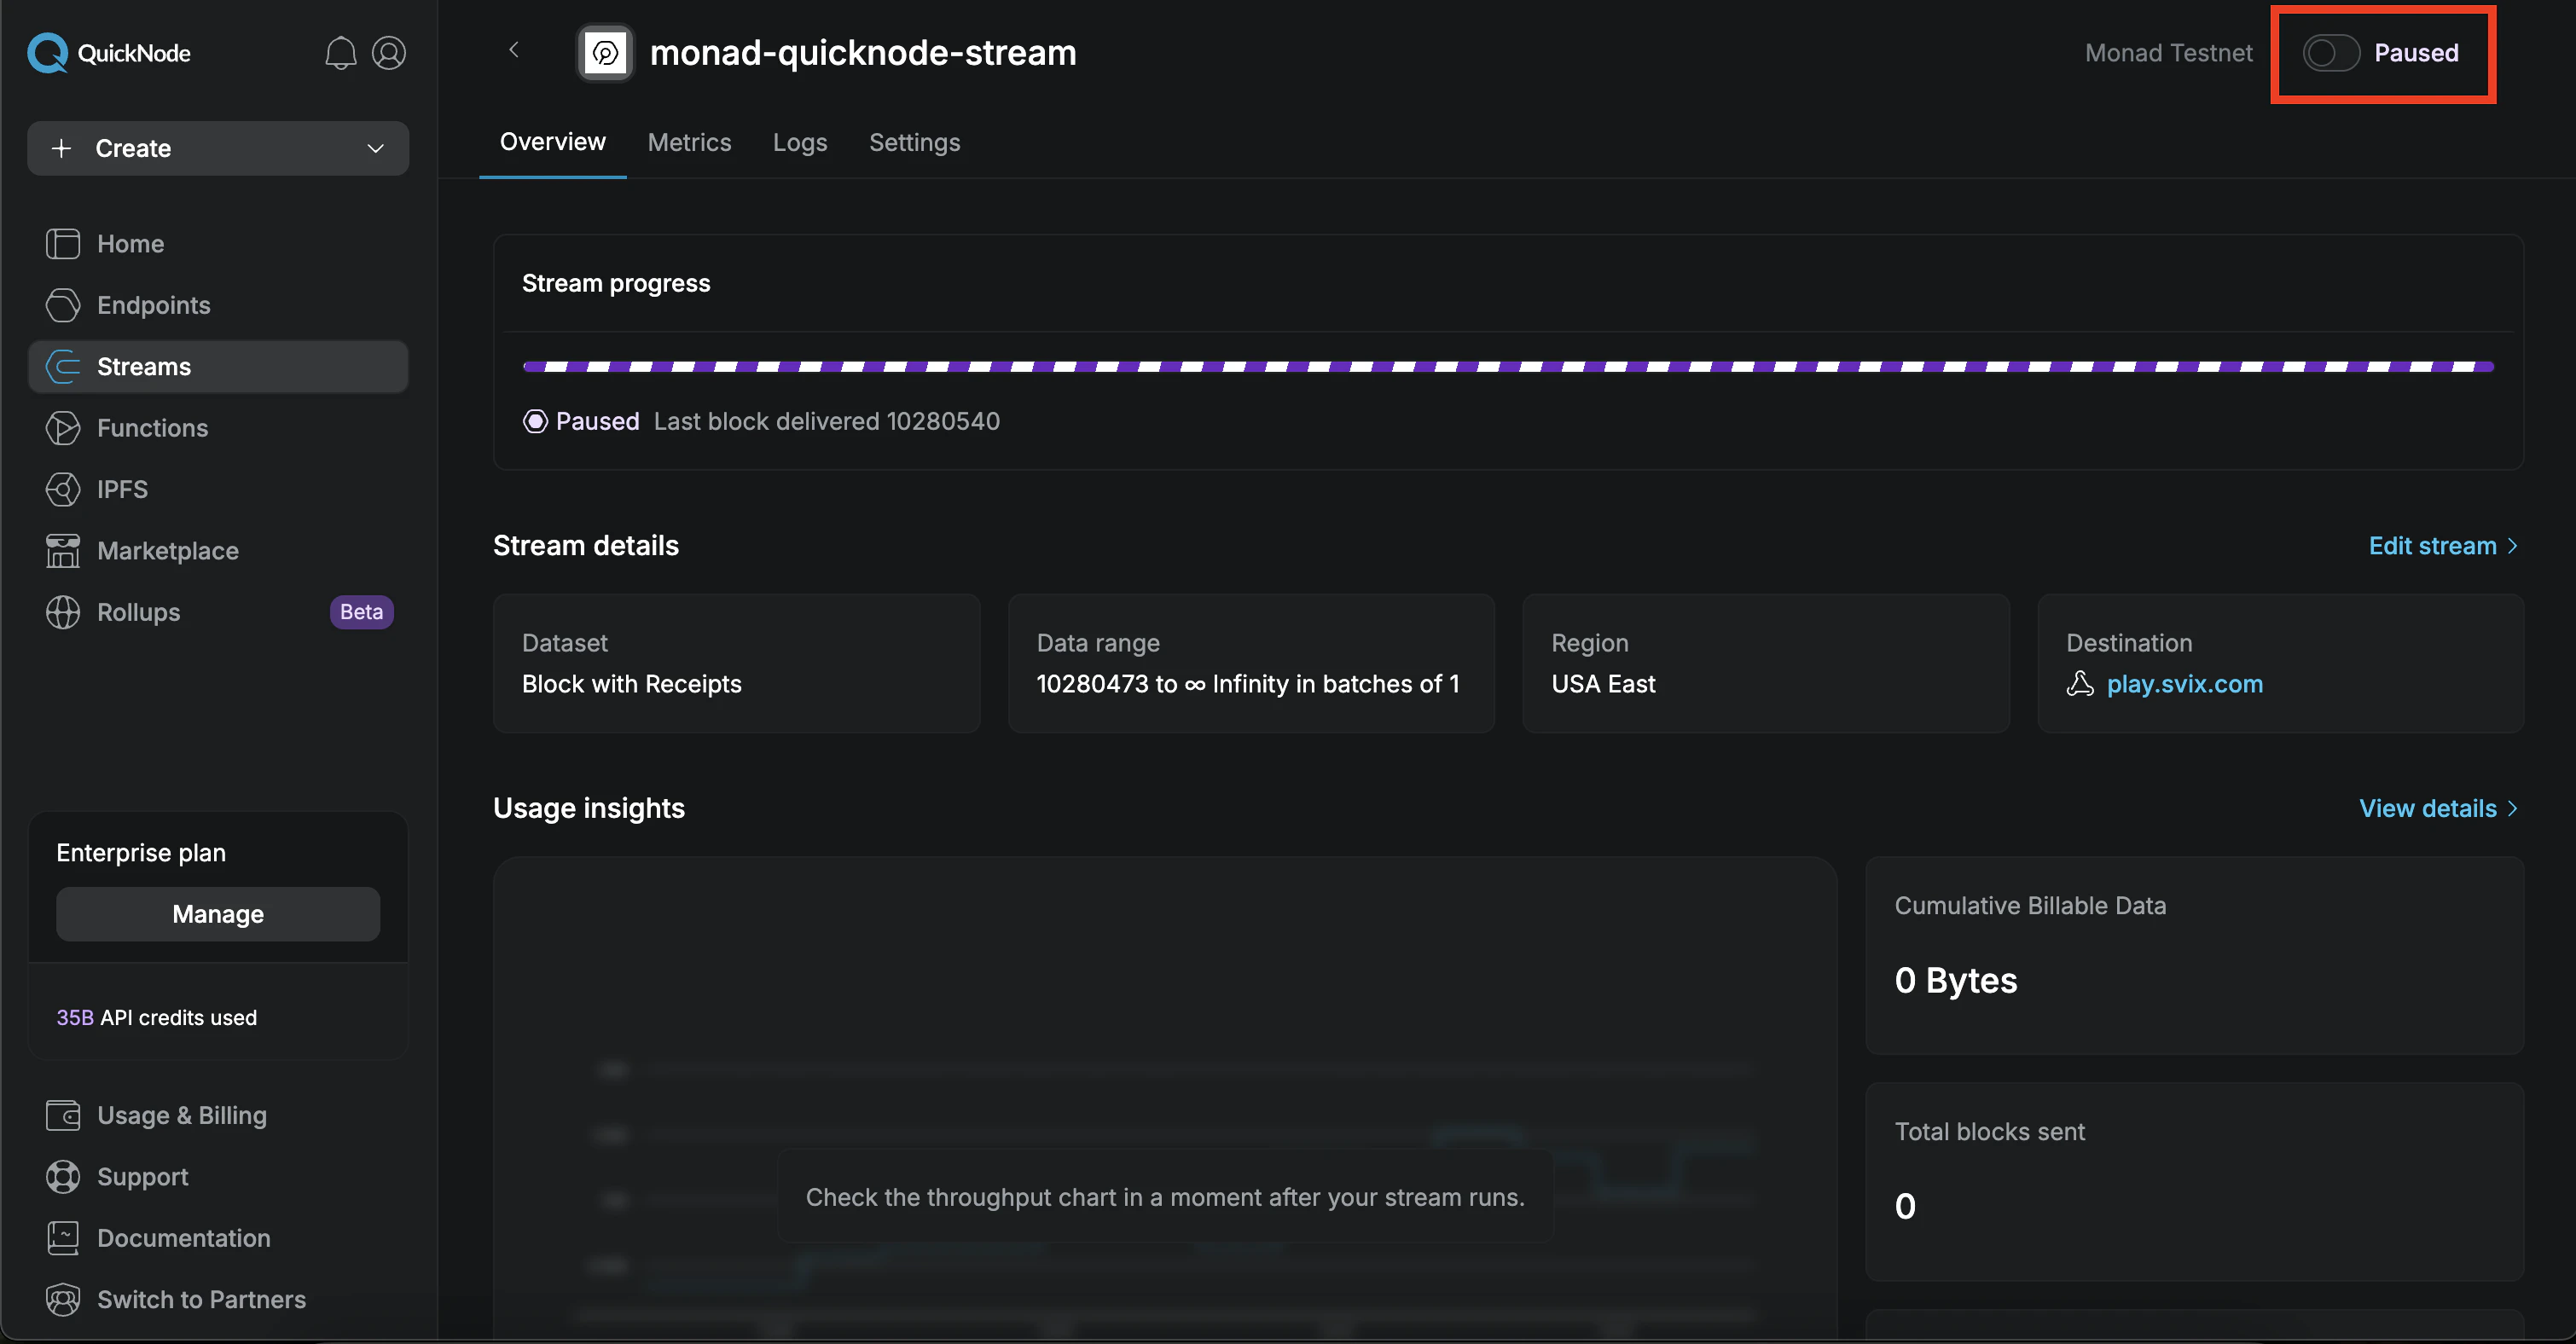
6. Launch and Monitor
You should now be able to see the stream delivering the messages to the webhook!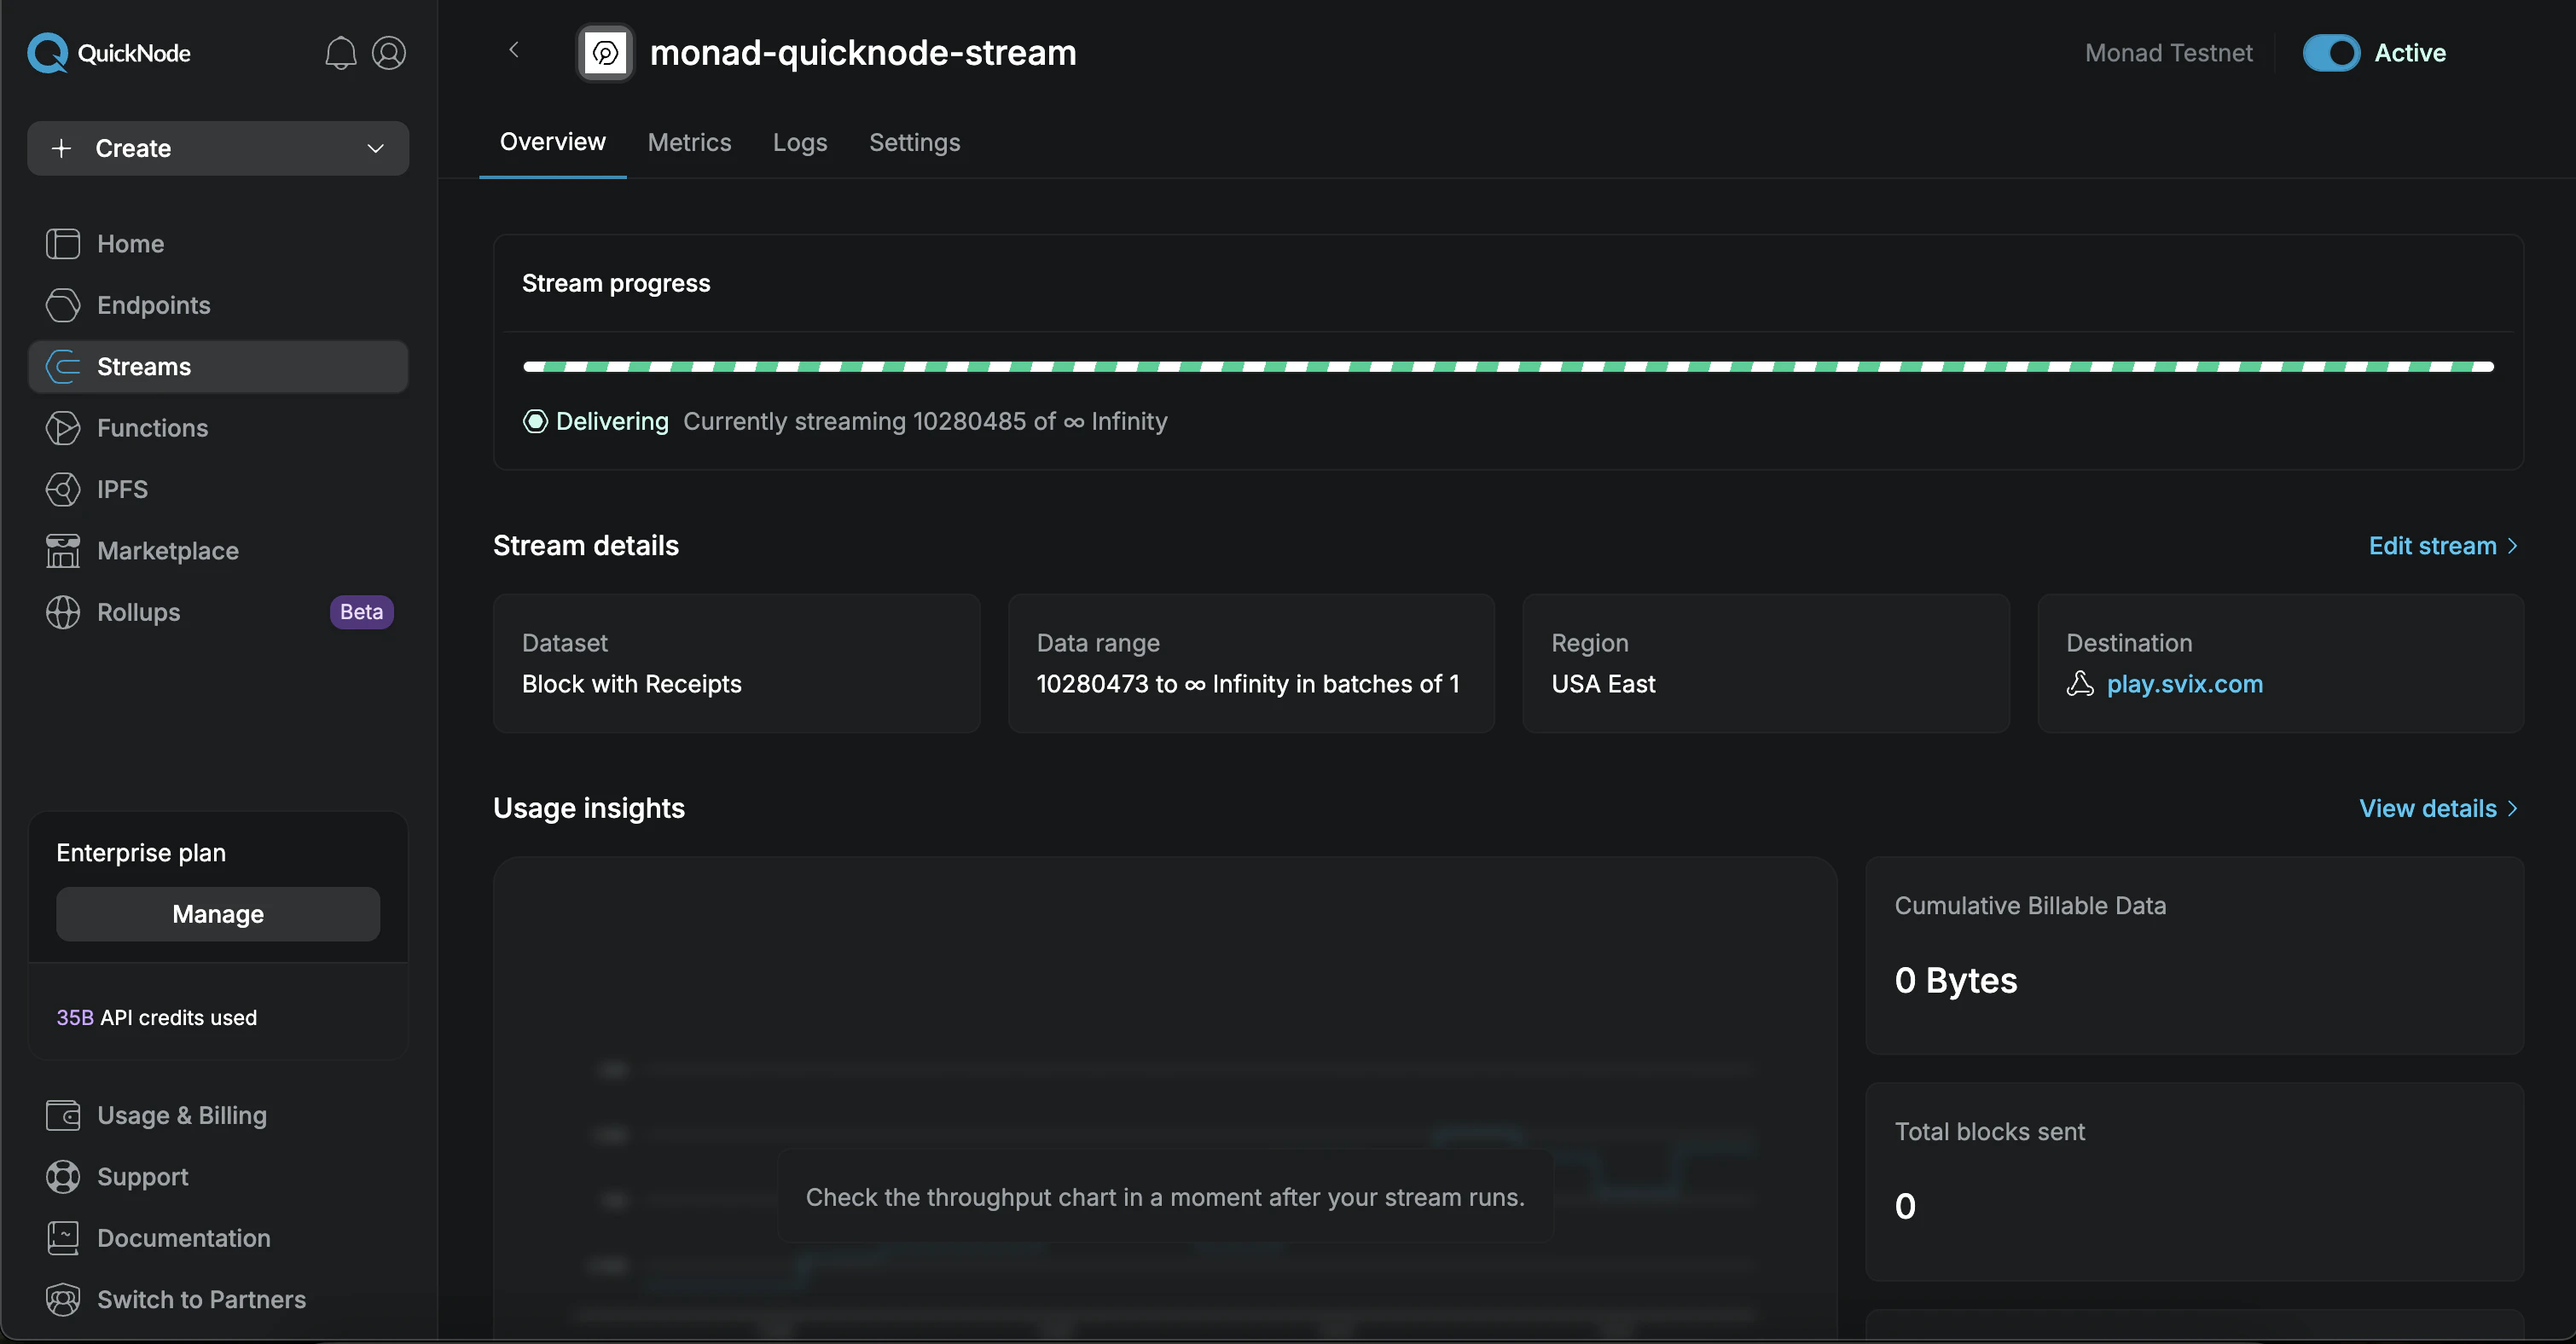
Next Steps
- Monitor your stream’s performance in the QuickNode dashboard
- Adjust filter parameters as needed
- Connect to your production webhook endpoint when ready