

Prerequisites
- Code Editor of your choice (Cursor or Visual Studio Code recommended).
- Node 18.x.x or above.
- Basic TypeScript knowledge.
- Testnet MON (Faucet).
Initial setup
Initialize the project
- ✓ Ok to proceed? → Yes
- ✓ Would you like to use TypeScript? → Yes
- ✓ Would you like to use ESLint? → Yes
- ✓ Would you like to use Tailwind CSS? → Yes
- ✓ Would you like your code inside a
src/directory? → Yes - ✓ Would you like to use App Router? → Yes
- ✓ Would you like to customize the import alias (
@/*by default)? → No
Install dependencies
Start development server
The development server is used to start a local test environment that runs on your computer. It is perfect to test and develop your blink, before you ship it to production.Building the Blink
Now that we have our basic setup finished, it is time to start building the blink.Create an endpoint
To write a blink provider, you have to create an endpoint. Thanks to NextJS, this all works pretty straightforward. All you have to do is to create the following folder structure:Create actions.json
Create a route inapp folder for the actions.json file which will be hosted in the root directory of our application. This file is needed to tell other applications which blink providers are available on your website. Think of it as a sitemap for blinks.
You can read more about the actions.json in the official Dialect documentation.
src/app/actions.json/route.ts
Add an image for the blink
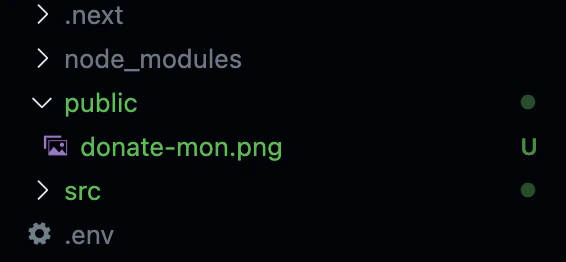
Every blink has an image that is rendered on top. If you have your image already hosted somewhere, you can skip this step but if you haven’t you can just create apublic folder in your NextJS project and paste an image there.
In our example we will paste a file called donate-mon.png into this public folder. You can right-click and save the image below.

OPTIONS endpoint and headers
This enables CORS for cross-origin requests and standard headers for the API endpoints. This is standard configuration you do for every Blink.src/app/api/actions/donate-mon/route.ts
GET endpoint
GET returns the Blink metadata and UI configuration.
It describes:
- How the Action appears in Blink clients
- What parameters users need to provide
- How the Action should be executed
src/app/api/actions/donate-mon/route.ts
Testing the Blink
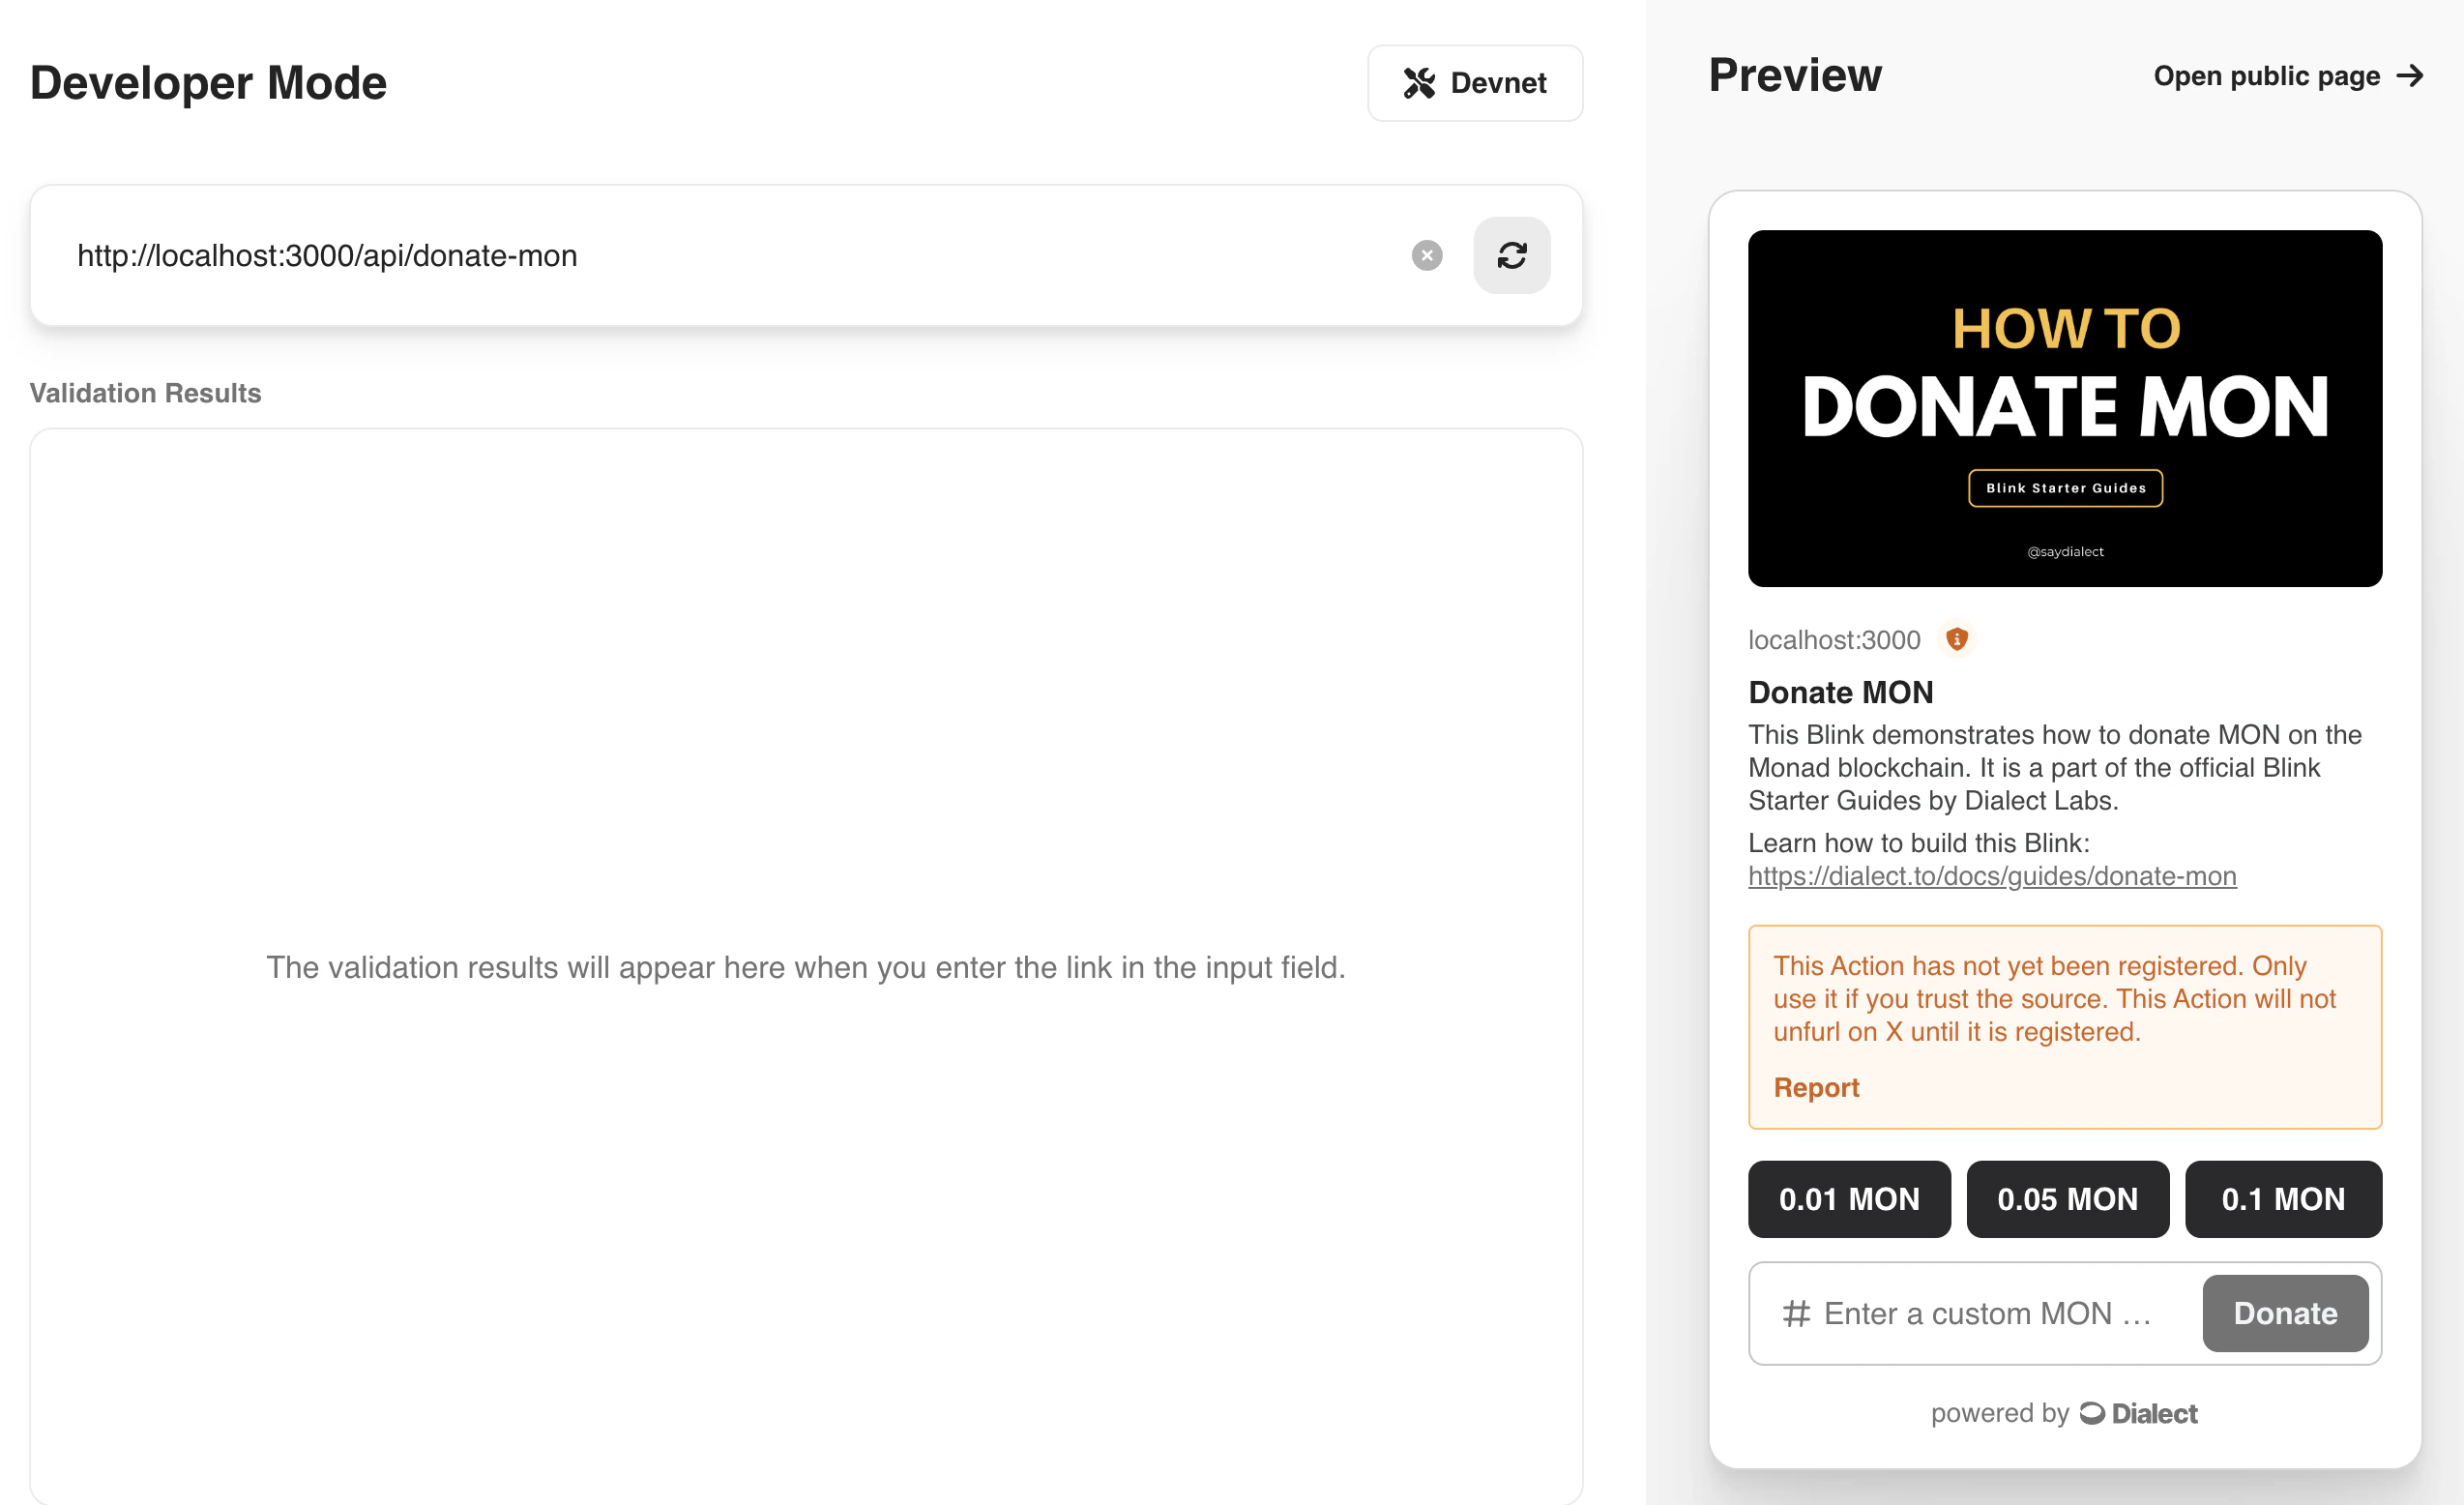
Visit dial.to and type in the link to your blink to see if it works. If your server runs on localhost:3000 the url should be like this:http://localhost:3000/api/actions/donate-mon
dial.to currently supports only GET previews for EVM. To test your POST endpoint, we need to build a Blink Client.
POST endpoint
POST handles the actual MON transfer transaction.
POST request to the endpoint
Create the post request structure and add the necessary imports as well as thedonationWallet on top of the file.
src/app/api/actions/donate-mon/route.ts
Extract data from request
The request contains the URL and the account (PublicKey) from the payer.src/app/api/actions/donate-mon/route.ts
Create the transaction
Create a new transaction with all the necessary data and add it below in thePOST request.
src/app/api/actions/donate-mon/route.ts
Return the transaction in response.
CreateActionPostResponse and return it to the client.
src/app/api/actions/donate-mon/route.ts
Full code in route.ts
src/app/api/actions/donate-mon/route.ts
Implementing the Blink client
In this step you will learn to implement the blink client, which is the visual representation of a blink.Install dependencies
Implement the provider
The provider is necessary to trigger wallet actions in the blink.Create config for WagmiProvider
This file is used to set the proper configurations for the WagmiProvider in the next step.
src/config.ts
Create the wallet connection context providers
Create the provider that we can use to wrap around our app. Don’t forget to use the“use client”; at the top of the file if you are in a NextJS project.
In this project, we are using ConnectKit but you can use other alternatives as well (Eg: RainbowKit)
src/provider.tsx
Wrap the app with context provider
If you want your provider to be accessible throughout your app, it is recommended to wrap it around thechildren element in your layout.tsx.
src/app/layout.tsx
Using the Blink component
Now that we have everything wrapped, we can start with the implementation of the blink renderer.
To do so open the page.tsx file in your /src/app folder.
src/app/page.tsx
Make a transaction
That’s it. To test it, visit localhost:3000 and click on a button or enter a custom amount that you want to donate.
Conclusion
In this tutorial, you learned how you can create a blink that sends MON to another wallet from scratch using aNextJS project. Besides the basic project setup there were two important things that we built.
The first thing was the blink provider. This provider works as an API for the blink and handles how the blink is rendered in the fronend (GET request) and executes the blockchain transaction (POST request).
The second implementation was the blink client. This client serves as the visual representation of the blink and is what the user sees and uses to interact with the blink provider.
These are two separate parts, which means you can build a blink without worrying about the client implementation and you can implement clients for existing blinks without the need to build your own blink.